How to Sew a Kitchen Valance - mini tutorial

Mini Tutorial: HOW TO SEW A KITCHEN VALANCE

If you have ever wanted a quick change for your windwows and did not want to commit to drapes or roman shades, a valance is an easy and quick sewing project. I have had the same valance in my kitchen for about two years and finally got tired of looking at the red toile. My taste changes back and forth from French Country to Transitional - meaning I like traditional decorations with a slight modern touch here and there and with the amount of time I spend in fabric stores, my eye is always on the lookout for a new sewing project!
We are having company coming over soon and I wanted to spruce up the house. Someone once told me if you ever want to get things done, invite people over. Thanks, Adria, because this really works! I put this valance on the top of my sewing project to-do list and finally sat down today to do it. I'm so happy with it and I want to teach you how to sew a valance. Here is an easy valance tutorial.
It only took 2 yards of fabric and an hour and a half to sew two kitchen valances and you can do it, too!

TUTORIAL:
How to sew a valance
1. Measure the width of your window (I measured from 3 inches outside the window molding on either side, since my curtain rod was already that long.)
my width: 80 inches
2. Multiply your width by 1.5 - This means I took 80 x 1.5 = 120 inches
3. Figure out how long you want your valance to be. I wanted mine to be 17 inches long.
4. Add 2 inches to the length you want. 17 + 2 = 19 inches long - This will allow me to have a 1 inch hem on top and bottom.
5. My valance will be: 19 inches x 120 inches long before I hem it.
6. Cut TWO pieces of fabric 19 in x 60 in using home decor fabric. They are usually 60 inches wide.
7. Lay these pieces right sides together and pin at one short end. (The 19 inch end.)
8. Sew along your pinned edge using a 5/8 inch seam allowance. Trim threads. Press seam open with an iron. Now you have your valance piece that is 19 inches x 120 inches.
9. Hem your valance one inch on all sides. (This means turn up a half inch hem and press with an iron, fold up another half inch hem and press with an iron. Pin. Repeat for all four sides.)
10. Sew your valance on all four sides using a 3/8 inch seam allowance. Trim threads.
You're DONE! Hang it up! (I used clip rings on a rod.)

For the window above the kitchen sink I made the valance shorter - only 13 inches long.
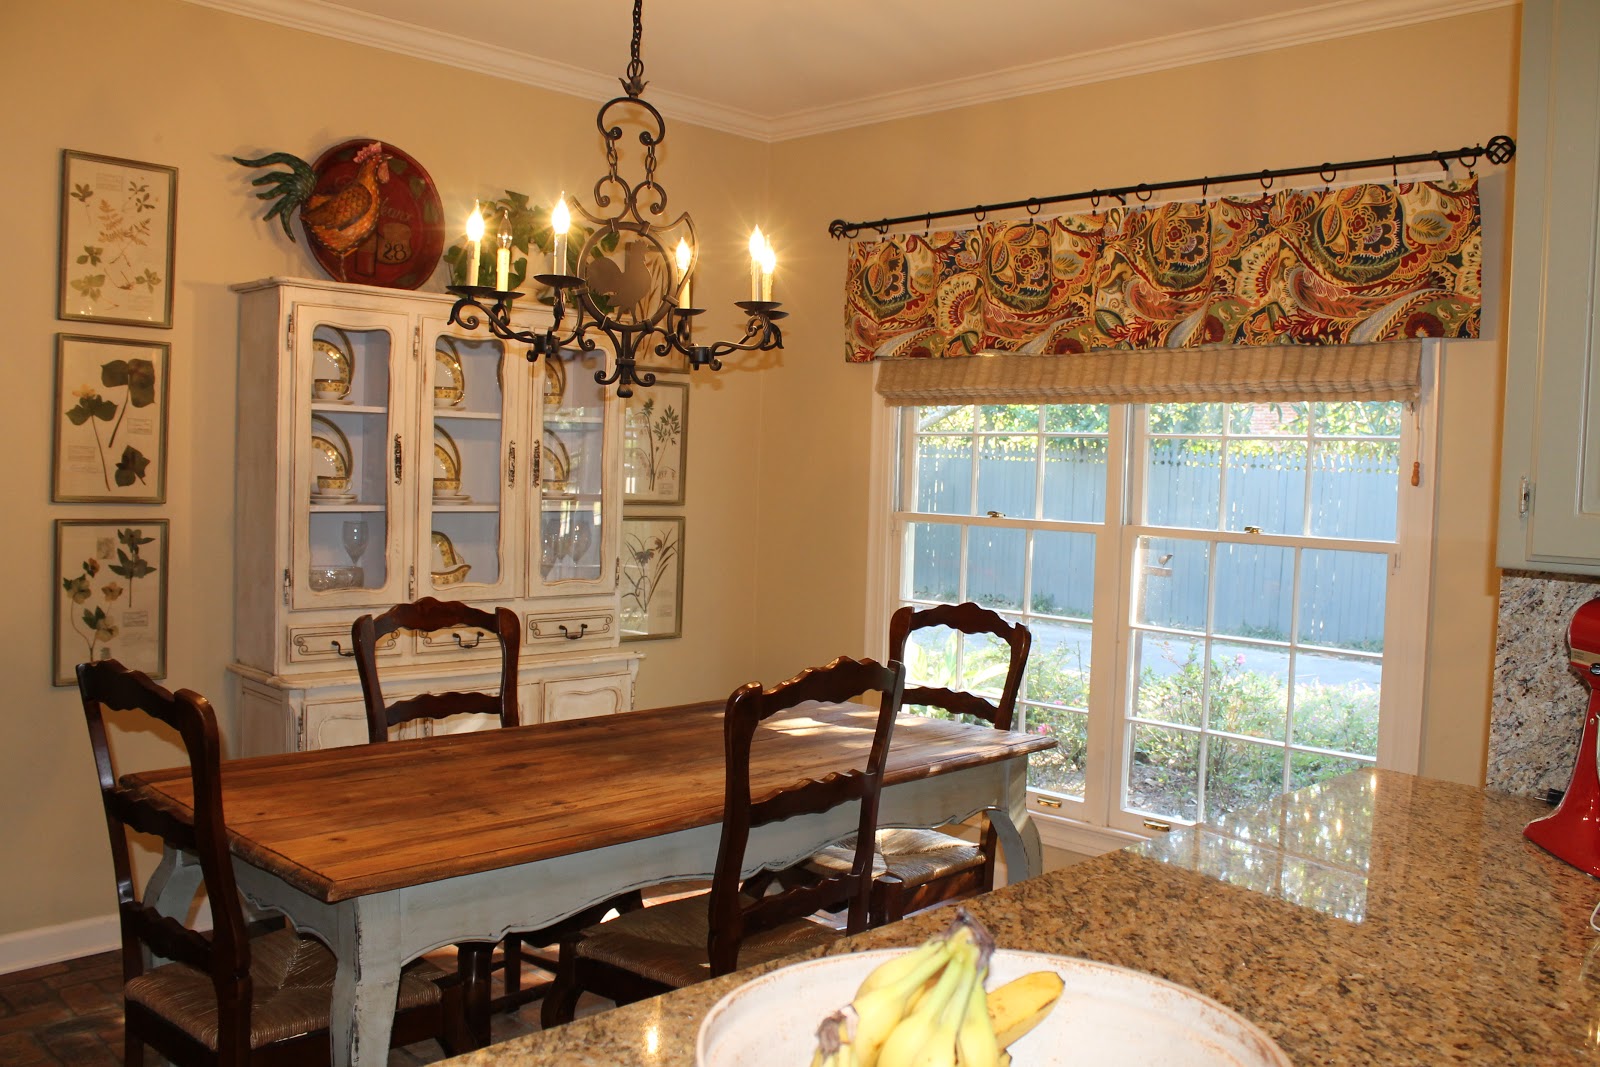
I'm so happy with how it turned out! I think the fabric colors are vibrant and fun and I cannot wait to eat dinner tonight so I can look at it again. :)

What color would you use if you were going to redo your kitchen drapes or valance?

I hope you try sewing a kitchen valance! If you use this tutorial to sew a valance please post a picture on the Seamingly Smitten facebook page!
Go sew something beautiful!