You can make 2 hats (because it's reversible) in less than an hour! The first hat for my little girl took me 45 minutes. The second one for my little boy took 30 minutes. Not bad for a reversible hat the kids can wear all summer long!
The tutorial below will give you the exact size for each person so you don't have to guess!
Let' s get started!
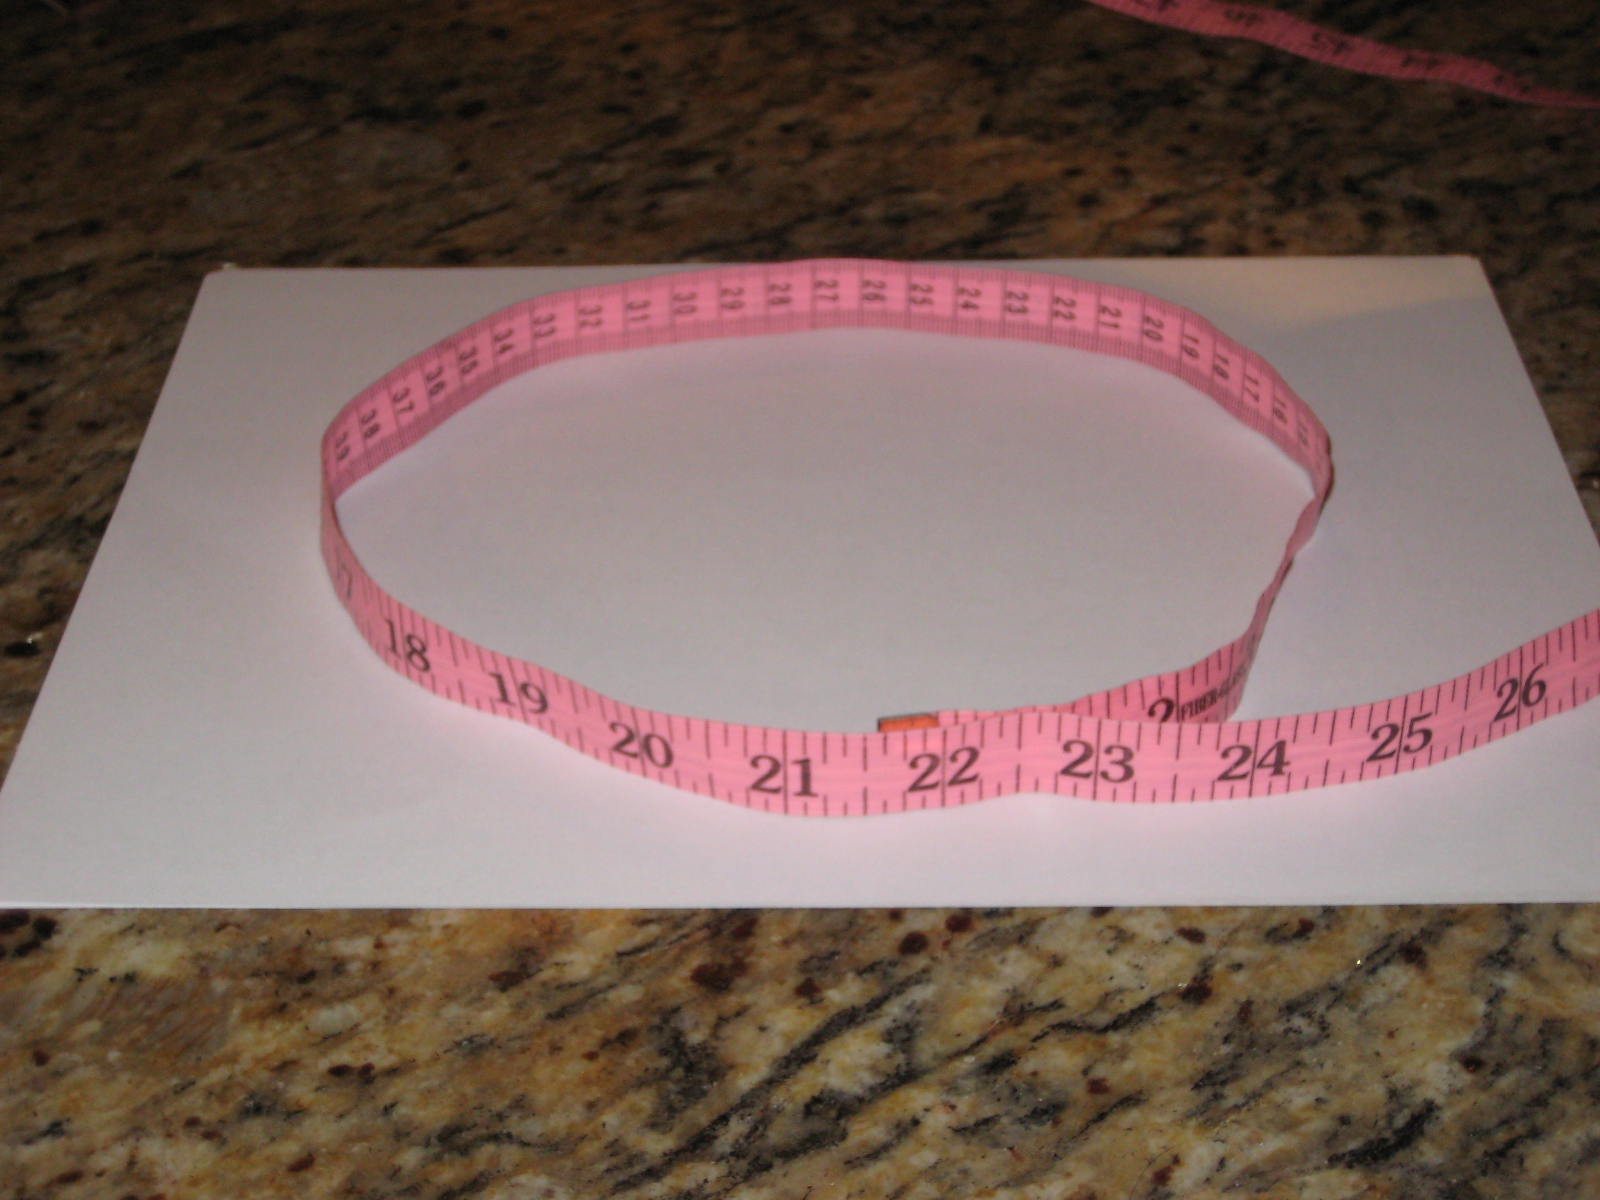
1. Measure your child's head. My kids have heads on the larger side. Does that mean mine is large too? I've never checked!
2. Lay out your measuring tape on paper and draw a circle that is the same size. It doesn't have to be perfect.
3. Cut this out.
4. Tape two pieces of paper together (or newspaper, freezer paper, printer paper). Fold the circle you just made in half. Lay the circle on top of the paper with the center folded line along the top border of your paper. See picture...it helps.
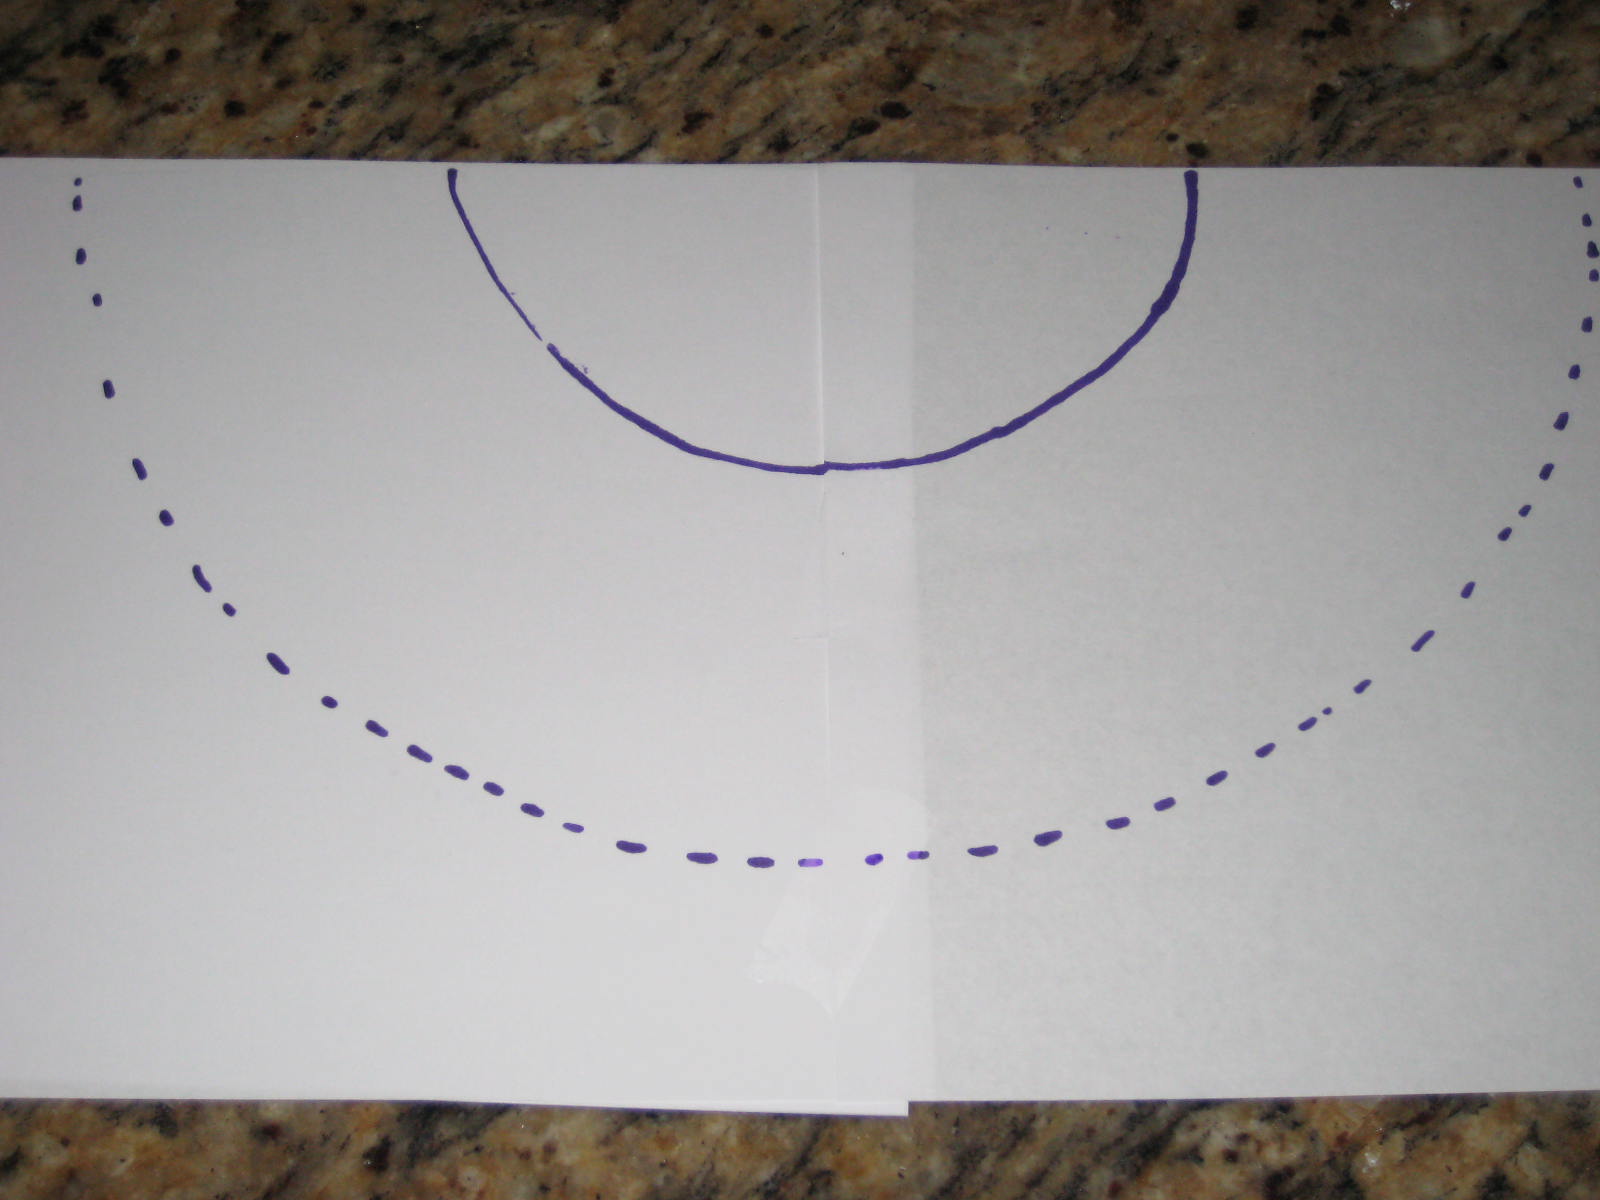
5. Trace the bottom of your circle.
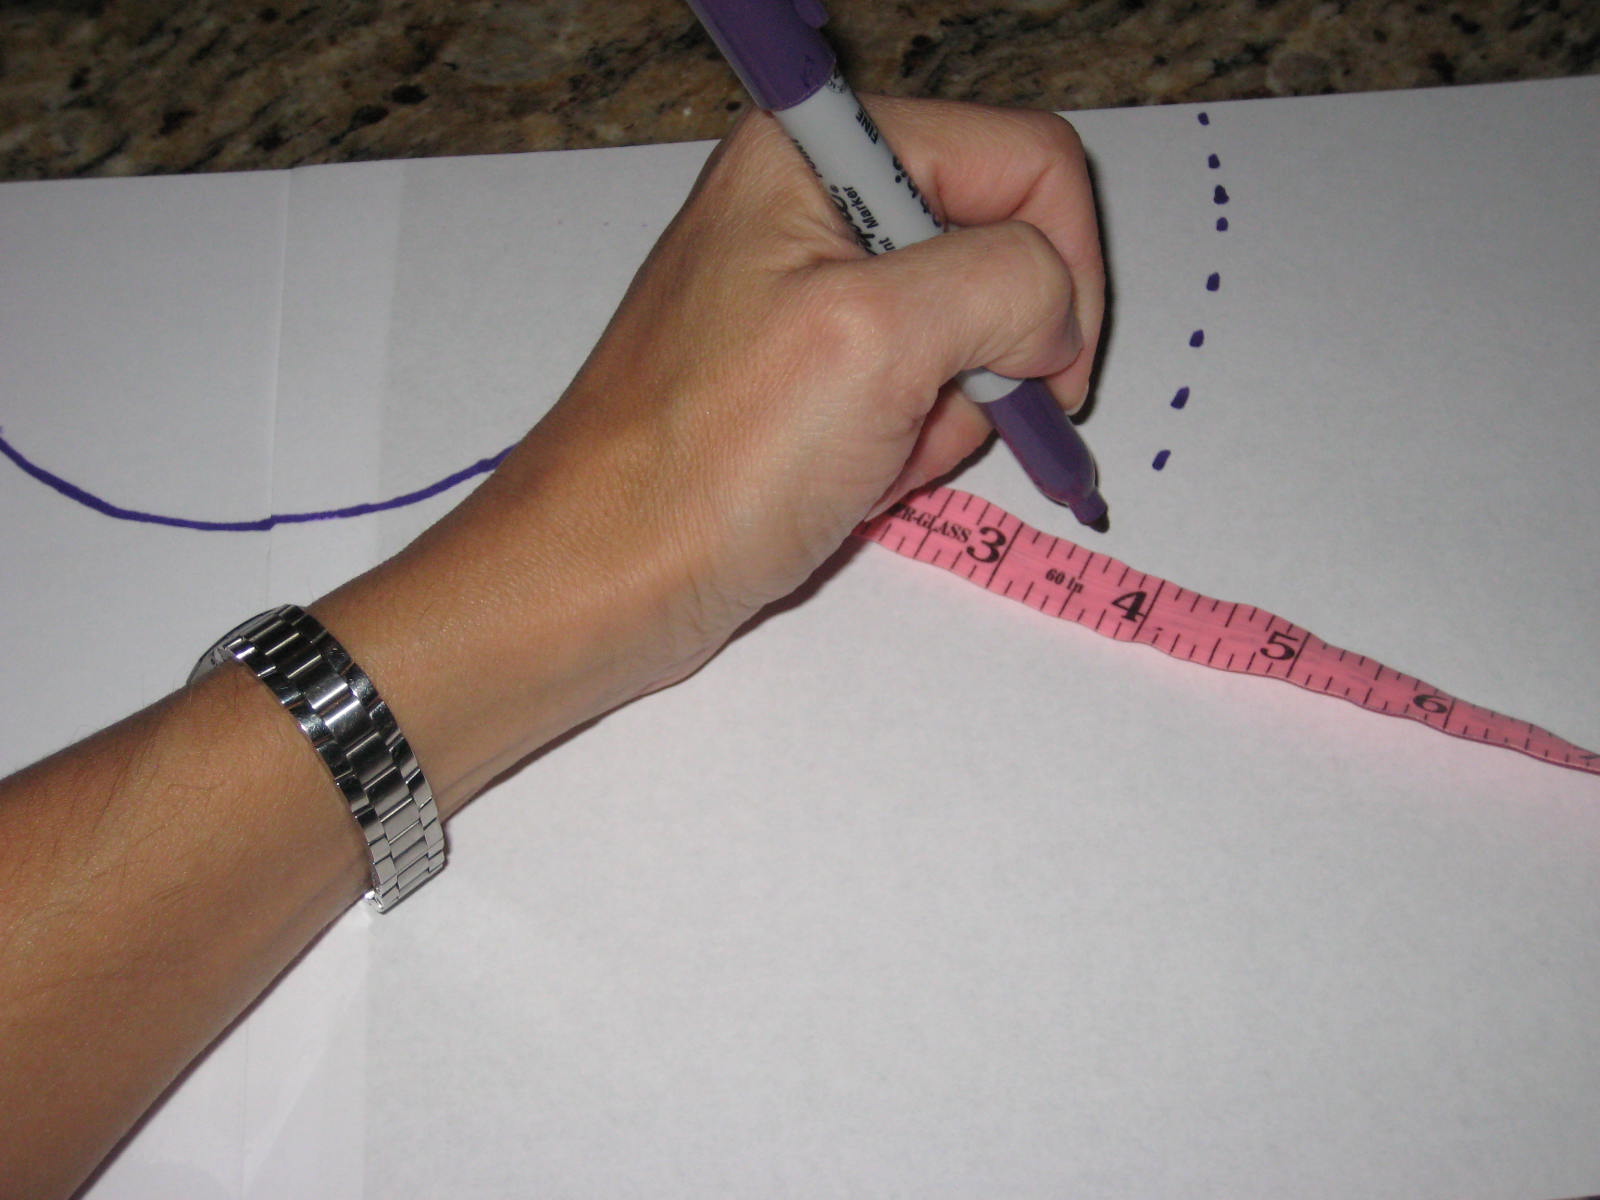
6. Time to make the hat brim. Measure out 4 and a 1/2 inches along the semicircle. Keep making marks 4 1/2 inches away from the semicircle until you've gone all the way around.
7. Connect all your dots.
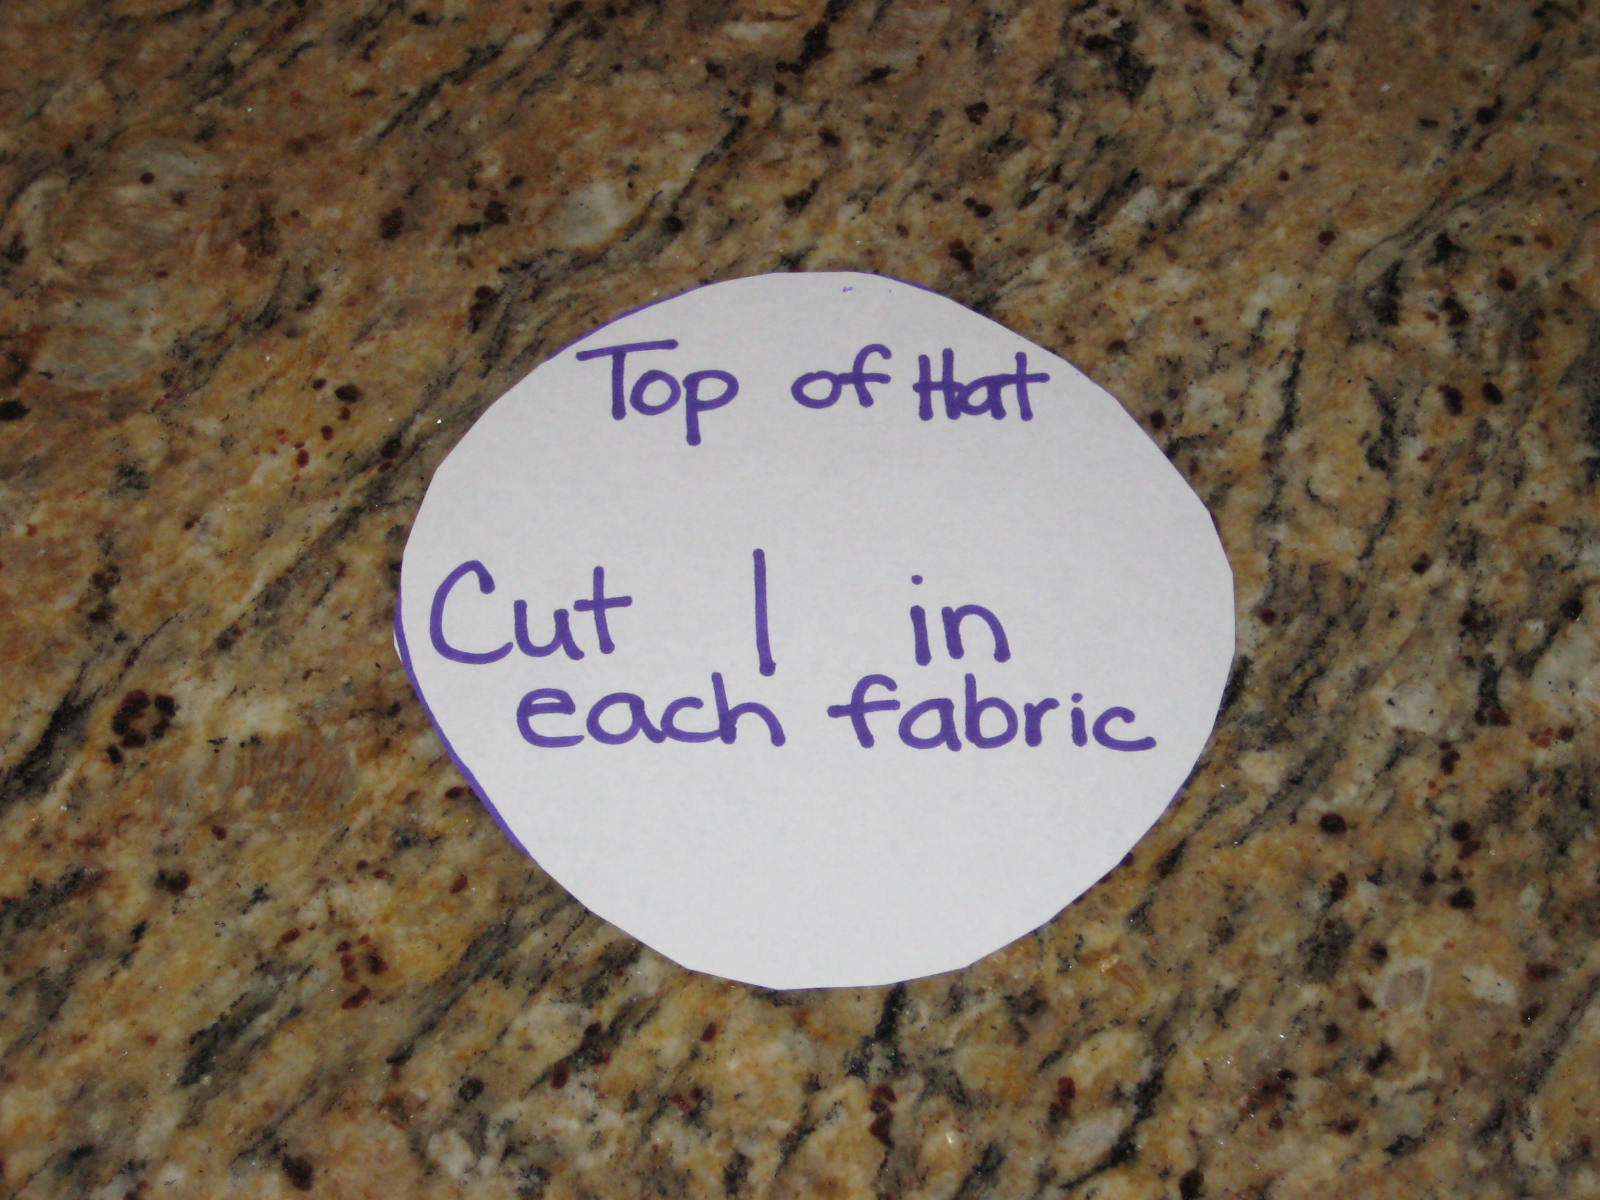
8. Label it and cut it out.
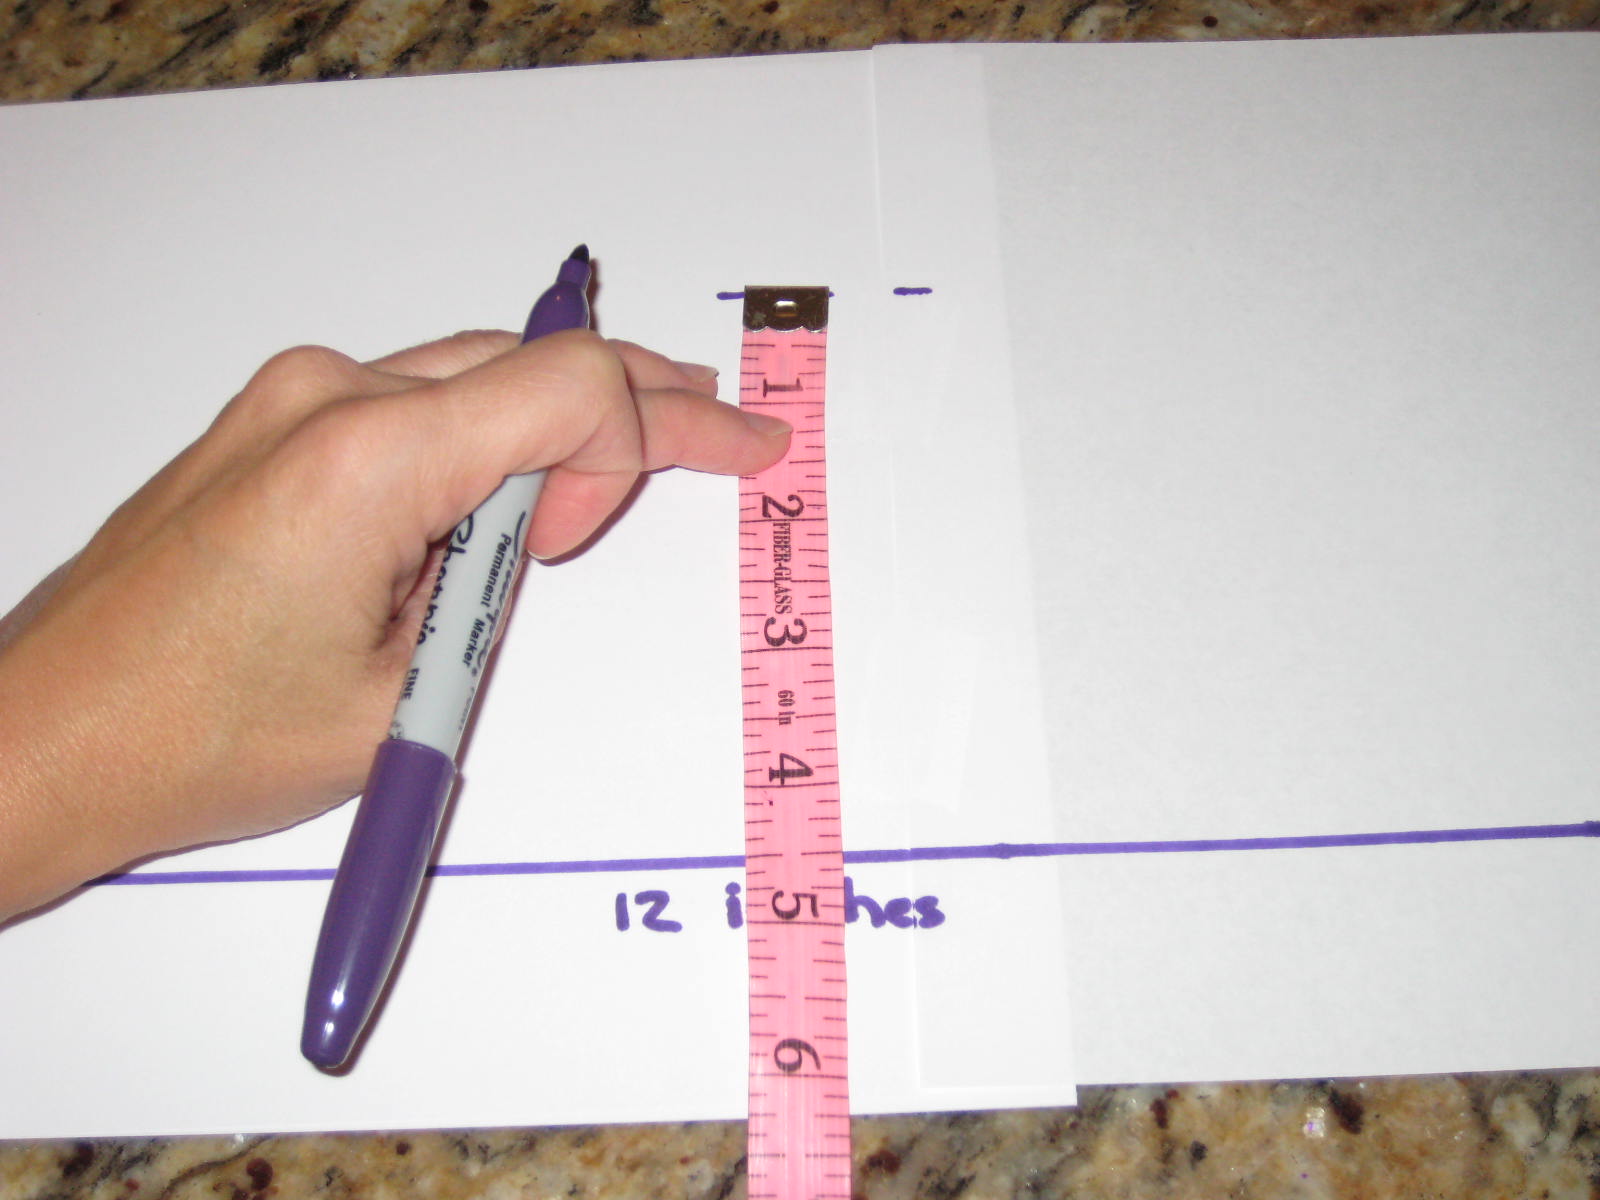
9. Tiime to make the sides of the hat. This helps it "stand" on your head. My little boy's head was about 22 inches around. I took half of that (11) and added 1 and came up with 12 inches. Tape two pieces of paper together again and draw a line that length. I drew it 12 inches long.
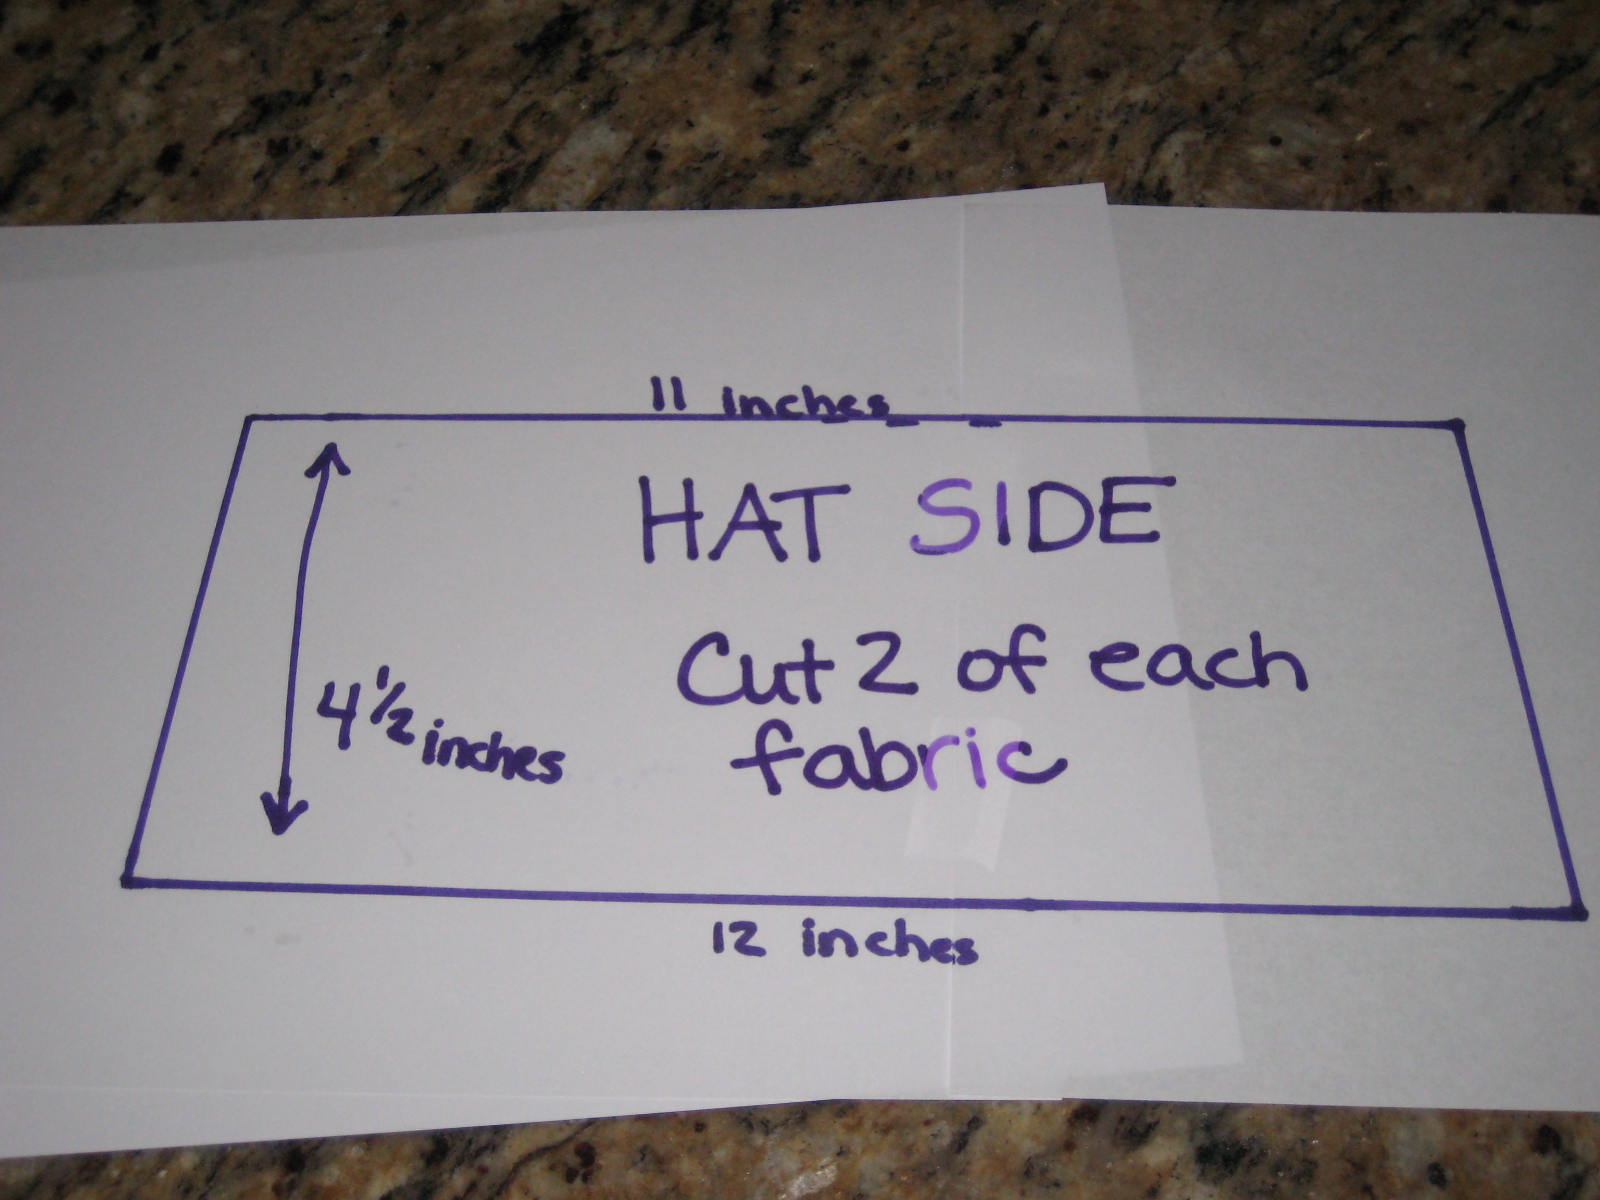
10. Subtract 1 from the line you just drew. Mine is 12-1 = 11 inches. I wanted my top line to be 11 inches long and I wanted it to be above the bottom line 4 and a 1/2 inches. This is how tall you want your hat to stand. You may want it smaller if your child is younger. Draw your top line. Connect it to your bottom line.
Label and cut out.
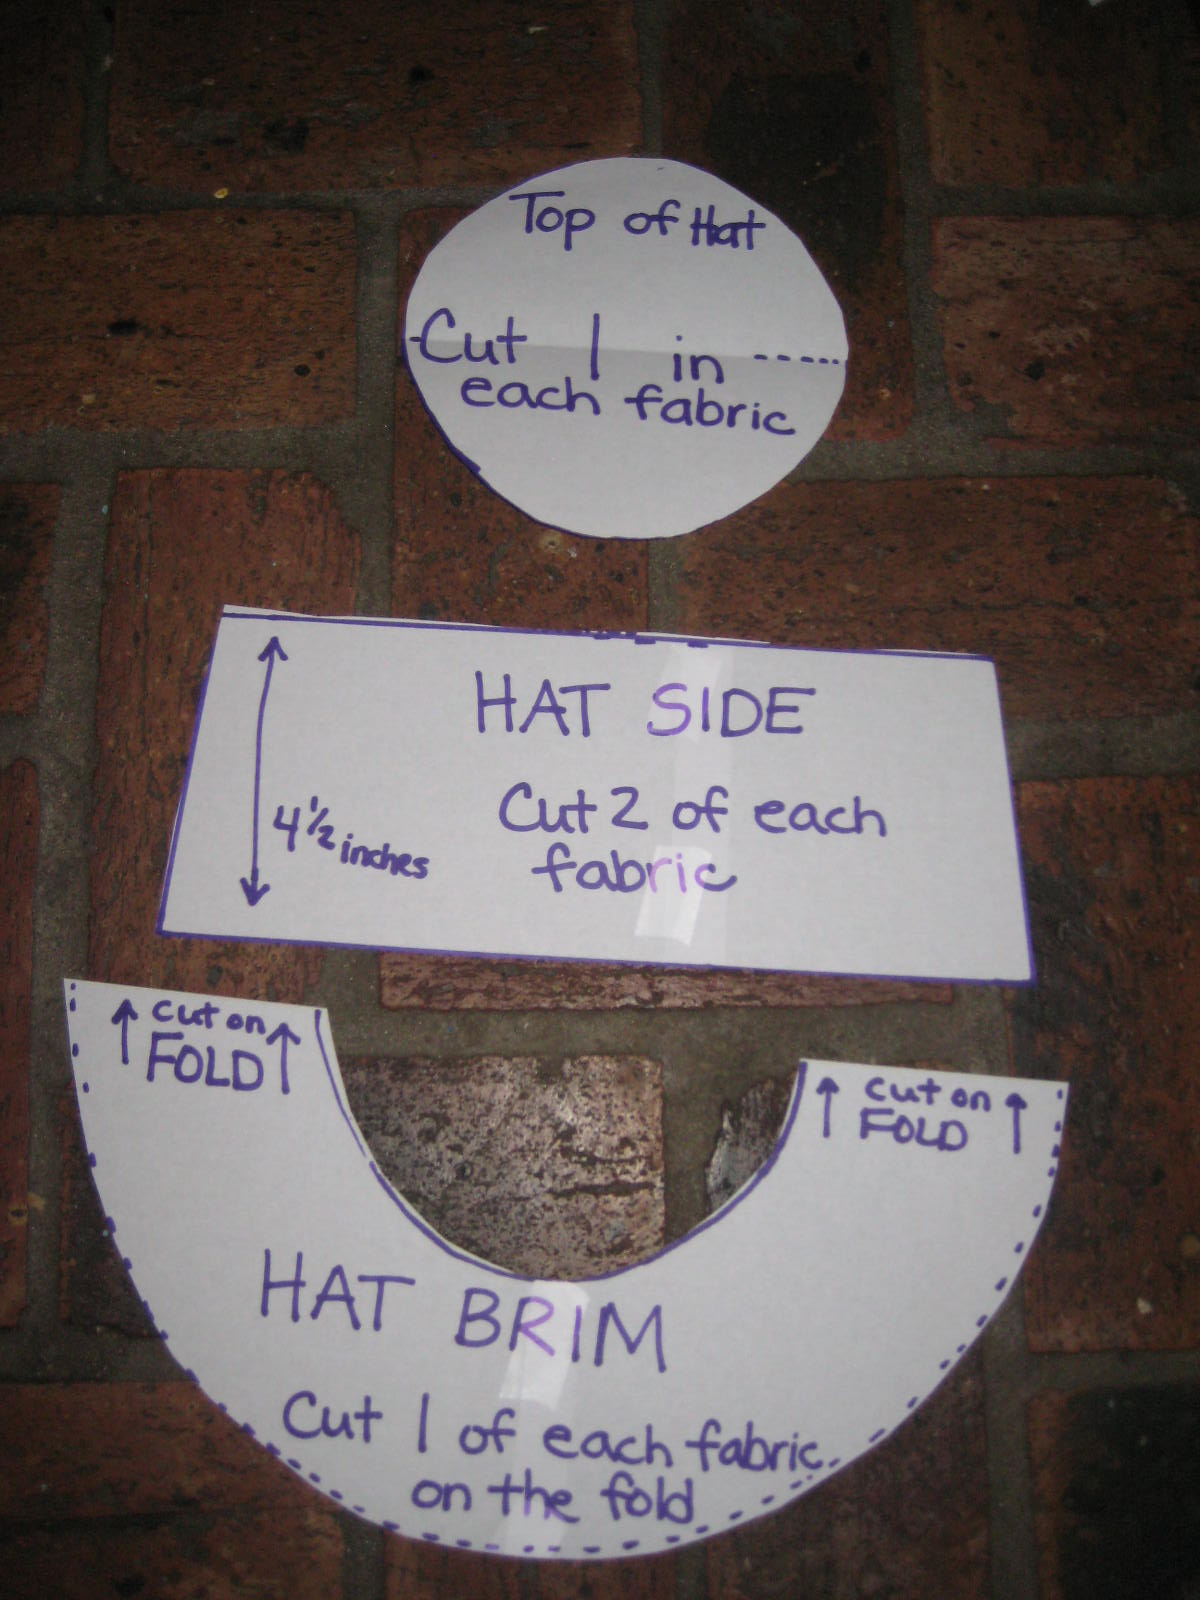
11. Your pattern is ready! (see above)
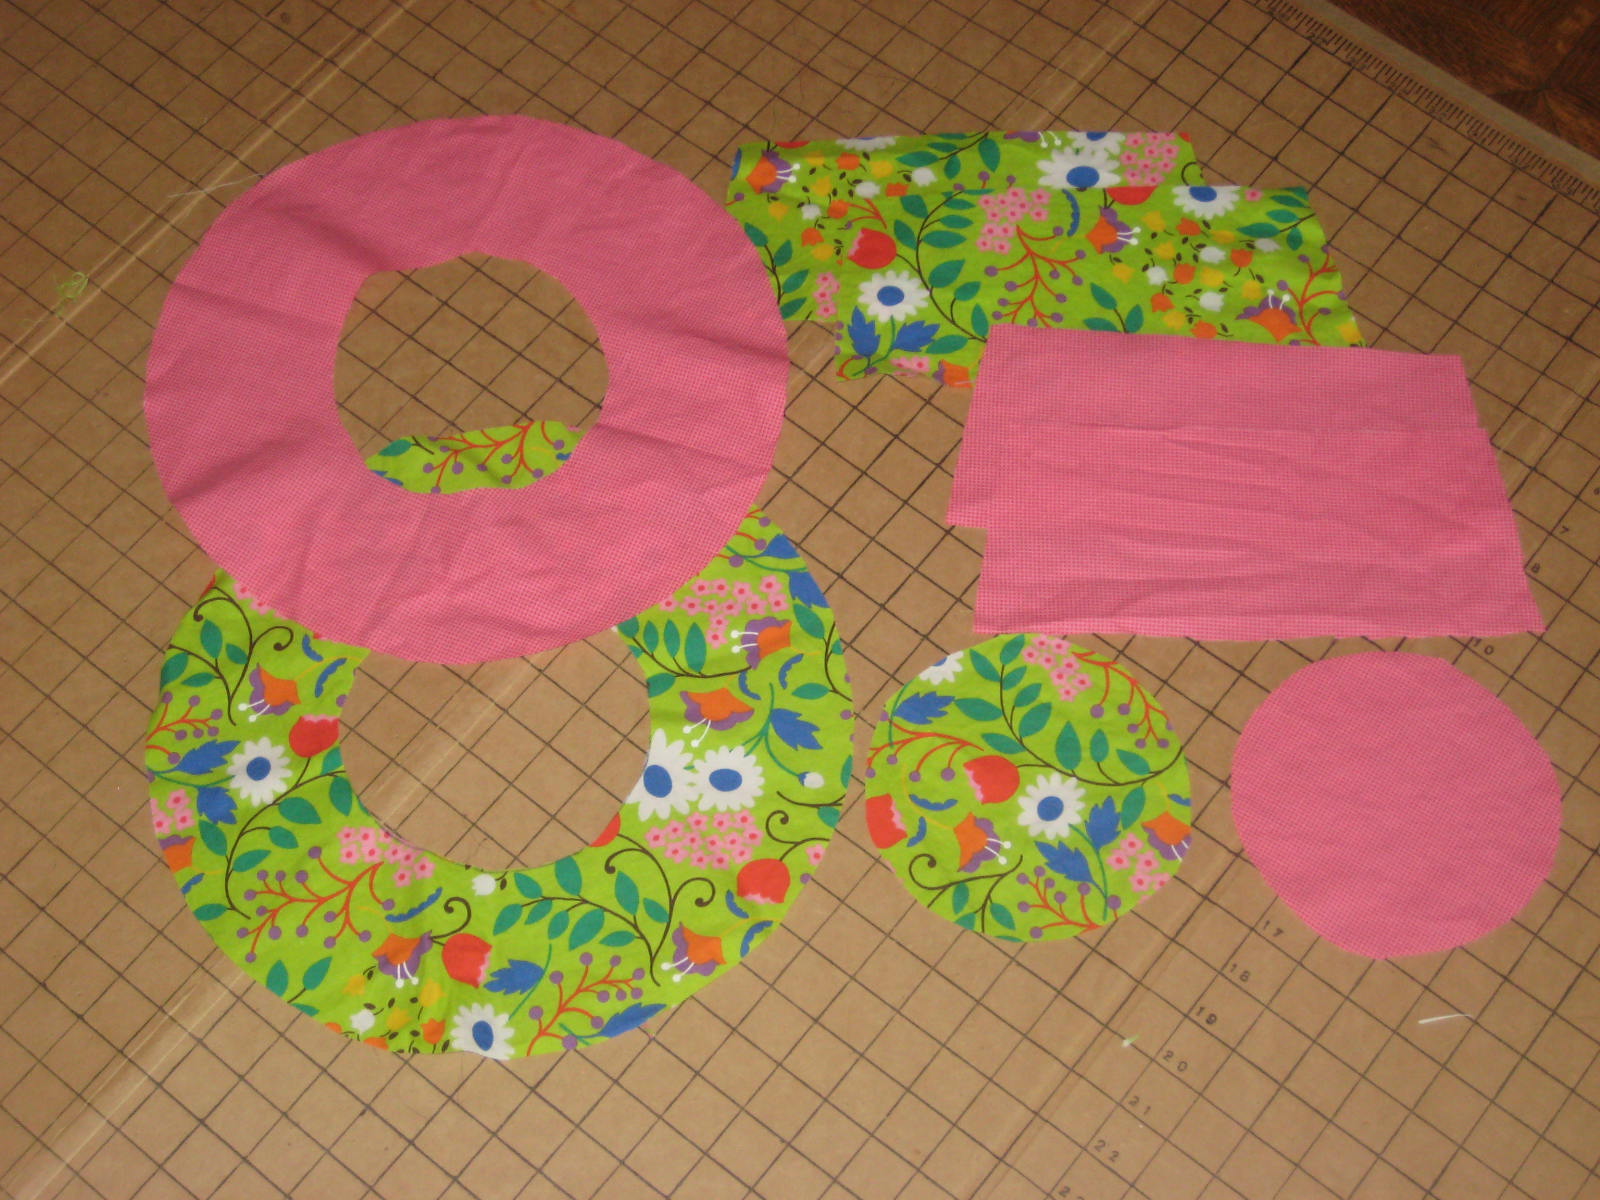
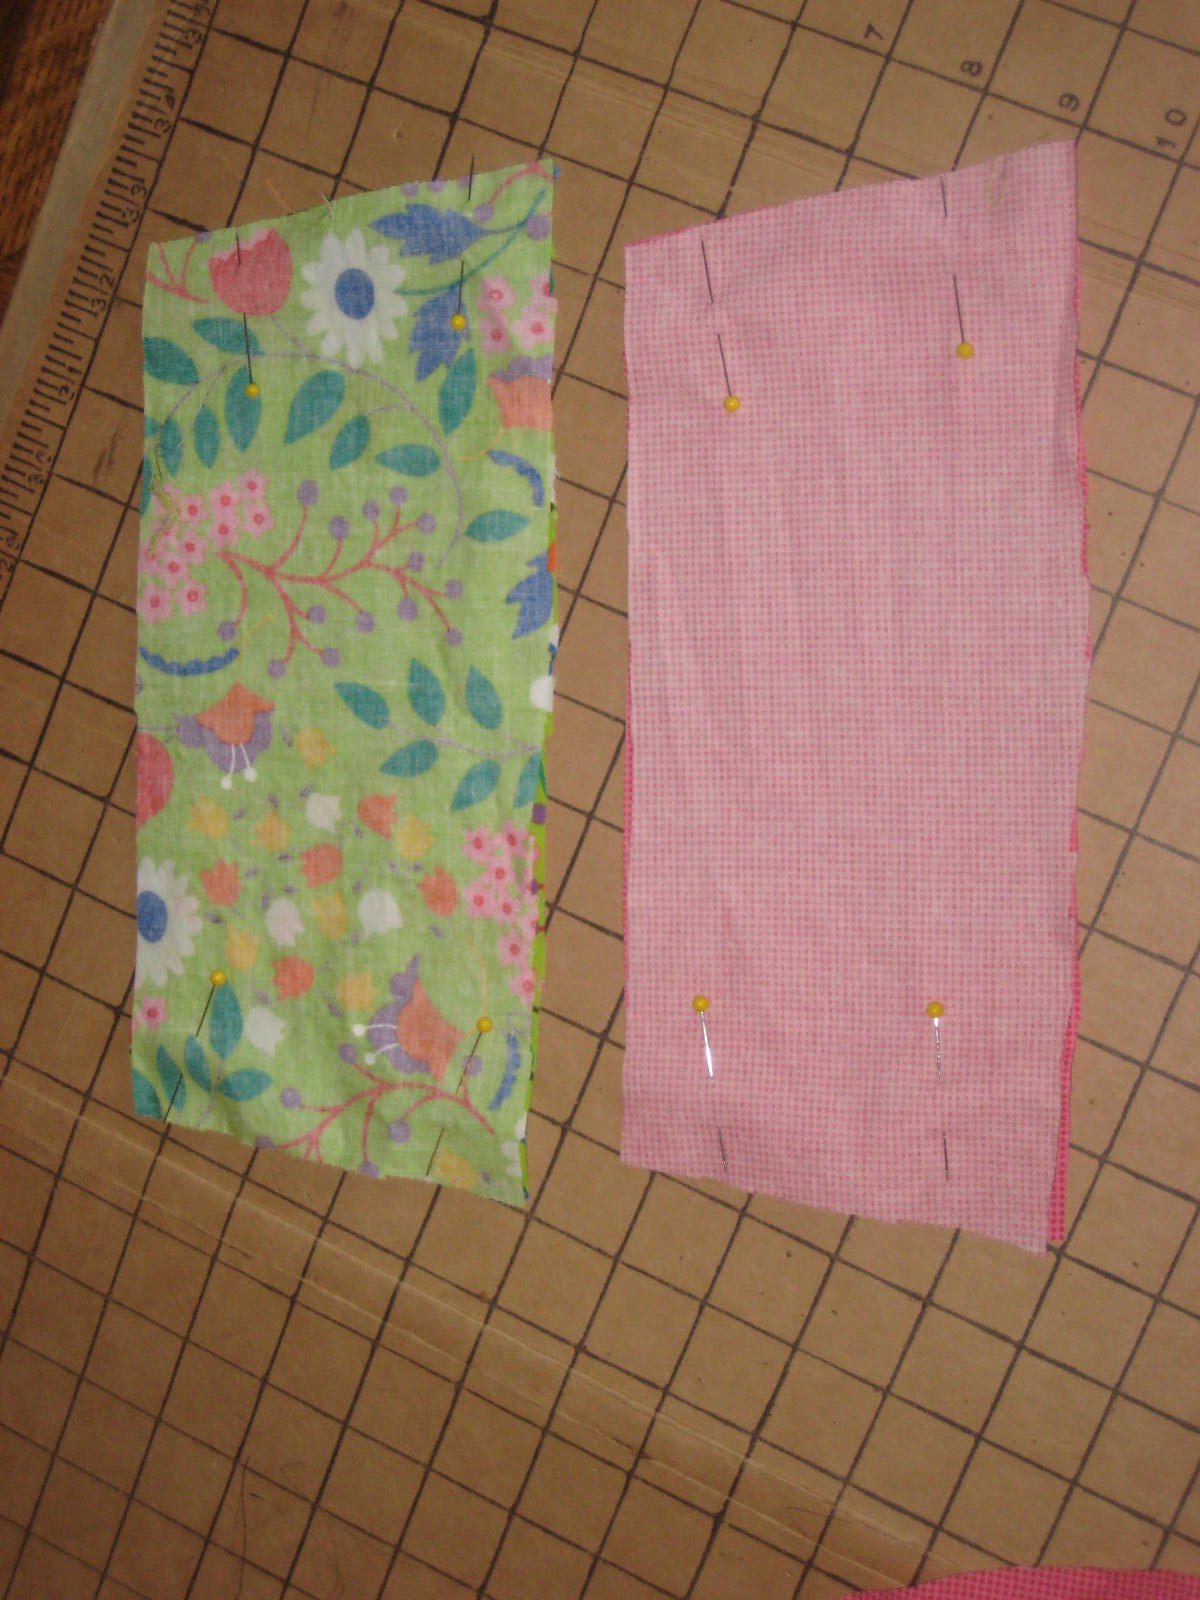
12. Use two fabrics and cut out all the pieces you need.
13. Take your side pieces and lay them right sides together to their matching fabric. (I did pink on pink and flowers to the flower fabric.) Pin the short ends. We will sew them to make a tube.
14. Sew the ends and iron open the seams.
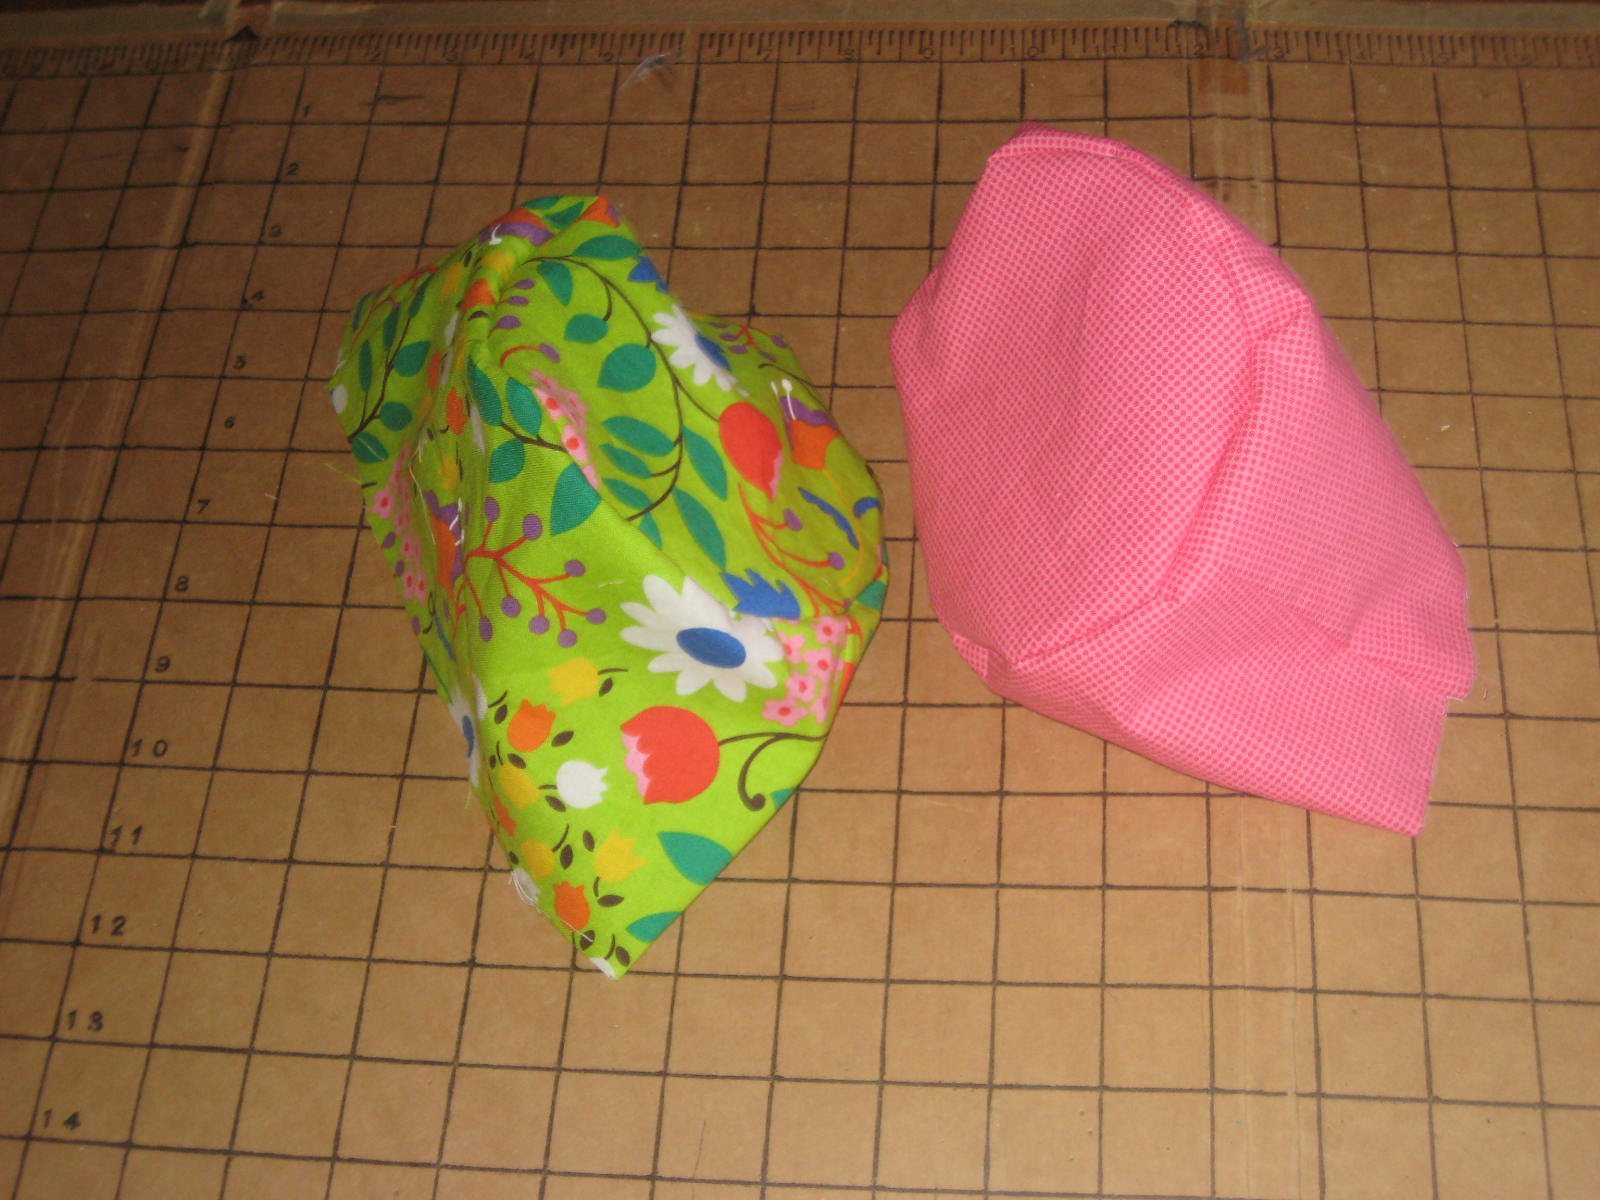
15. Take your hat tops (the circles) and pin them on to these sides you just created. Pin right sides together.
16. Sew around the pinned edges and turn right sides out.
17. Take your hat brims and pin them right sides together to the hat sides and top that you just made.
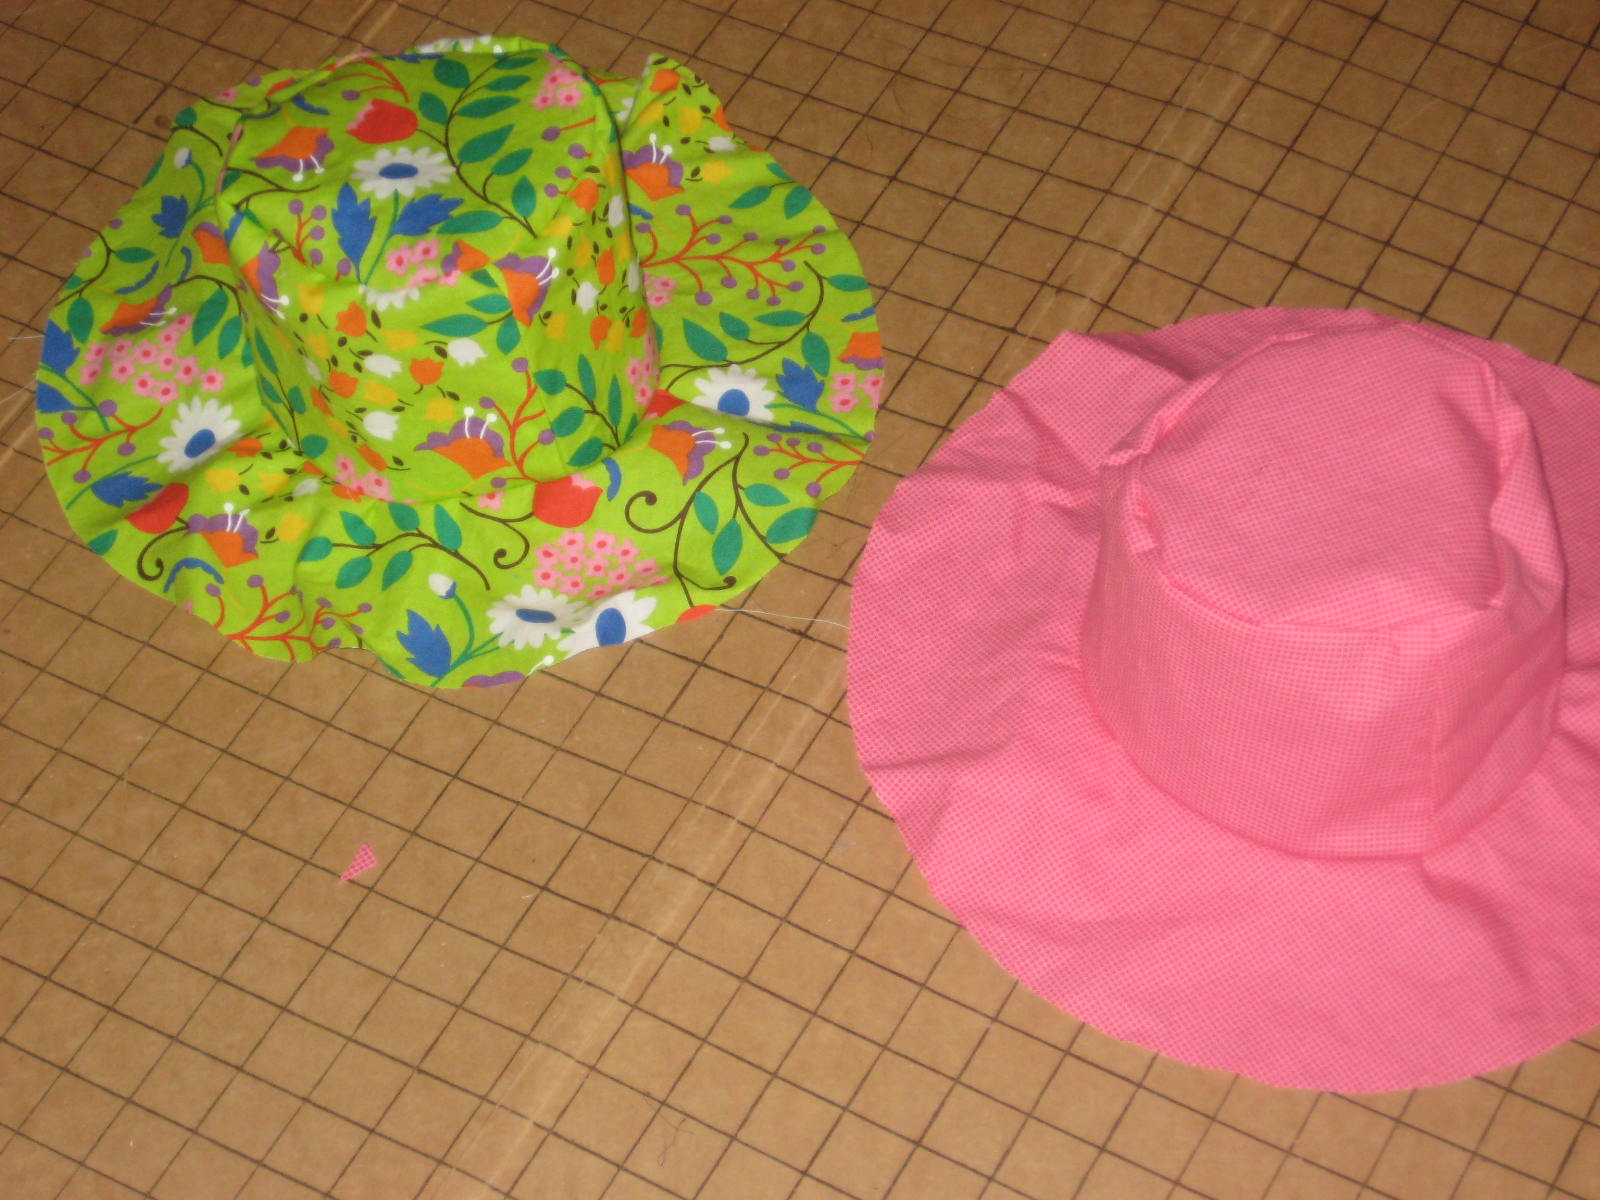
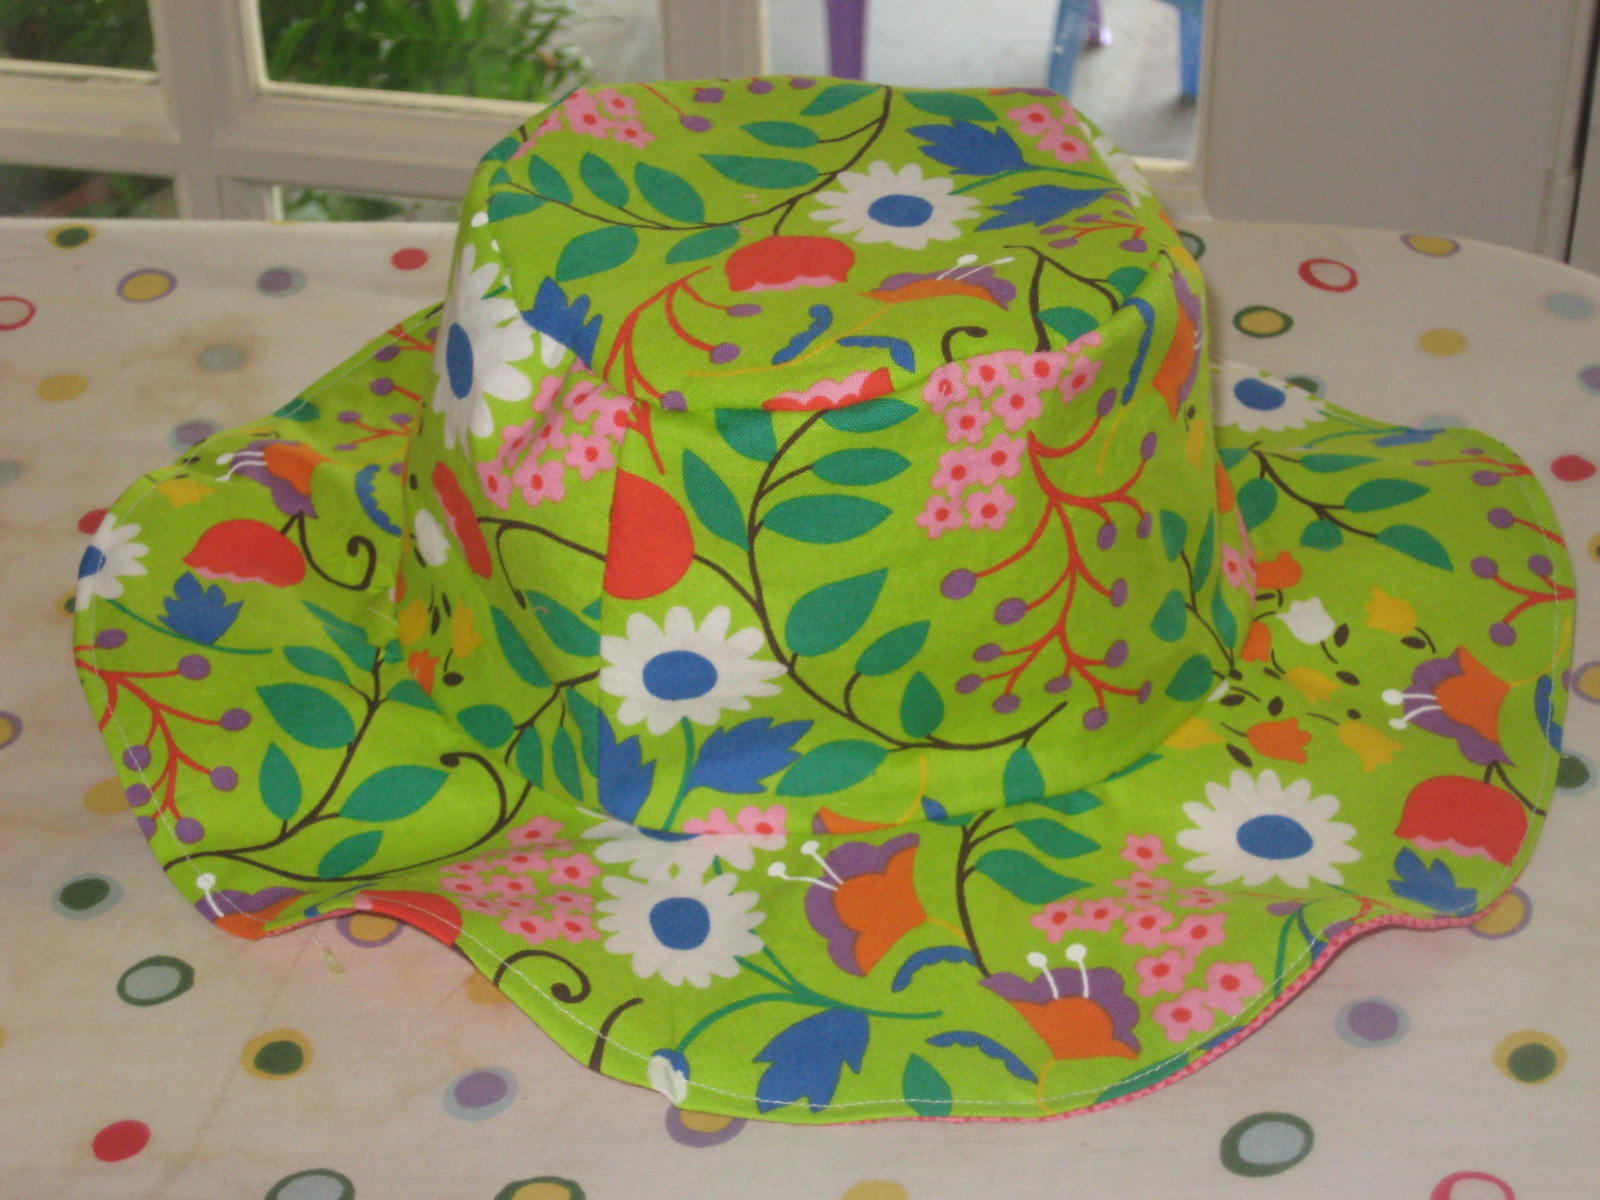
18. Sew around the pinned edges. See, they're HATS! Now let's make them reversible.
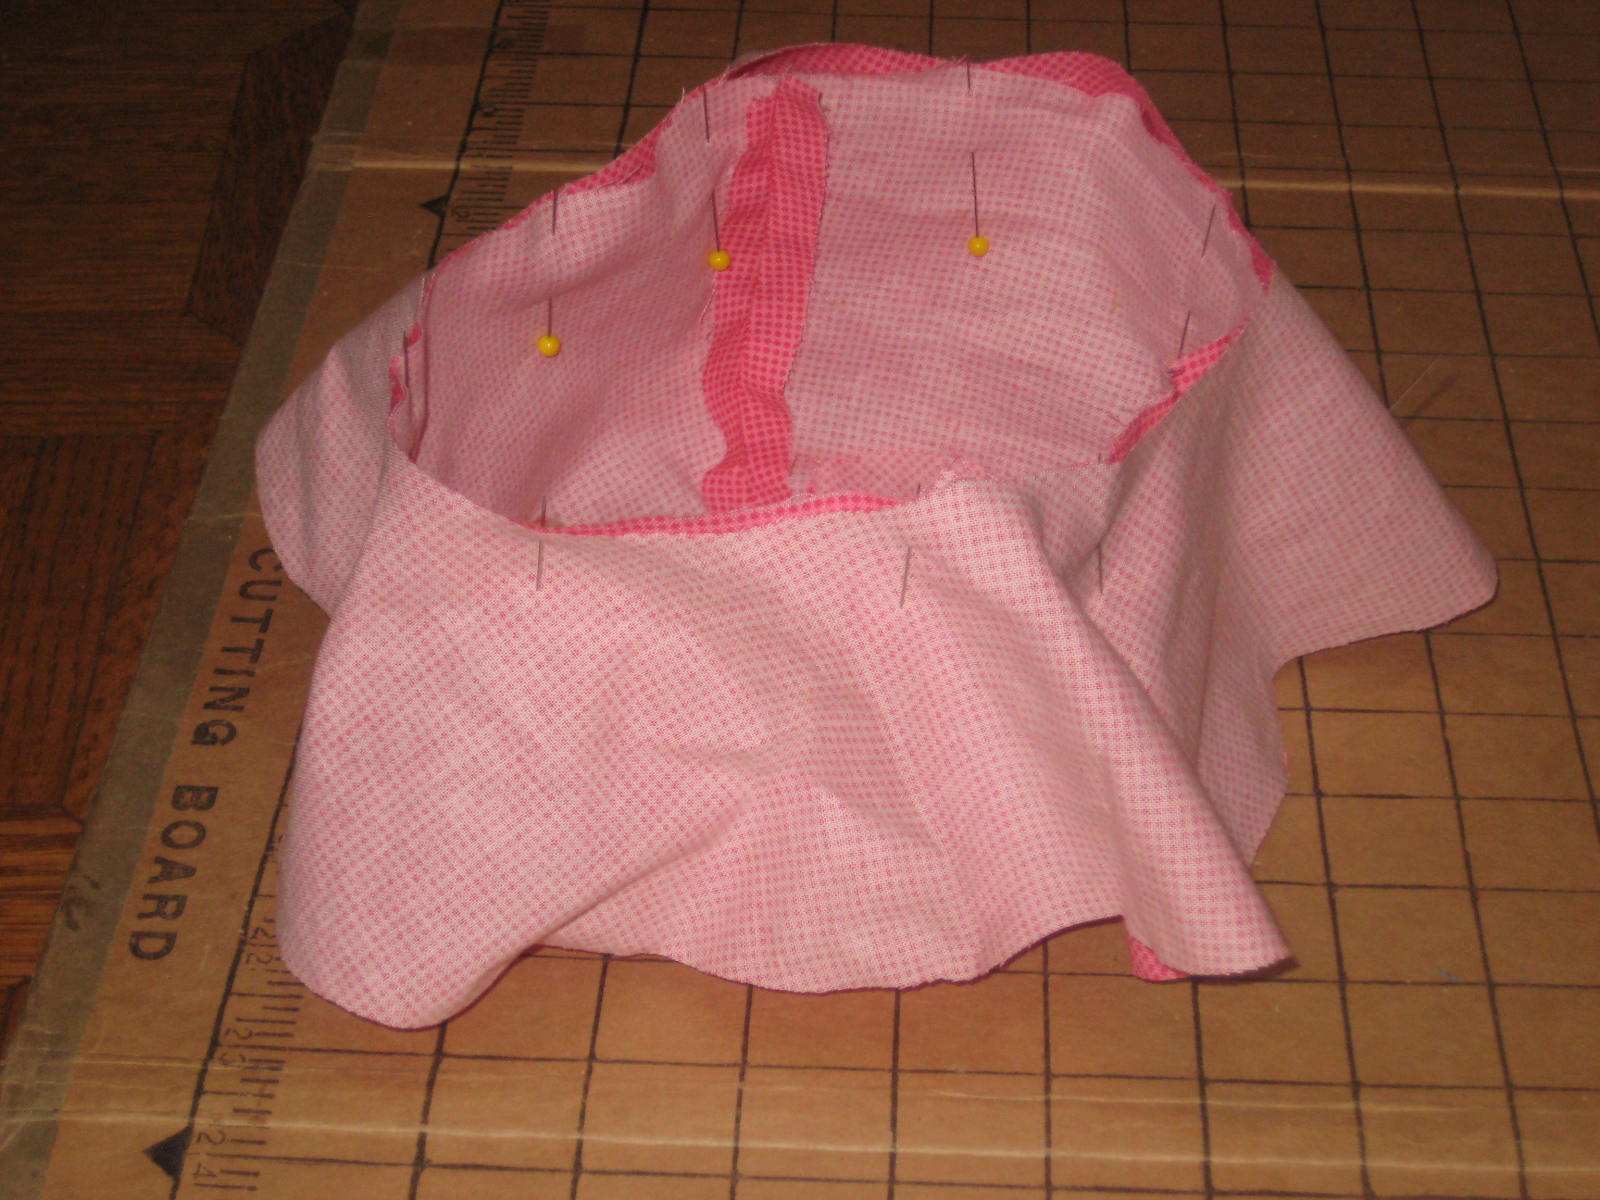
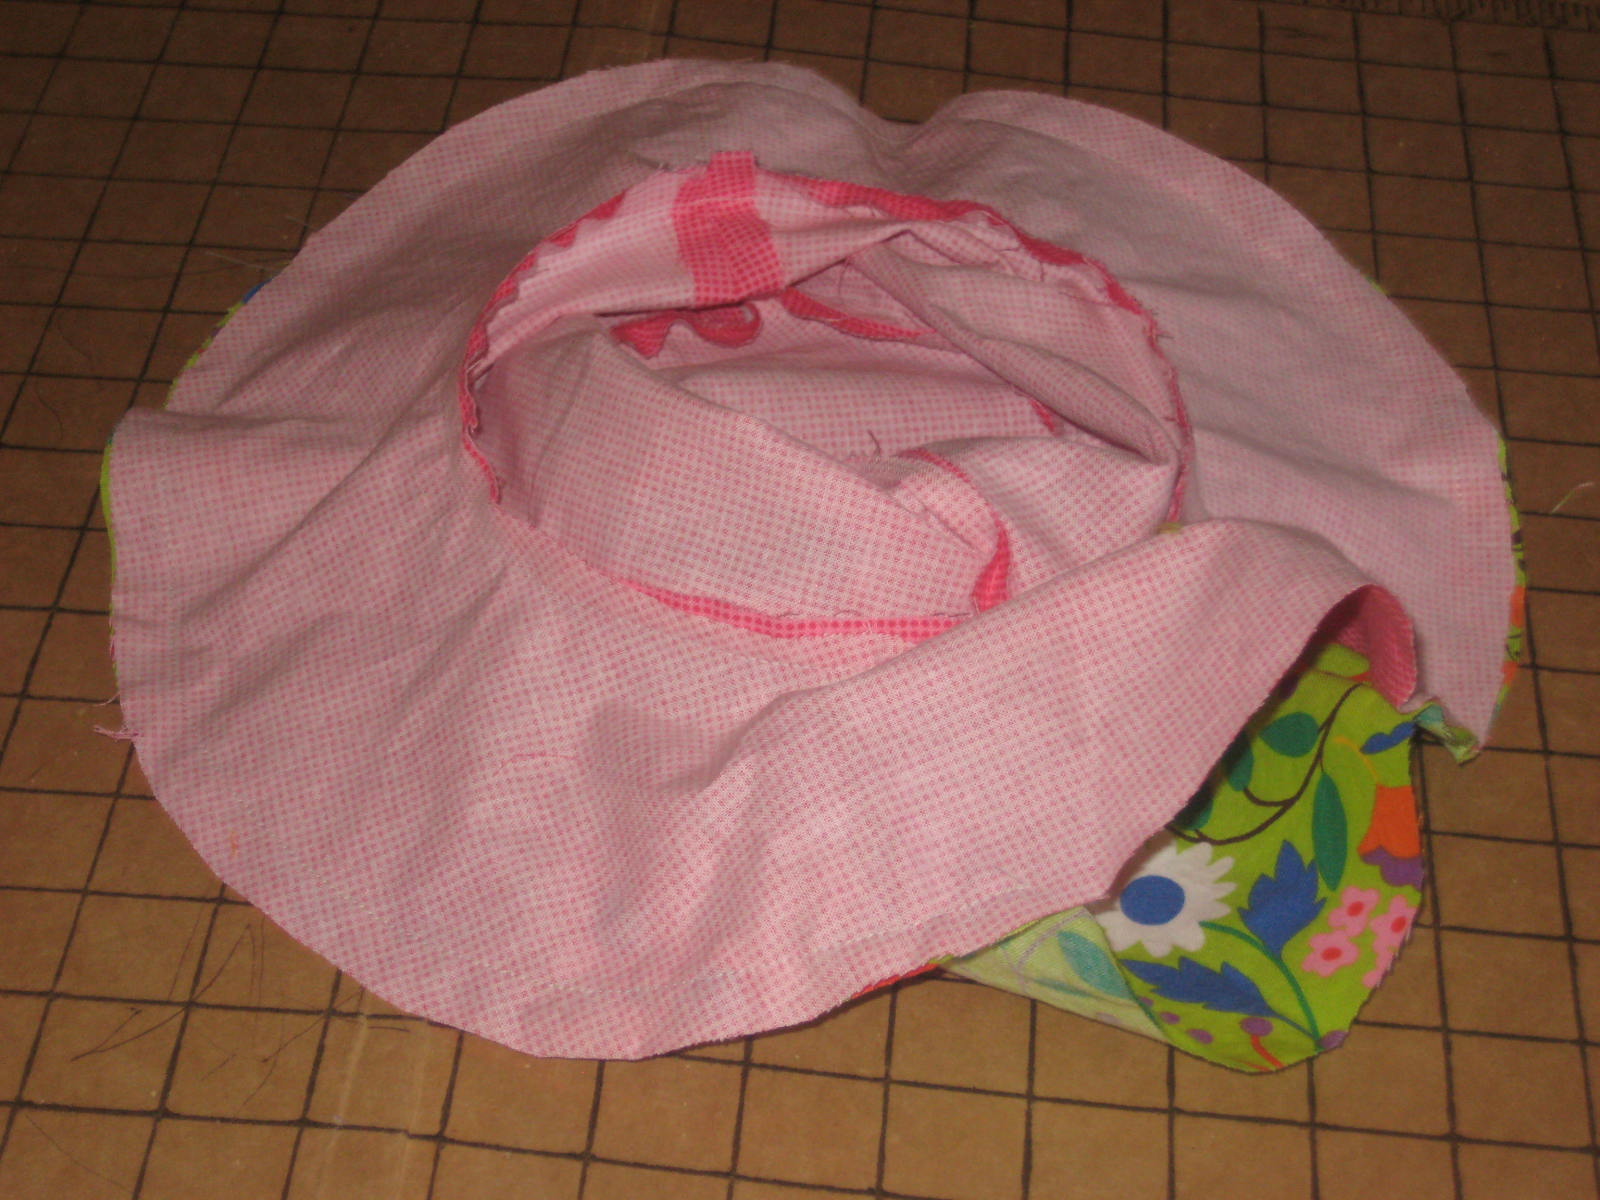
19. Lay one hat right side up. Lay the other right side down on top. Pin all around the outer border but leave 4 inches unpinned. This is where you will turn it inside out. SEW around the pinned edges. Leave the 4 inch opening unsewn.
20. Turn your hat inside out through the opening. Iron well. Iron the open edge closed carefully and pin.
21. Sew one more time all the way around the edge (using a 1/8 inch seam allowance) to close the hole and topstitch the hat to make it look more professional.
22. Scream YAY!!! When you see that you did it! And...flip it inside out and be AMAZED! 2 hats in 1!
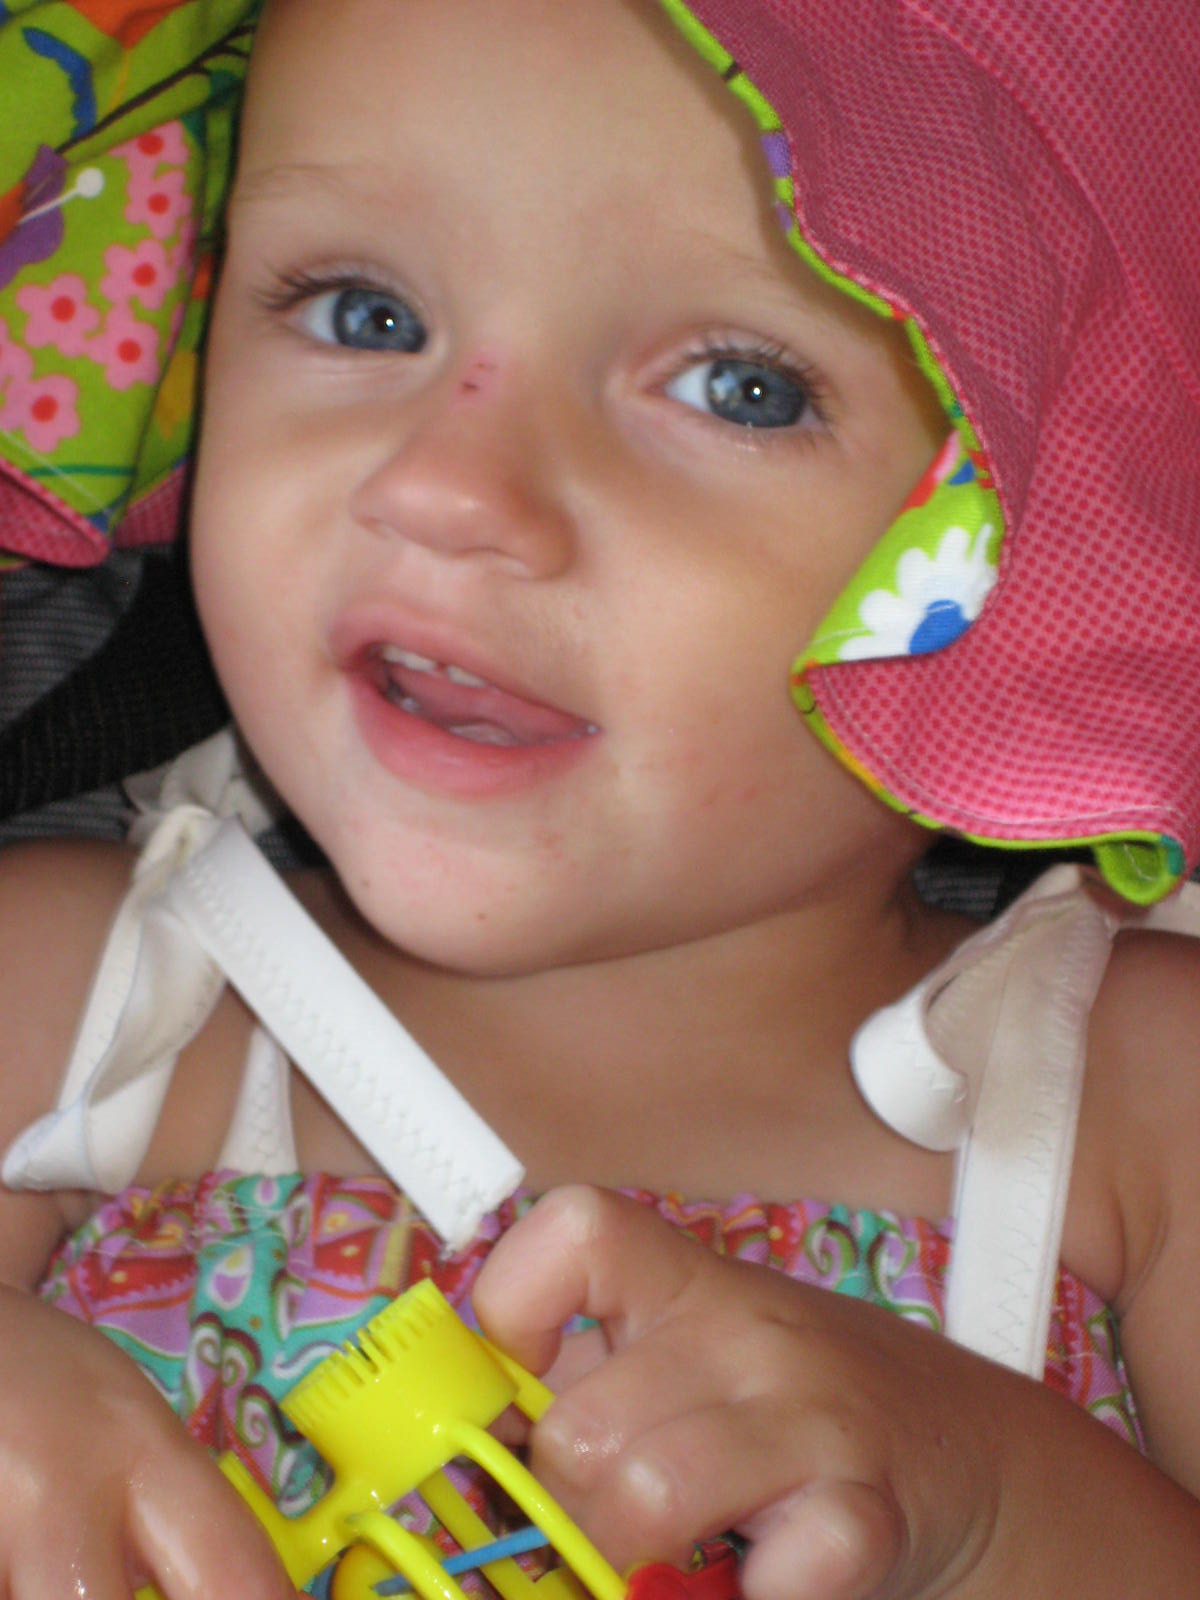
Catherine LOVED wearing her hat!
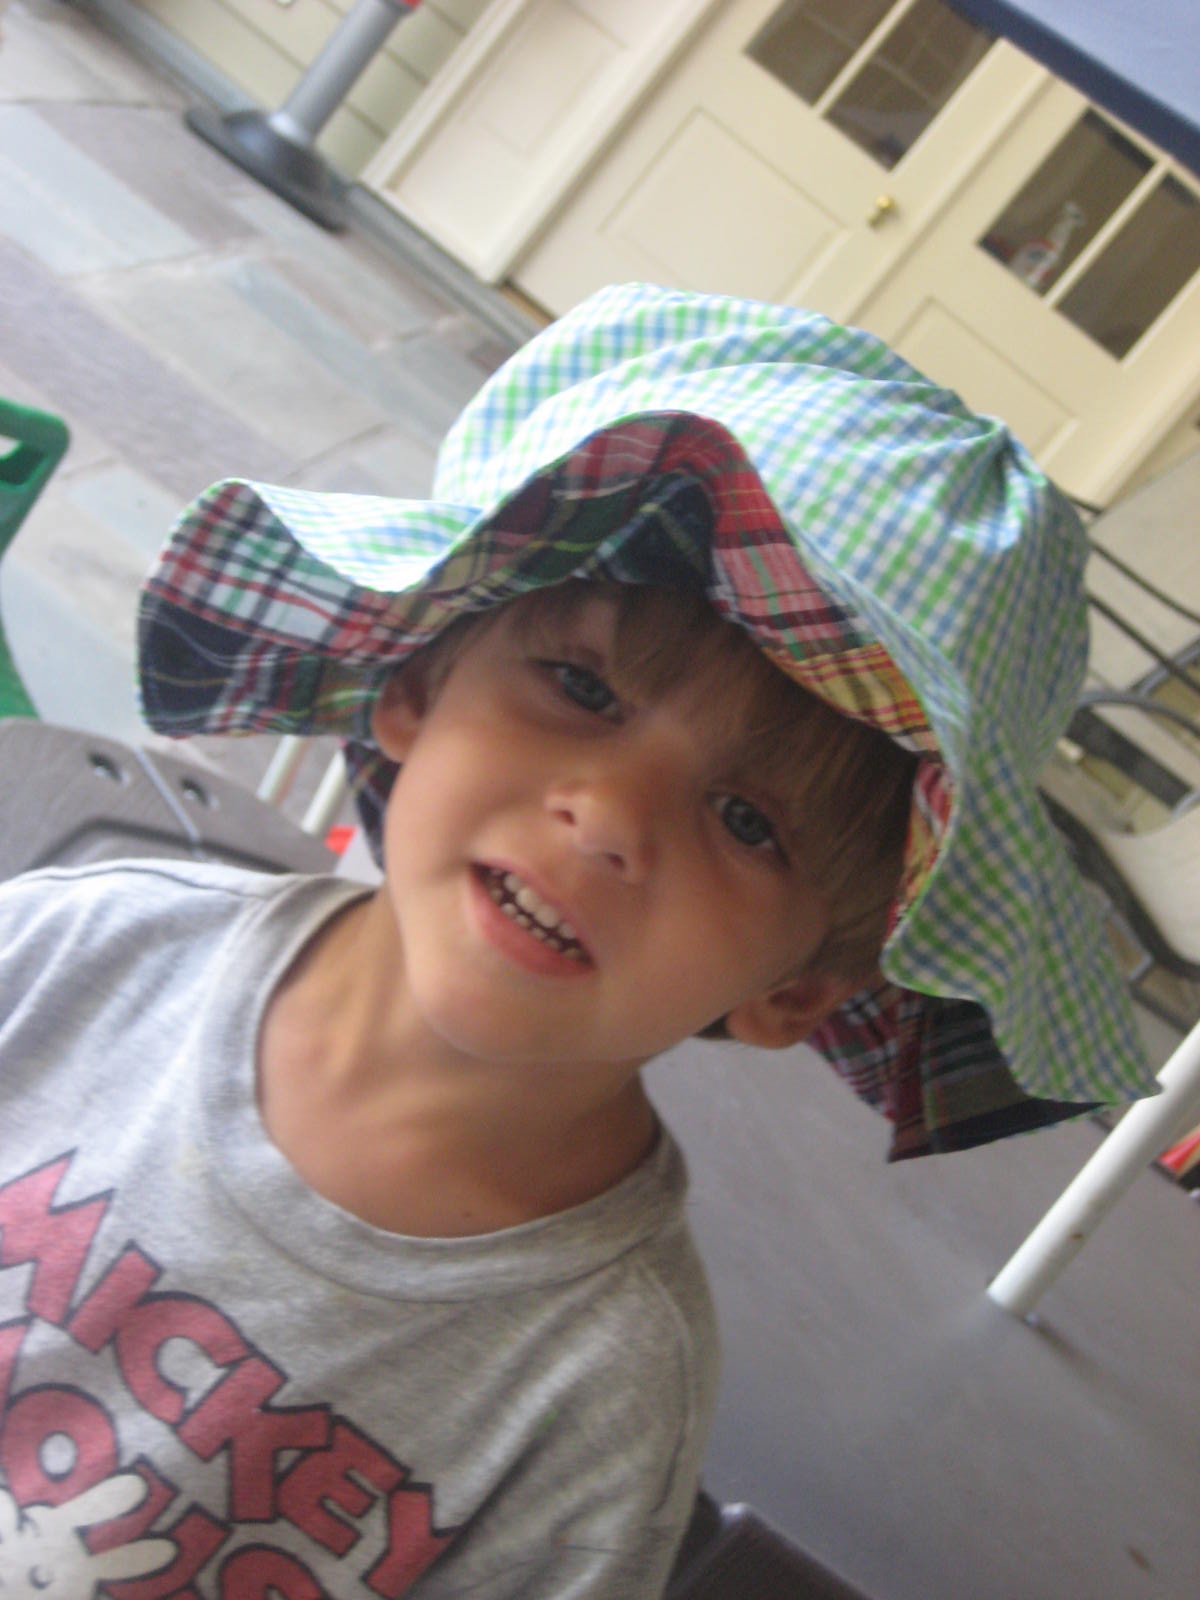
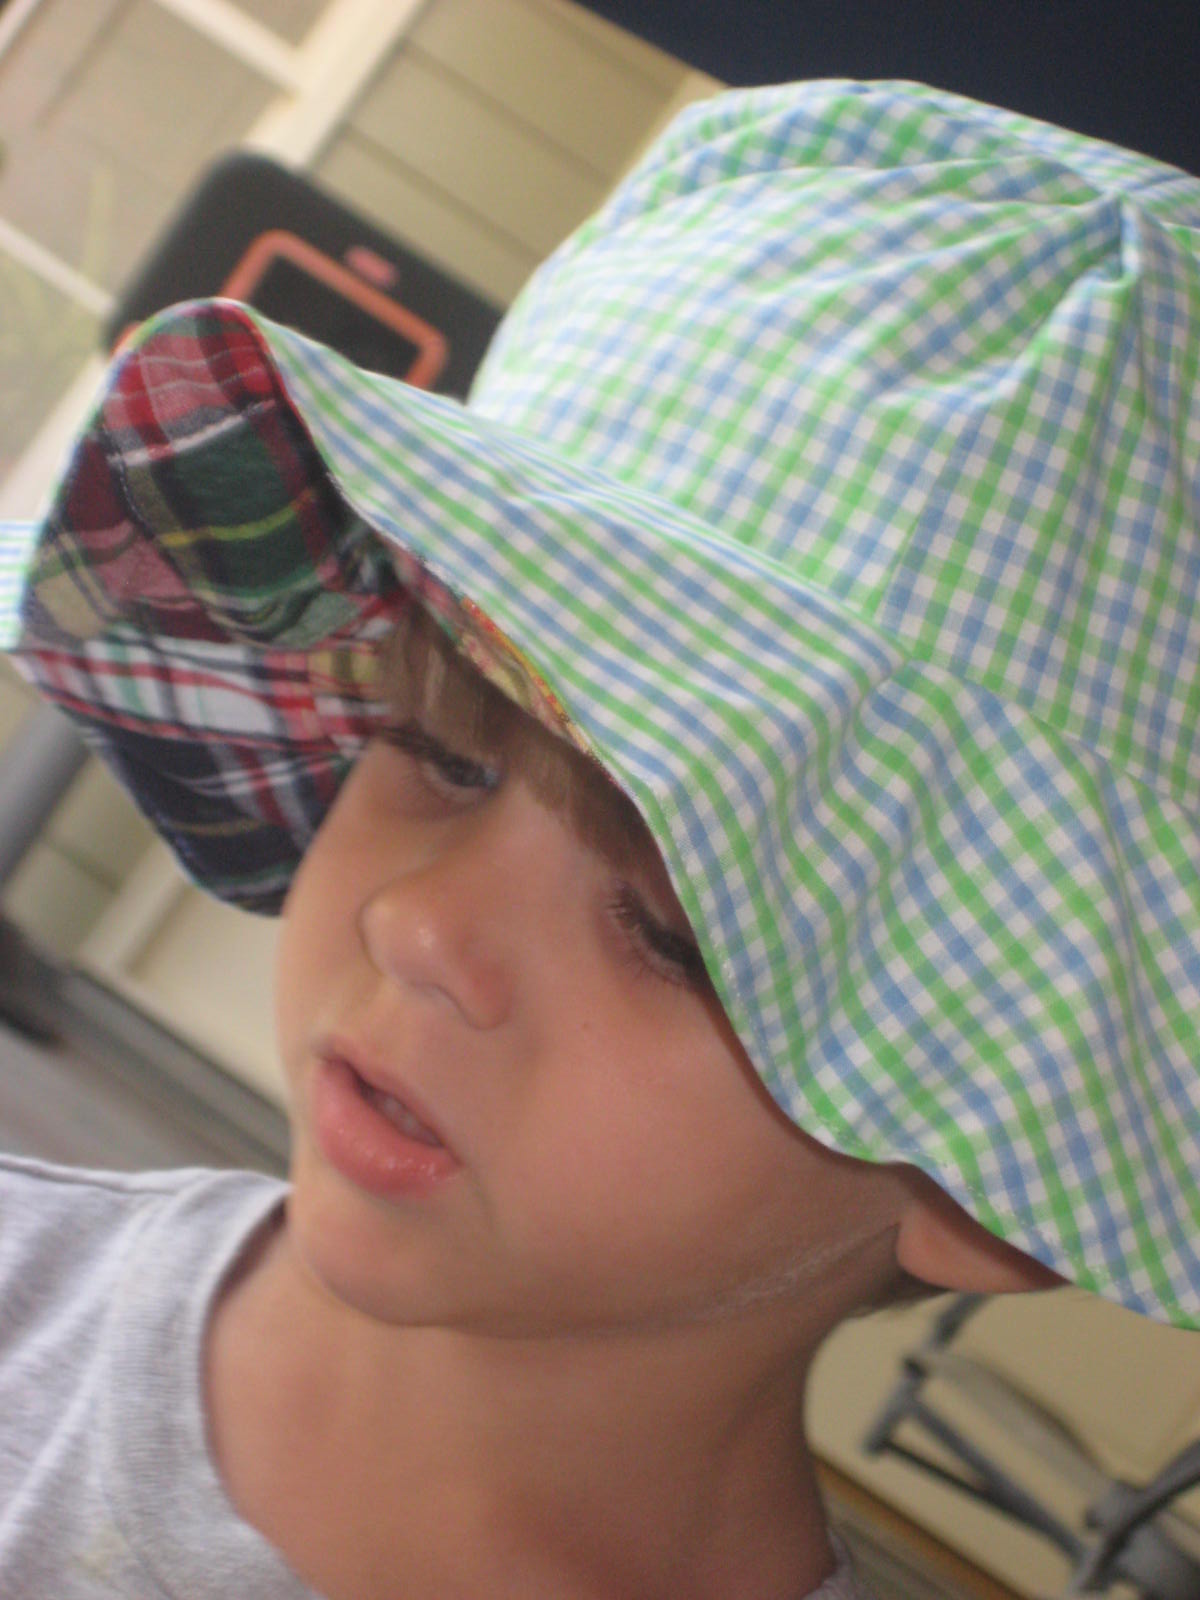
John Patrick hasn't taken his off! He even wanted to sleep with it the other night. Do you have a boy that is addicted to hats? Pirate hats, Robinhood hats, Cowboy hats and now his Summer beach hat!
Next time I would have used a navy or red on the other side of the plaid, but I didn't have any when I wanted to make it.
Now go outside and play in the sun!!