TUTORIAL: Easy Sew Knit Top
This sewing project is made for you! Have you been wanting a new shirt but don't want to spend a few hours making one? Then you will LOVE making this easy knit top! Literally it takes 10-15 minutes for a beginner - no serger needed. Read on and enjoy!
Time: 10-15 minutes
Materials needed: 1 yard knit fabric, sewing machine, thread, scissors, pins, straight edge, bias tape (optional) and a shirt from your closet in a knit or a looser fitting shirt if you want something not as snug as a t-shirt
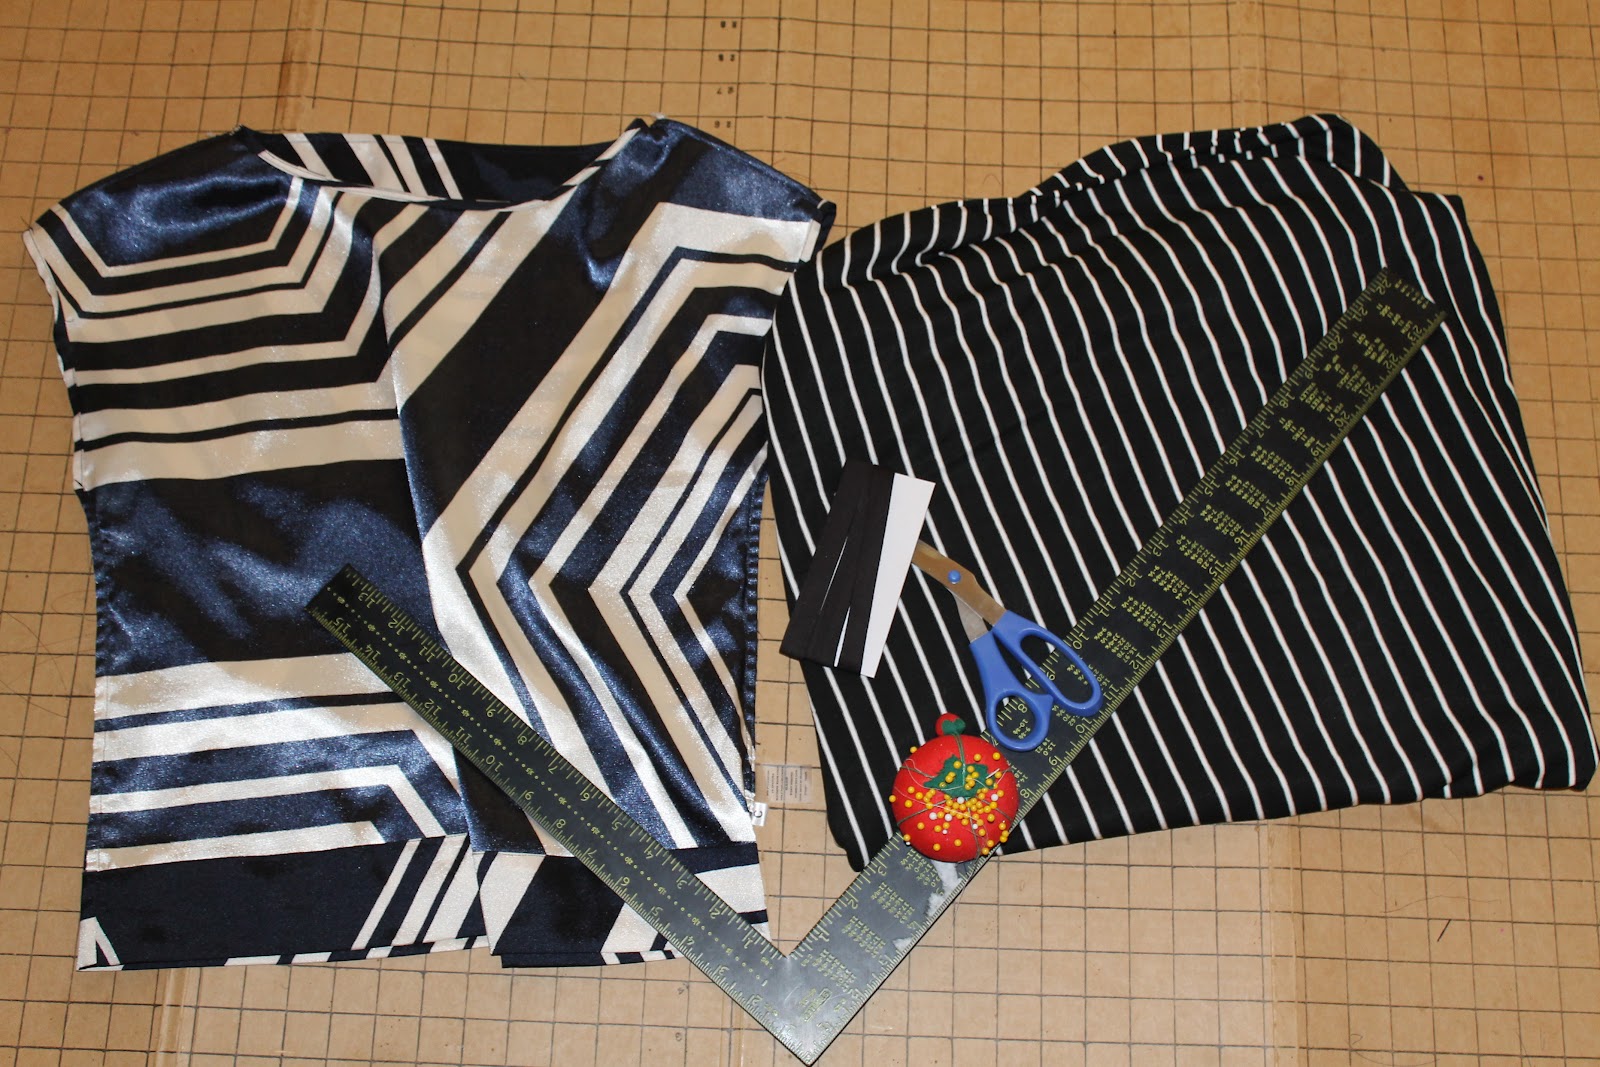
1. Fold your shirt in half. Lay it on your folded fabric and line up the edges.

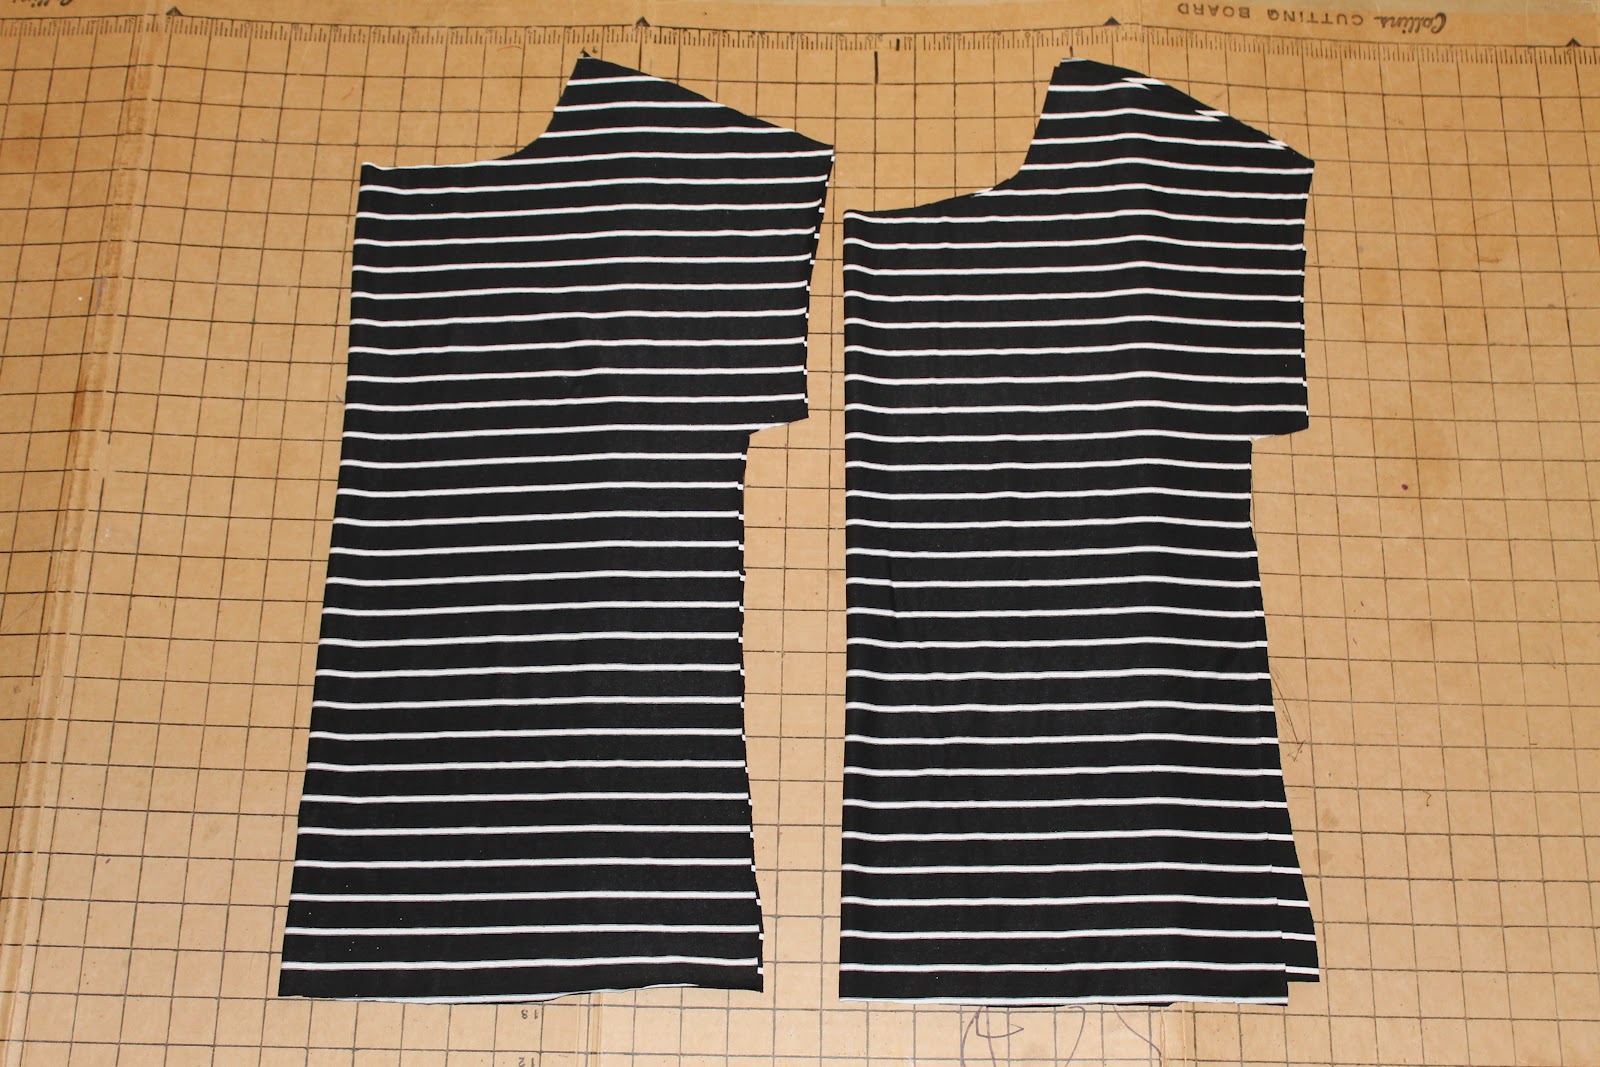
2. Cut around your shirt adding a 5/8 inch seam allowance along the shoulder and side seam only - not the neck or bottom

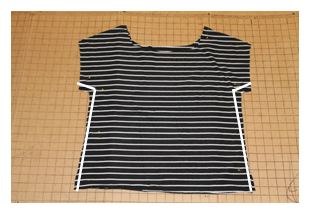
3. Repeat for the back of your shirt. I cut my neckline lower in the front (see below on the right).
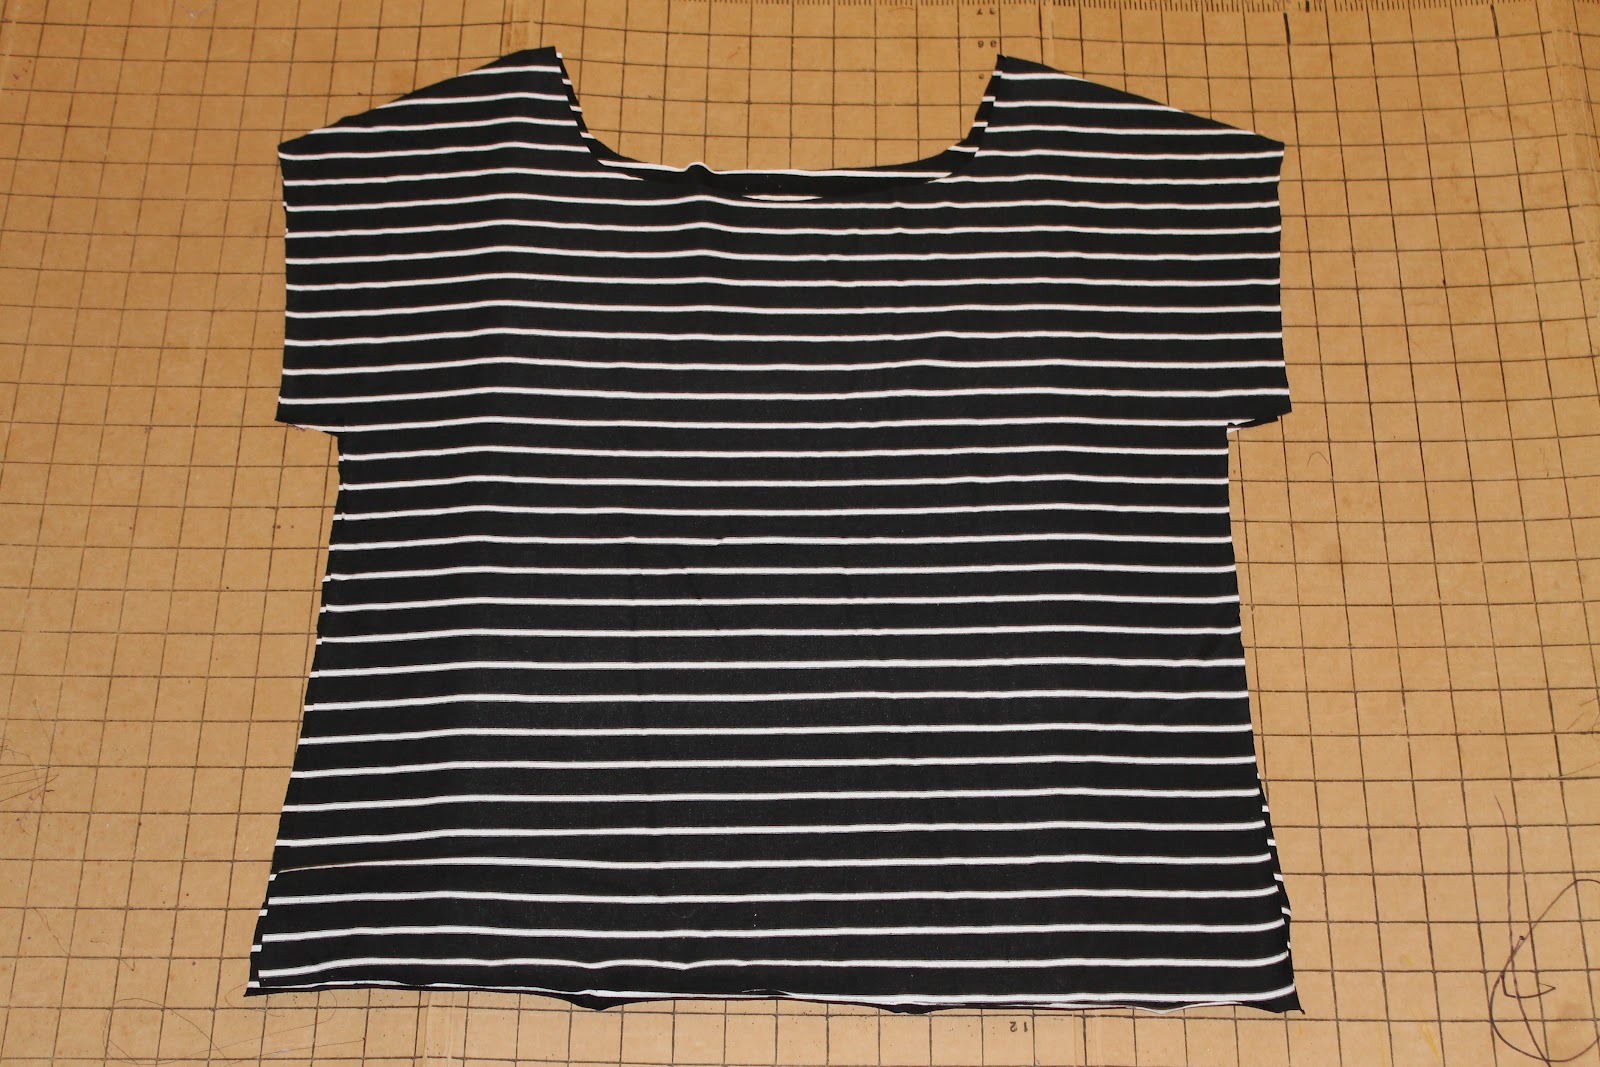
4. Lay your shirt pieces right sides together and pin.
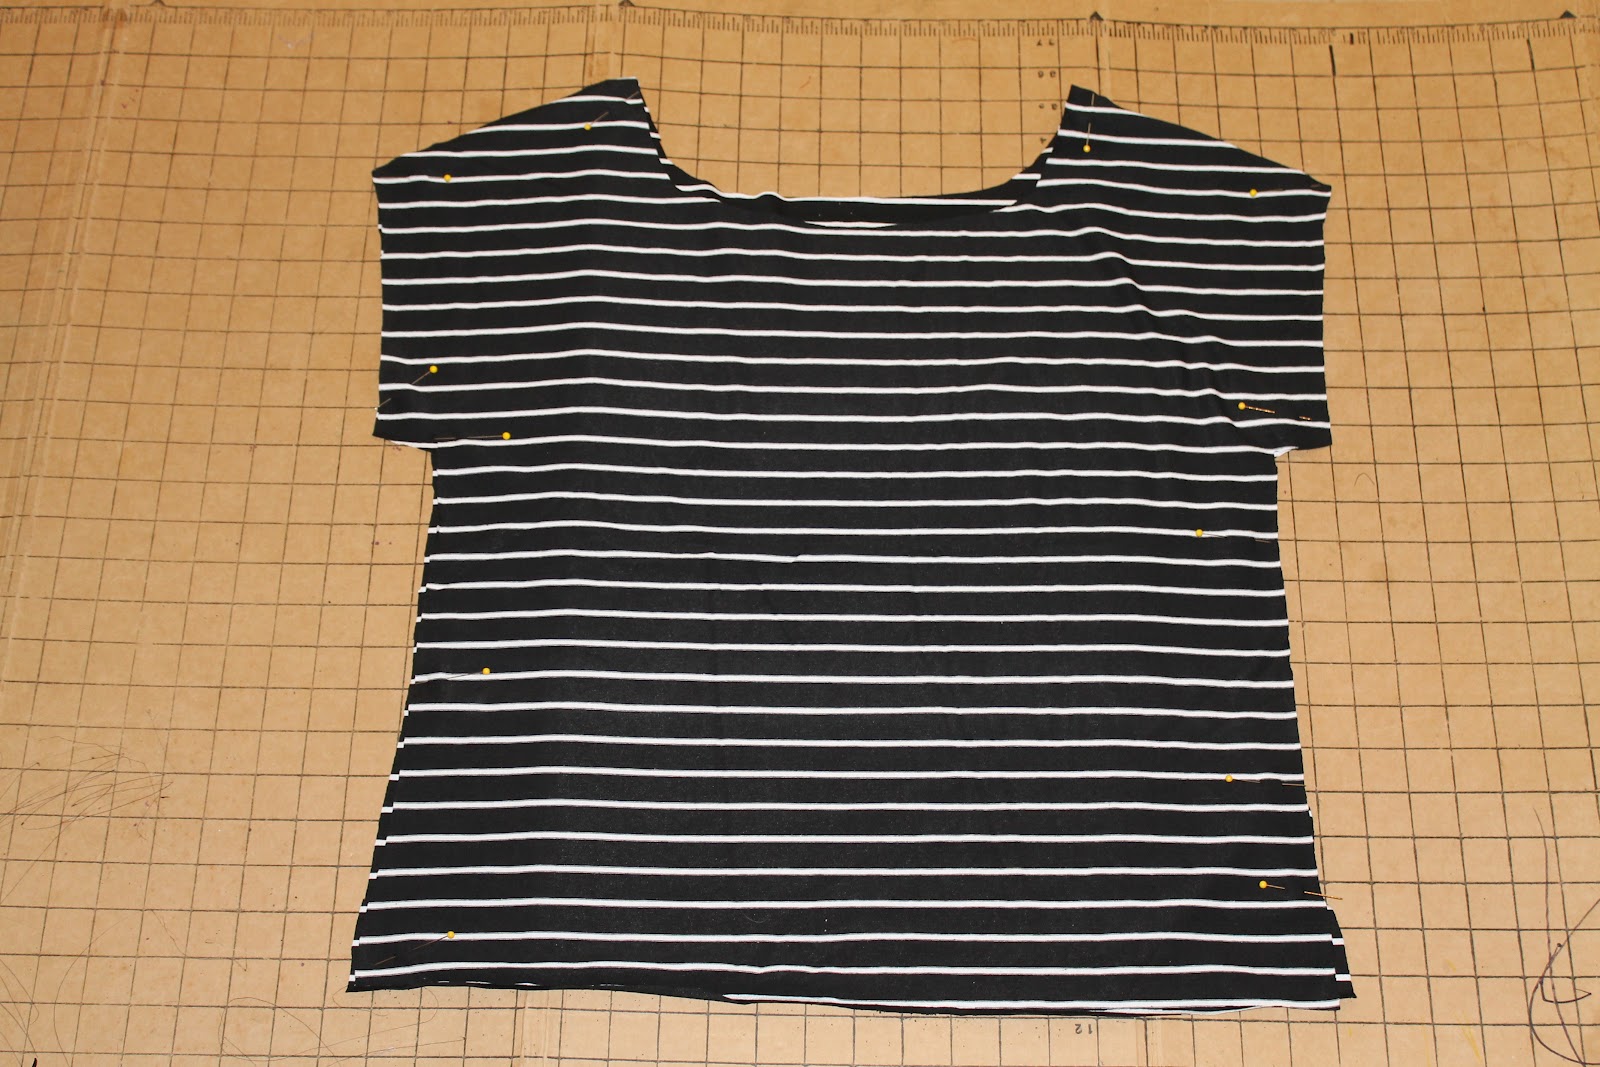
5. Sew using a 5/8 inch seam allowance only where the shoulder seams are and from the bottom of each sleeve down the side of your shirt all the way to the bottom. Do not sew along your neckline or your bottom edge.
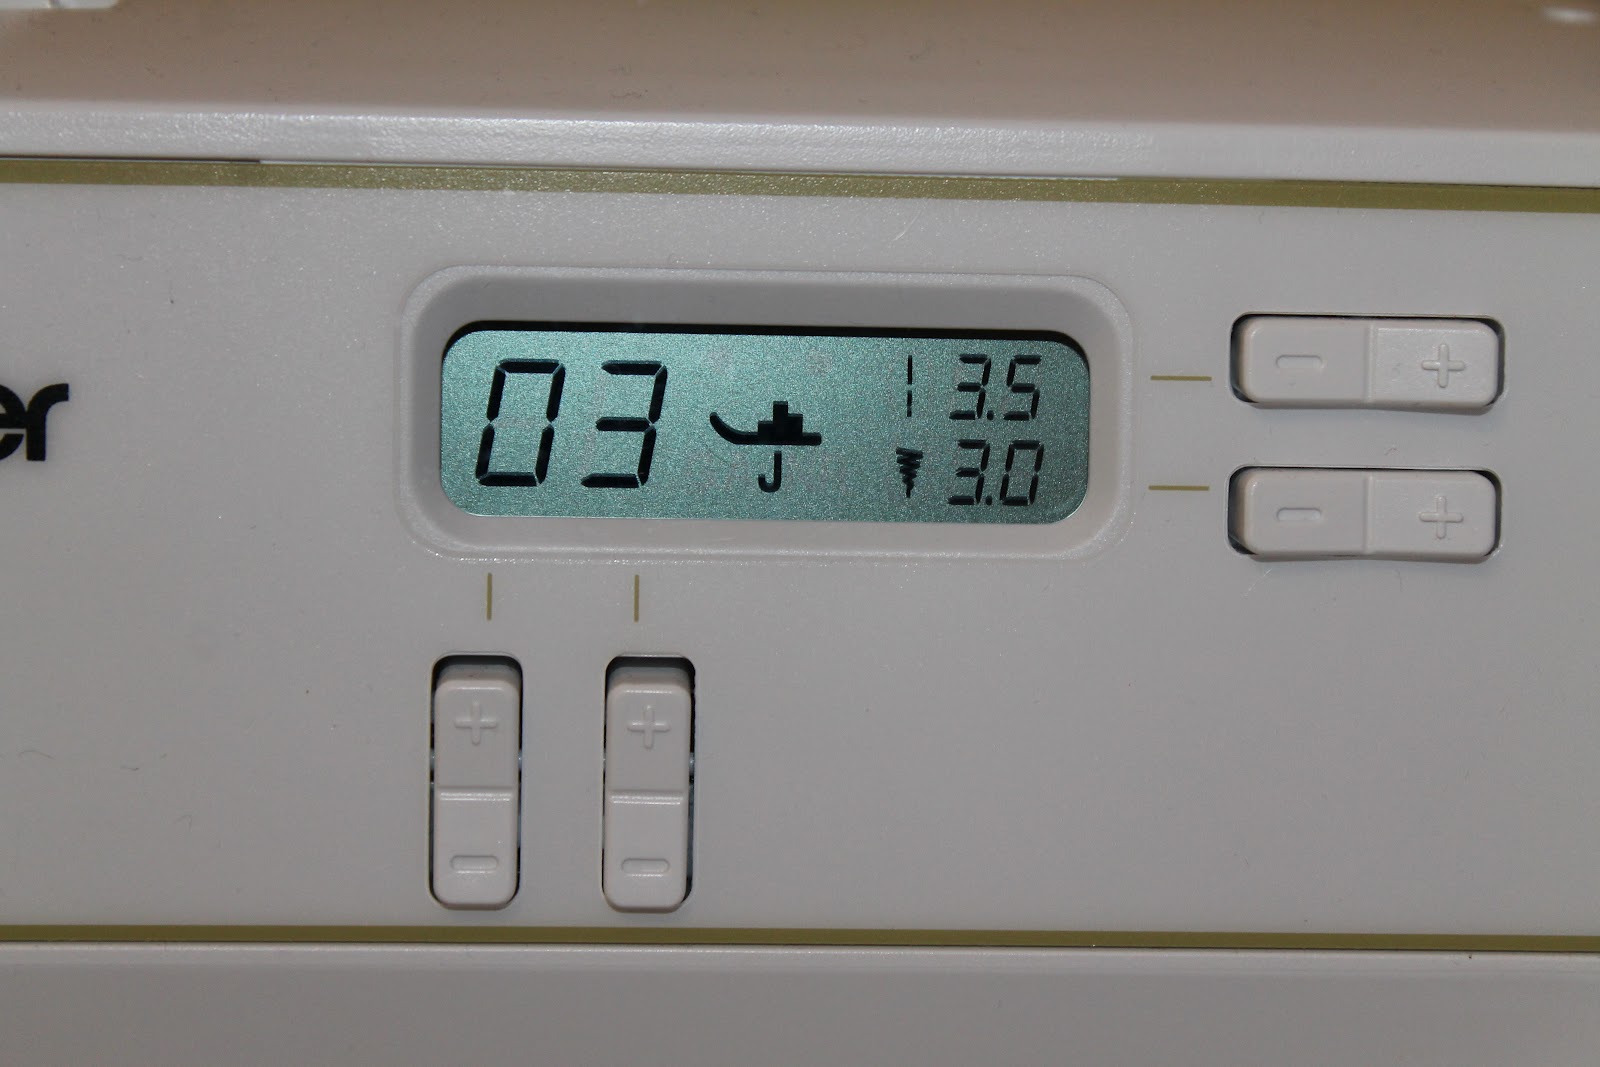
Hint: You will use a stretch stitch. This is stitch #3 on my machine. It looks like a slanted zig-zag stitch.
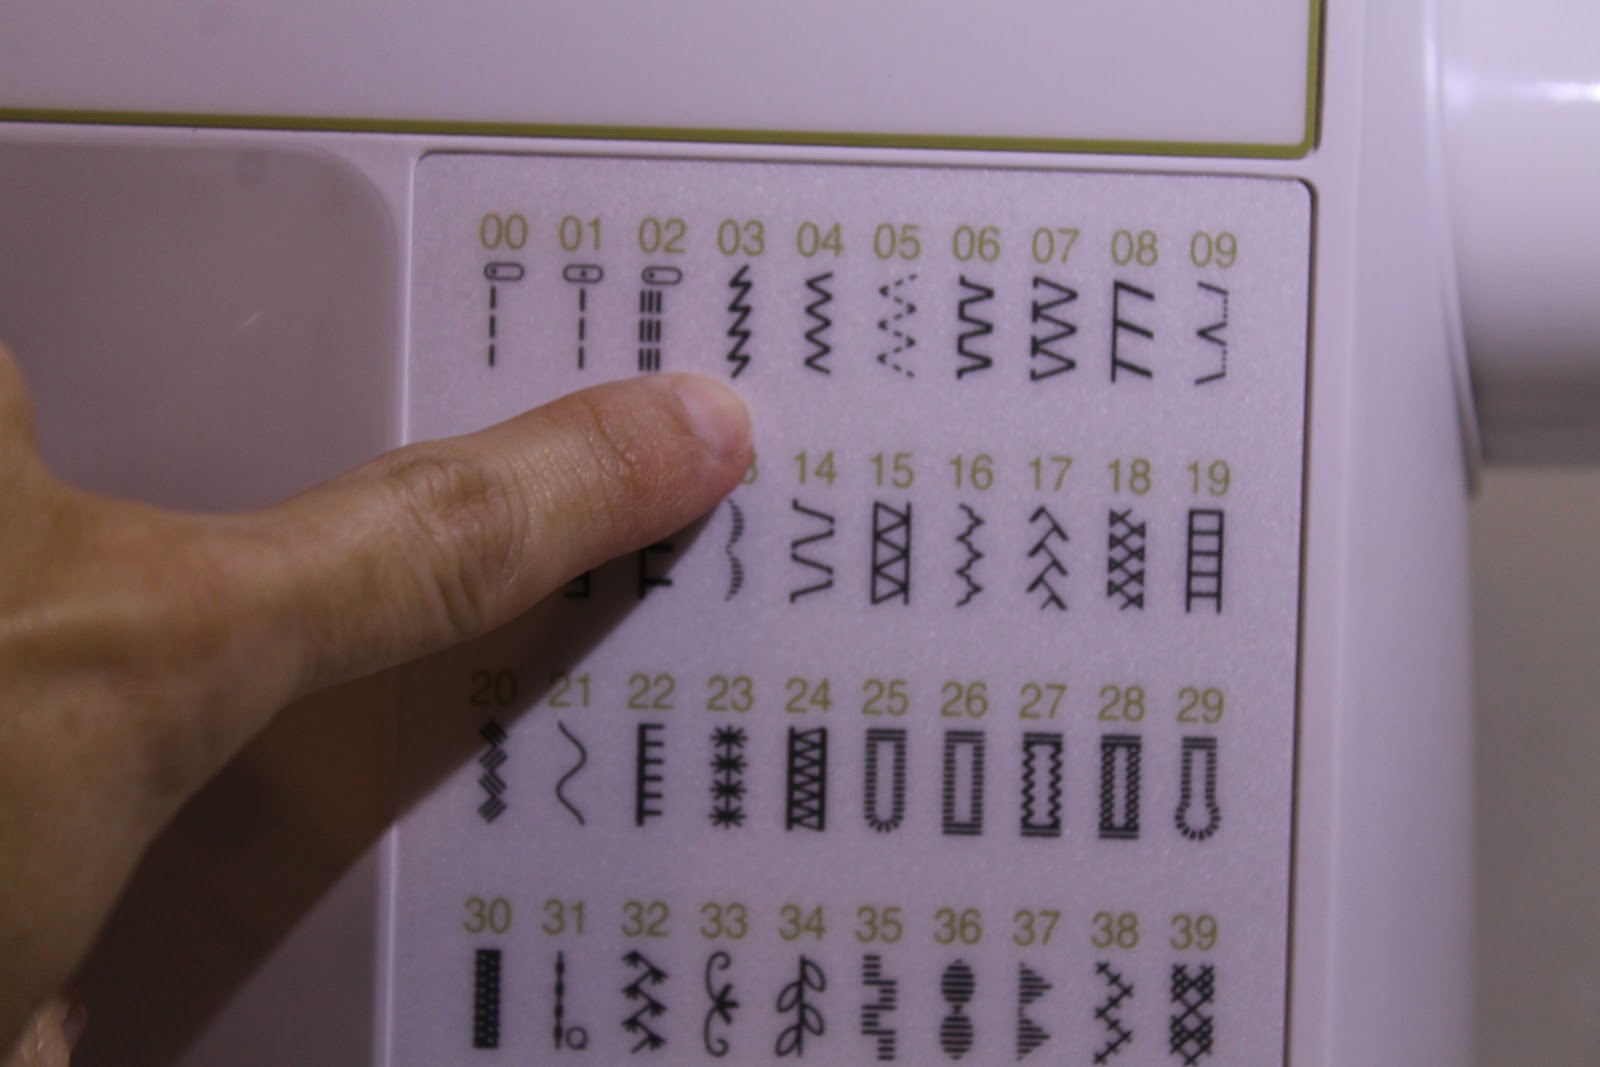
I also made my stitch length longer and wider.
OPTIONAL: If you want a bottom waistband, continue. If not, see below on neckline and shoulder hemming or binding hints.
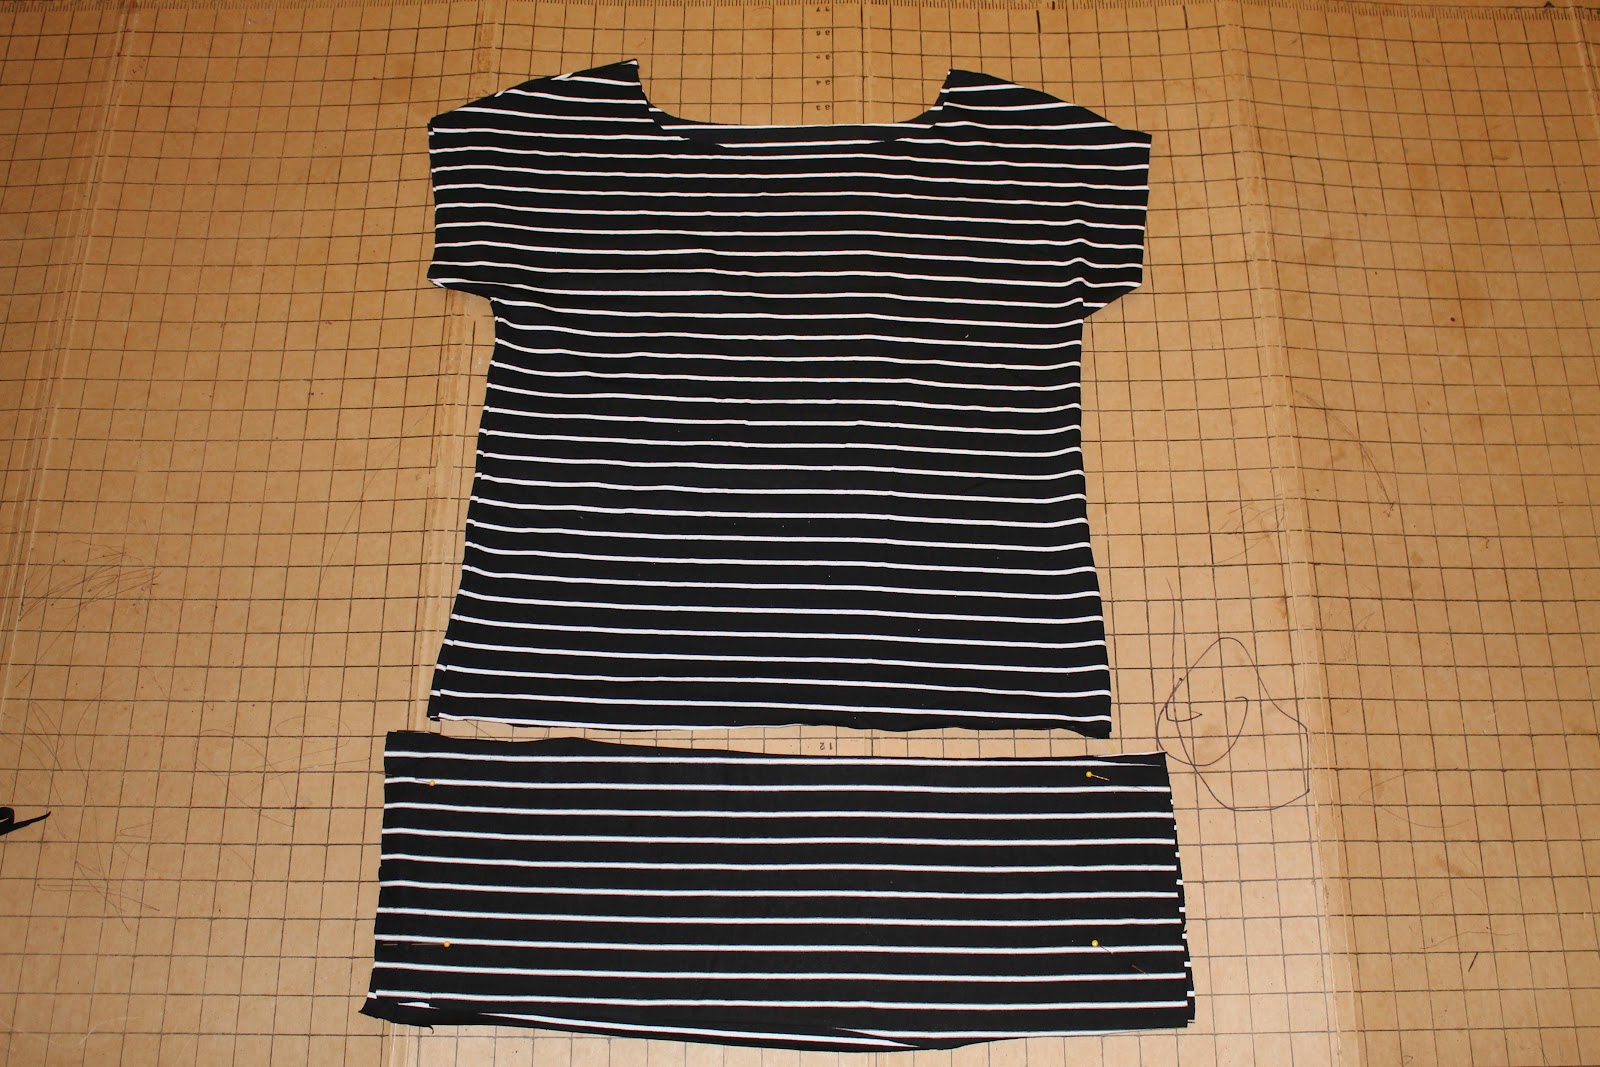
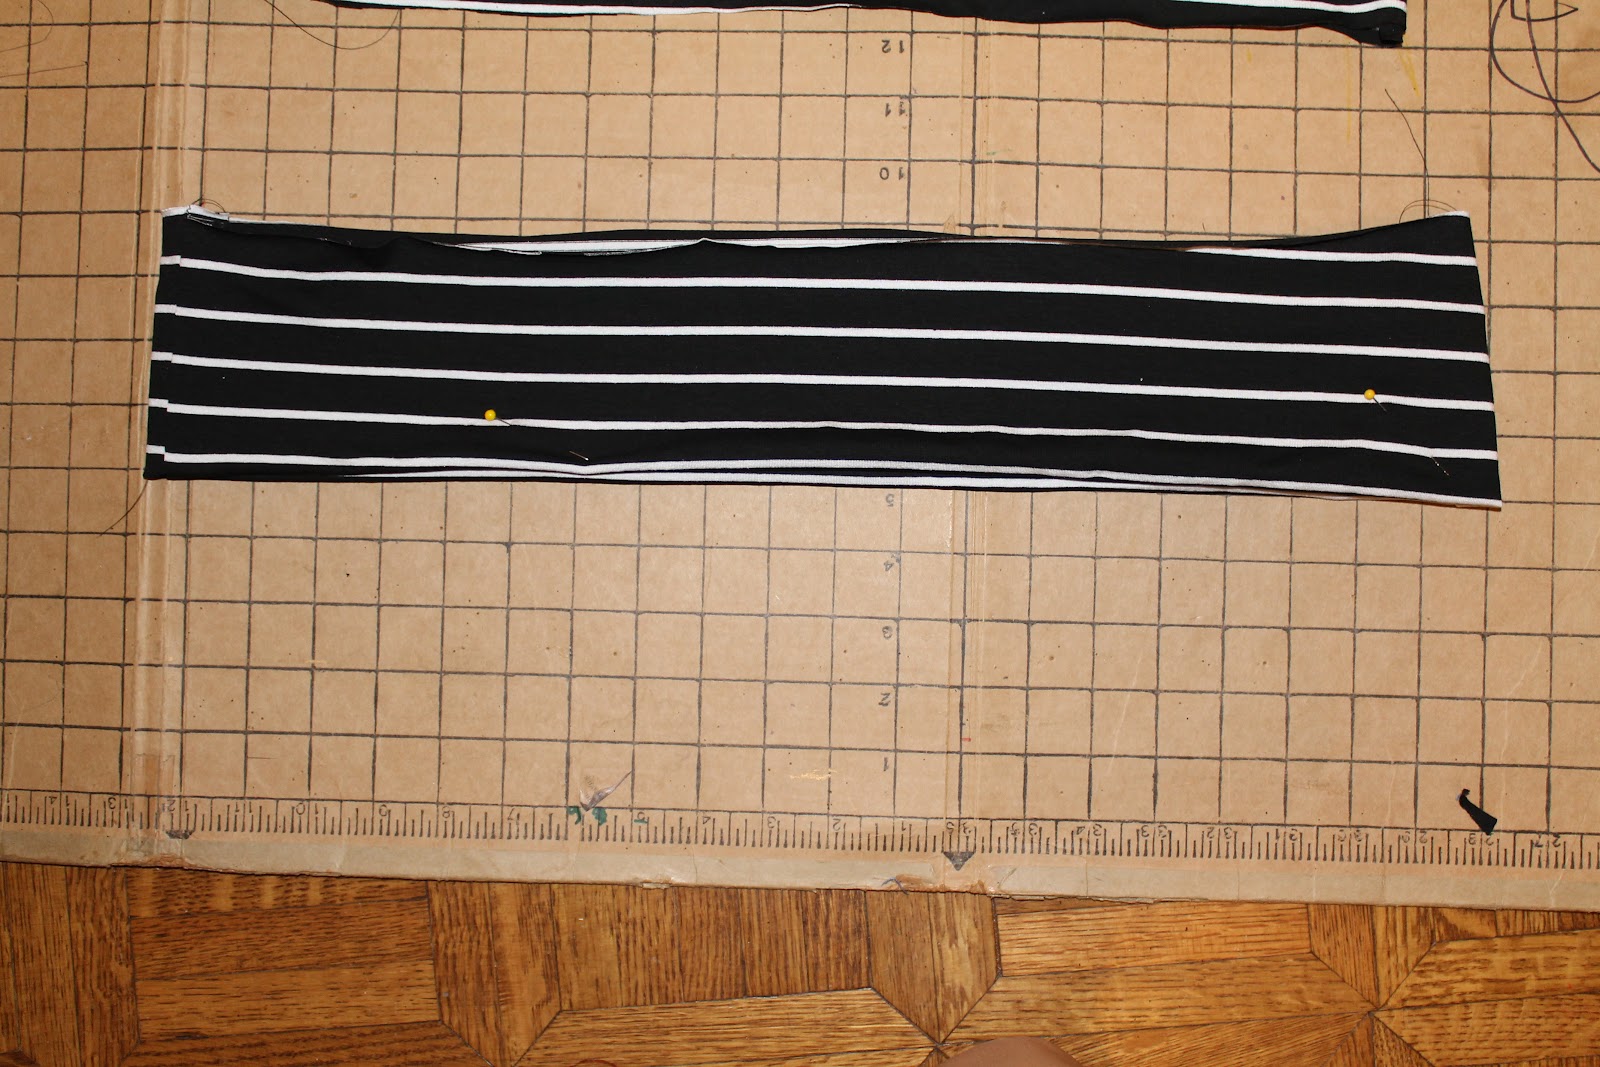
7. Cut a piece of fabric 8 inches long x the width of your shirt (I added an extra inch on either side, but if I did it again I would only add half an inch on either side.)
8. Place waistband pieces right sides together. Sew the left and right ends together using a 1/2 inch seam allowance. Trim threads.
9. Now you have a circular shape that is your bottom waistband. Fold your waistband in half, making the bottom edge meet the top edge with wrong sides together. Your raw edges will be touching.
10. Lay your shirt right side up. Place it into your waistband and match up the raw edges of your waistband to the raw edges of your shirt. Pin through all 3 layers, attaching the waistband around the shirt.
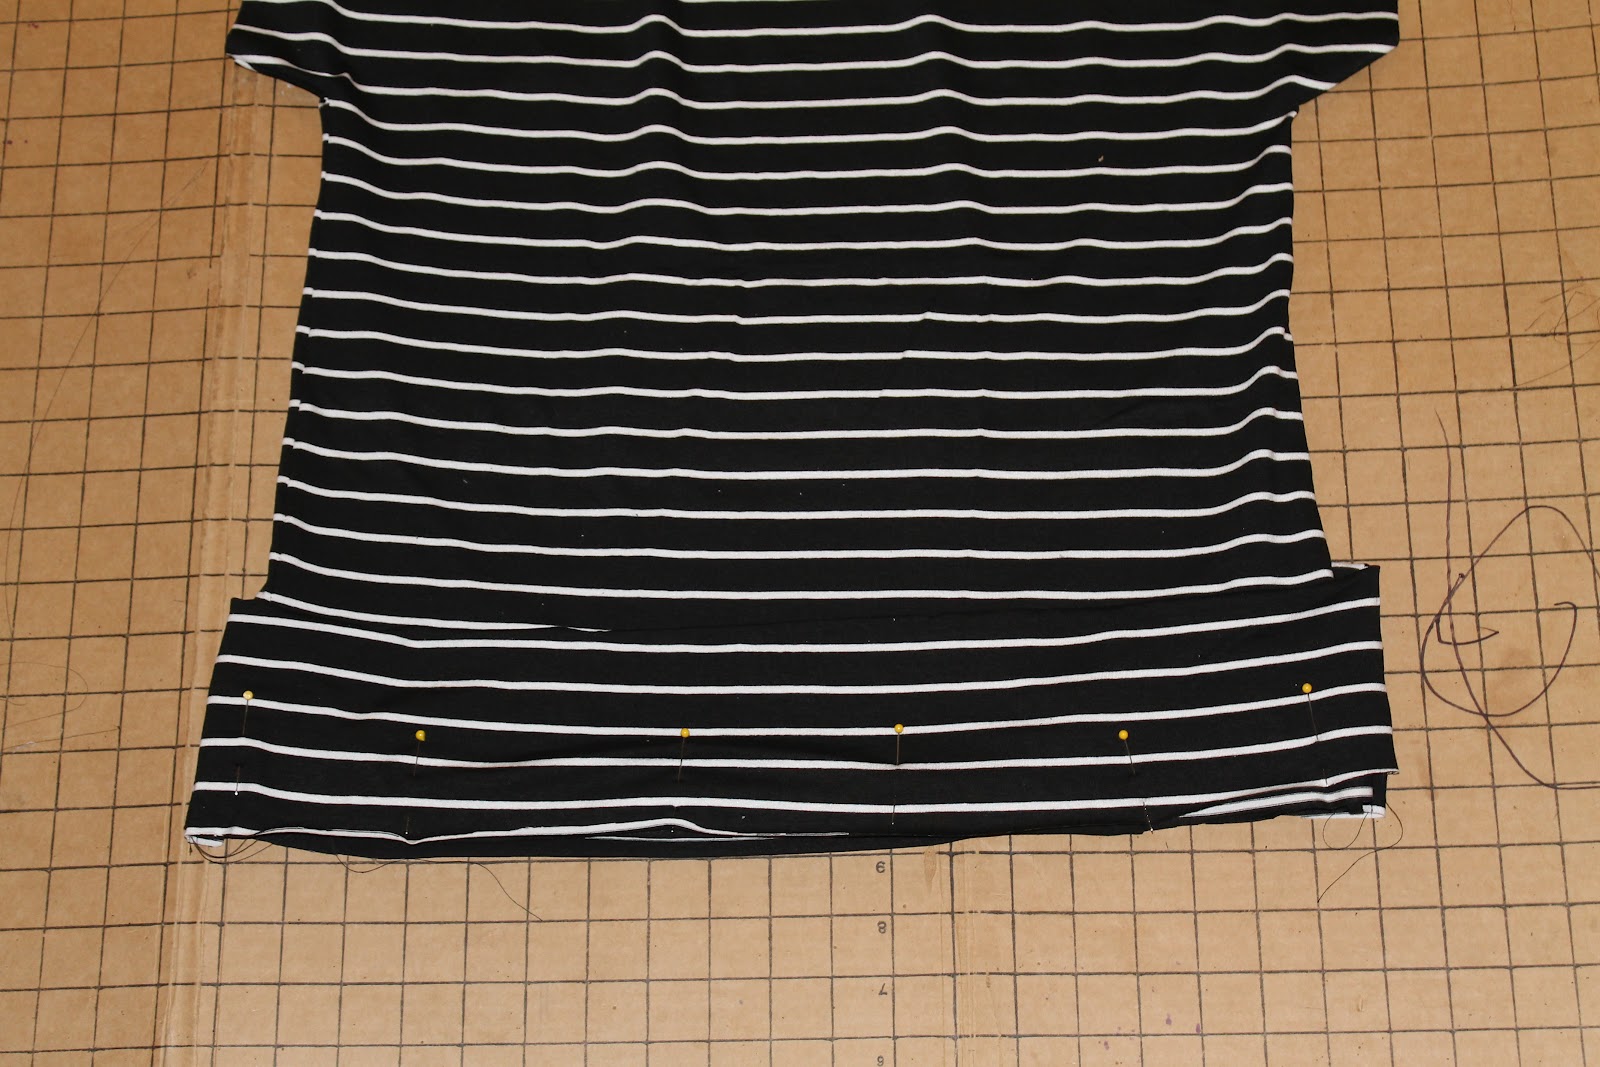
11. Sew all the way around your pinned edge, removing pins as you sew.
12. Flip down the waistband.
13. I added elastic into the waistband so it would have more of a gathered look because I cut my waistband wider than the width of the shirt. If you wanted your waistband to gather your shirt without using elastic, simply cut your waistband 3 inches narrower than the width of your WAIST in step 7. The knit will stretch around your waist and gather your top.
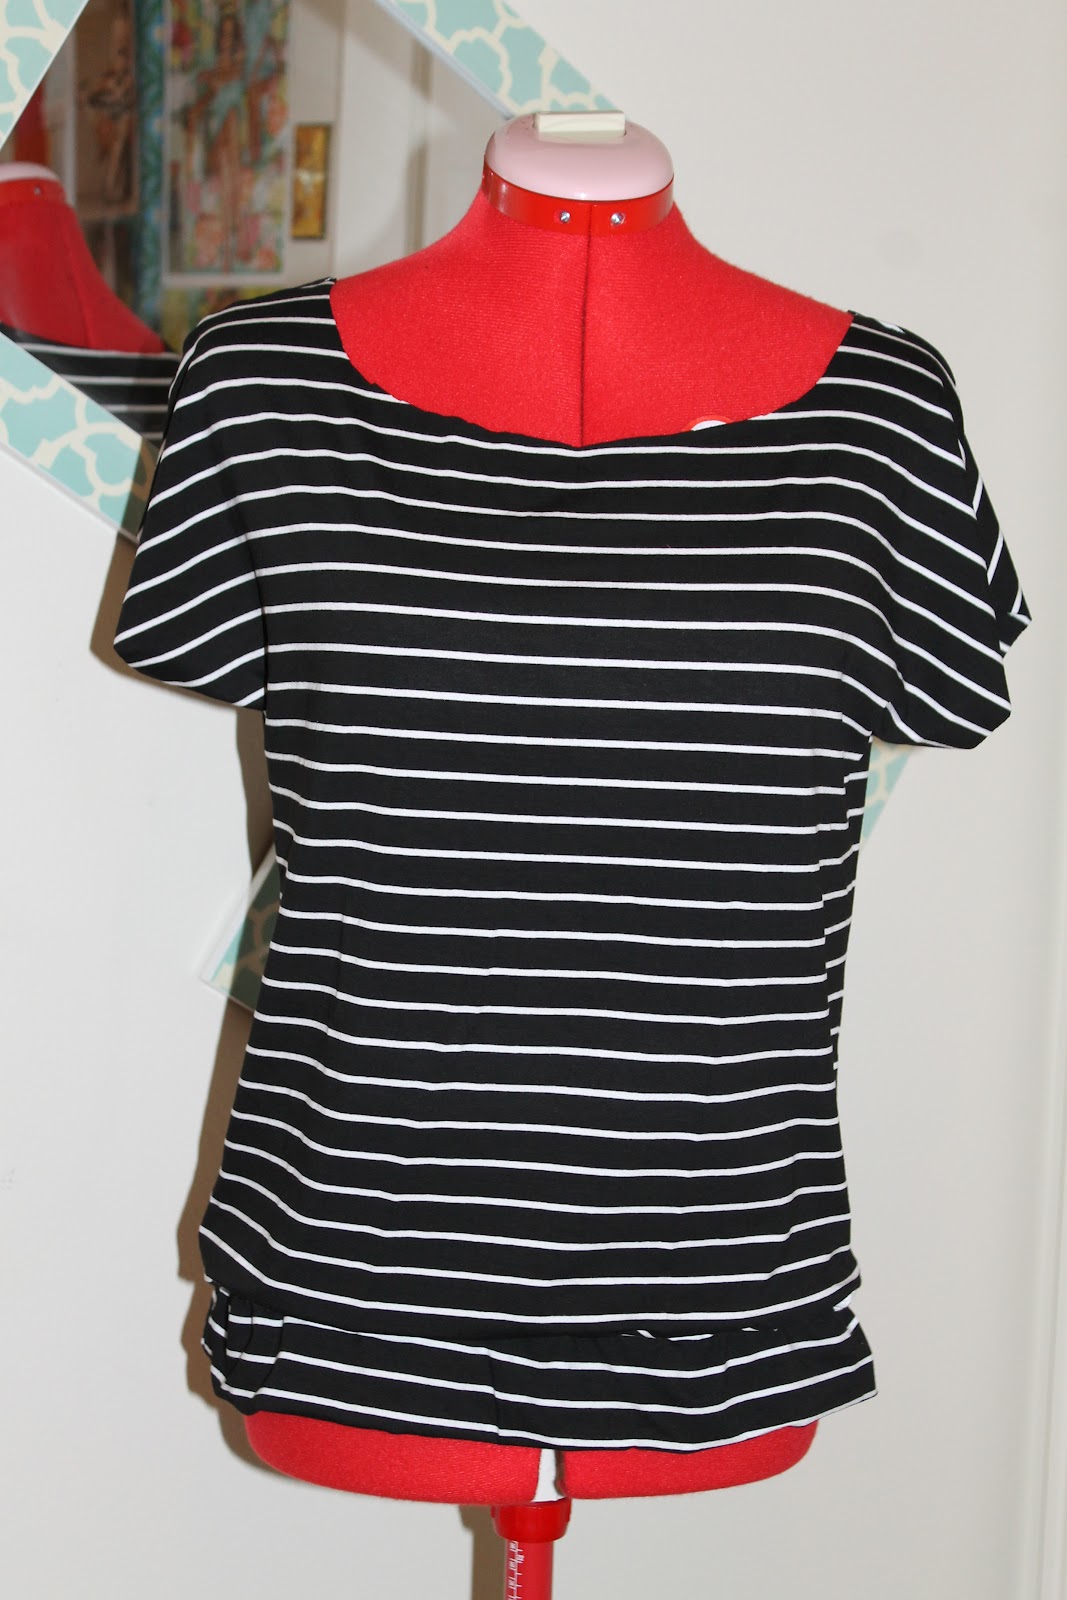
I left the sleeves and neckline edges raw for this project. But if you wanted to hem them you have a few options:
*Fold under a 1/2 inch hem, pin and sew using a stretch stitch.
*Bind the edges of the sleeves and neckline the same way you did the waistband. Cut a piece of fabric 1 inch x the width of your sleeve or neckline plus one inch. Sew the short ends together to make a circular shape. Fold your binding in half and place around your sleeve or neckline. Sew on.
*You also could use bias tape for your neckline. Apply the bias tape then fold it under toward the wrong side of your neckline. Sew again all the way around to hold the bias tape in place.
Happy Sewing!