Simple Skirt tutorial - How to sew a skirt
Simple Skirt Tutorial
Want to make a simple skirt? Have 20 minutes?
I have a tutorial for you!
You can sew up a few of these skirts during a naptime TODAY and it doesn't even take much fabric!
Happy Sewing!


Every little girl (or Mommy) needs a simple skirt to wear all spring and summer long! Want to learn how to make one? Today I have a tutorial for you that will show you how to make a skirt in any size and length.
How to sew a skirt
TUTORIAL:
1. Measure your child's waist. (This skirt is for a size 2T so the waist is 18...but she's petite)
2. Measure from the waist down to where you want the skirt to end.
(I want my 2T skirt to be 10 inches long when it's finished. )
3. Take the waist measurement and multiply by 2.
(Mine was 18x2 = 36 inches)
4. Add 4 inches to the final length you want.
(This skirt is 10in + 4inches = 14 inches)
Take your answers to #3 and #4 and those are your measurements to make your skirt! Ready to cut!!
My fabric will be cut into a 14 inch long x 36 in wide rectangle to make this 2T skirt.
Materials:
1/2 yard fabric (for a size 2T)
18 inches of elastic (3/4 inches wide)
scissors
pins
sewing maching
thread
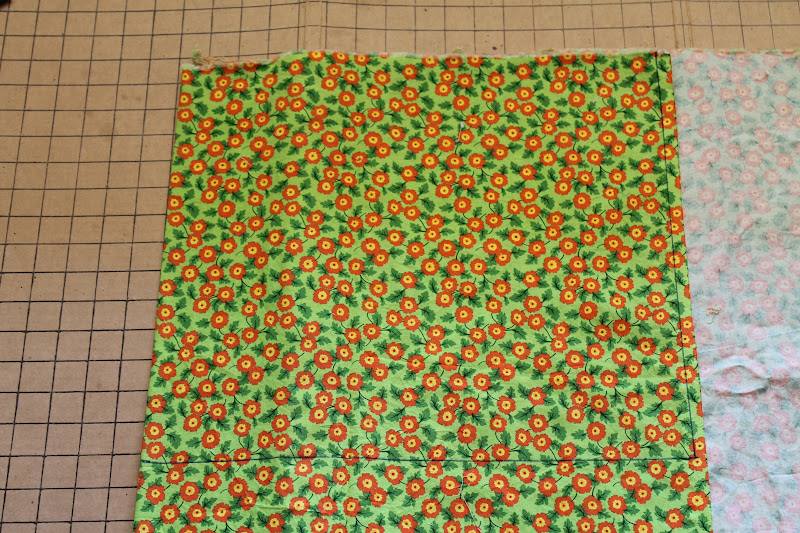
1. Lay out your fabric, iron it and mark out your rectangle.
I folded my fabric in half so I just had to mark out 14 inches long x 18 inches wide.
2. Cut out your rectangle.
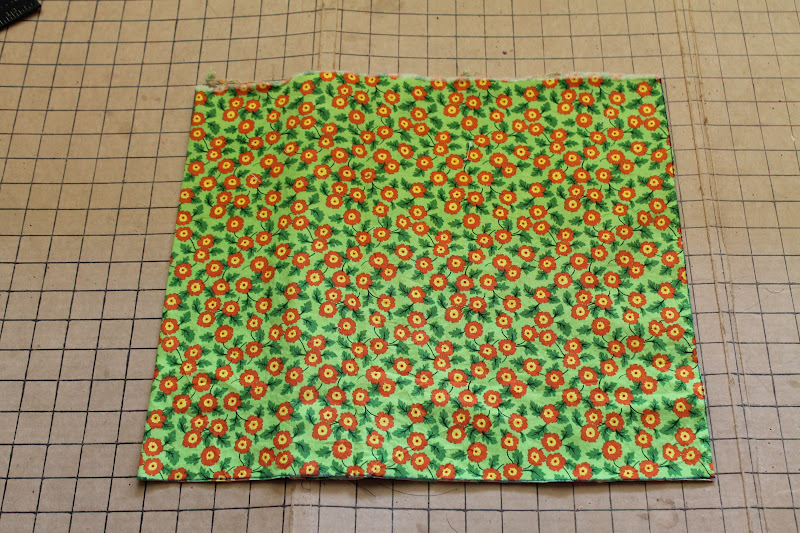
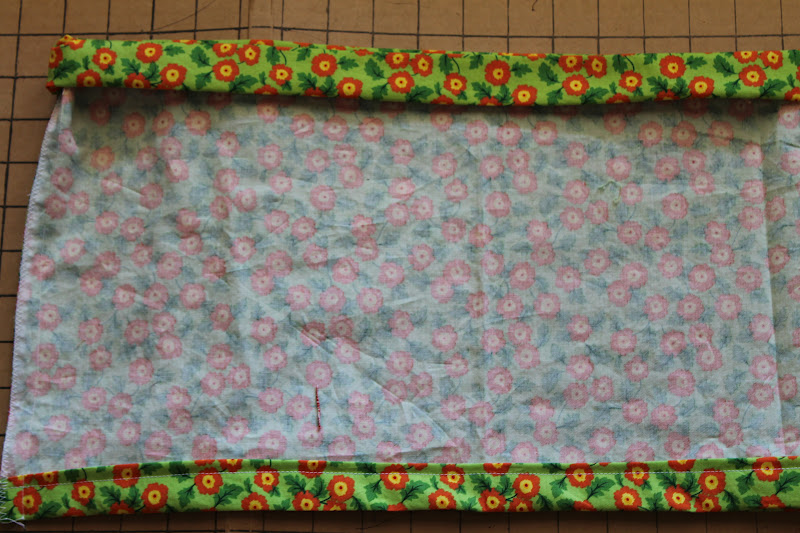
3. Lay it right side down. Fold up a 1 inch hem along the bottom, press with an iron, then fold up another 1 inch hem and press with an iron. Pin.

4. Sew along your pinned edge. Remove pins as you sew.
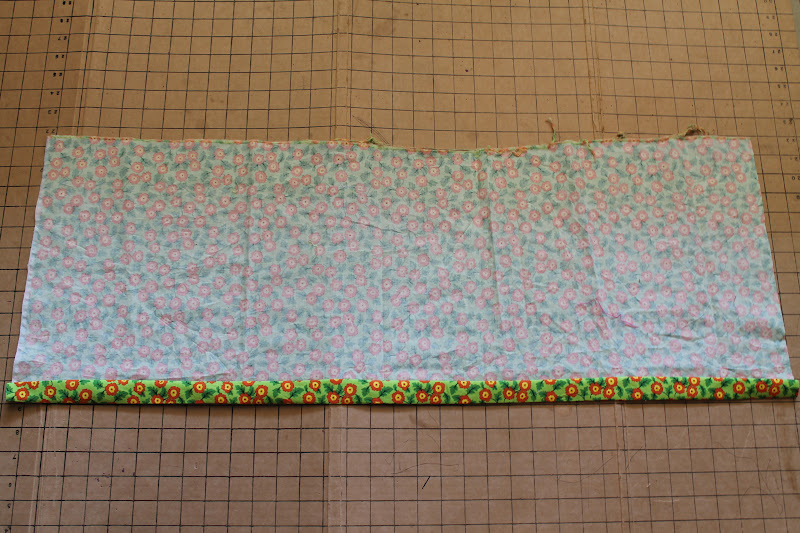
5. Lay your skirt down right side facing up. Then fold it in half widthwise so the right sides are facing. Pin down the short, raw edge.

6. Sew down the pinned edge. Zig-zag your raw edges or serge.
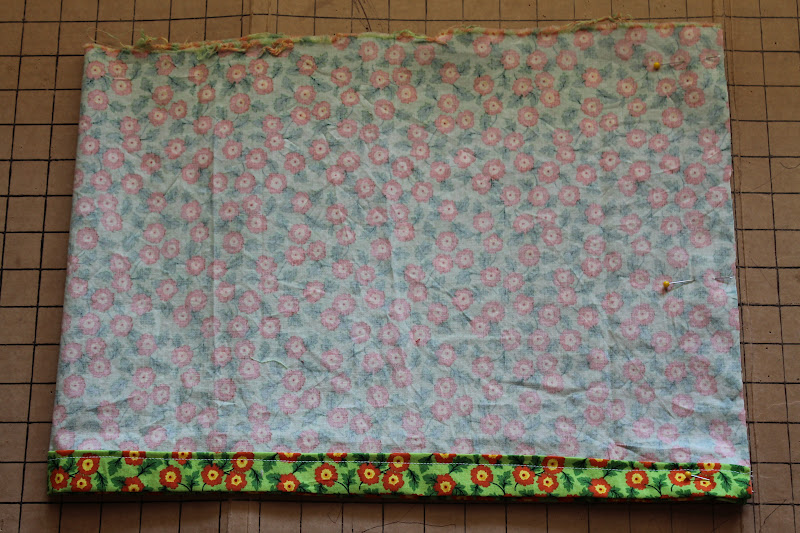
7. Fold down 1 inch along the top, press with an iron, then fold it down another inch. Press with an iron and pin all around.
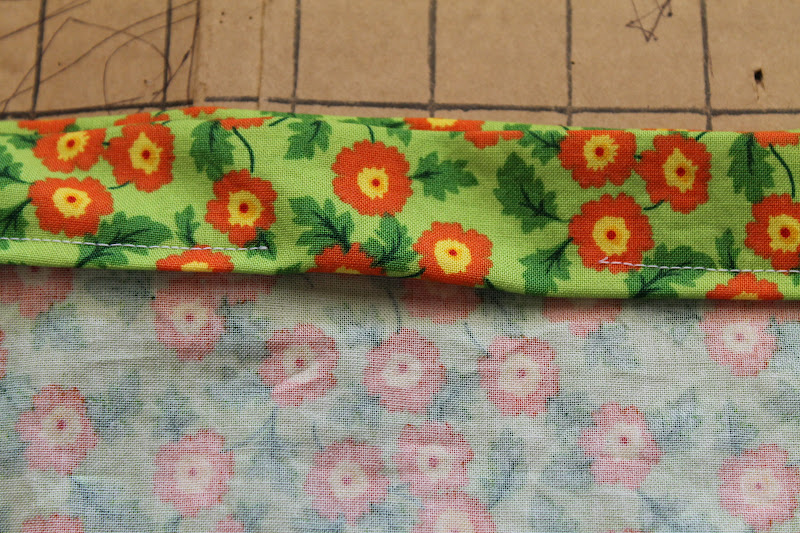
8. Sew around the top, pinned edge of your skirt, but STOP SEWING 4 inches before your starting point. This leaves room for you to insert your elastic.
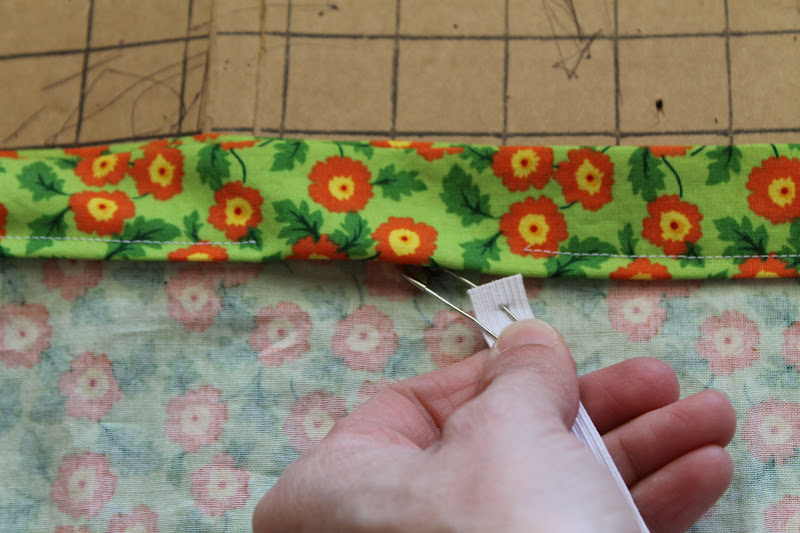
9. Insert a safety pin onto the end of your elastic strip for the waist. Feed the pin through the elastic casing you just sewed until the other side of the elastic comes out the open end. Hold both ends together and pin. (Make sure the whole strip of elastic does not end up in the casing. If it does, it's an easy fix...you will just pull it out and start over.)

10. Zig-zag stitch the ends of the elastic strips together.
11. Pull the waist of the skirt until the elastic feeds through evenly.
12. Sew along the opening to close the elastic casing.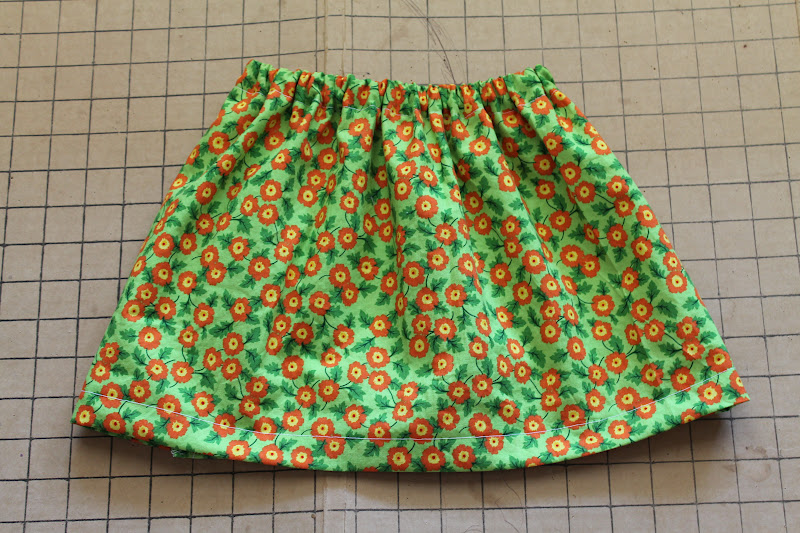
You did it!!!
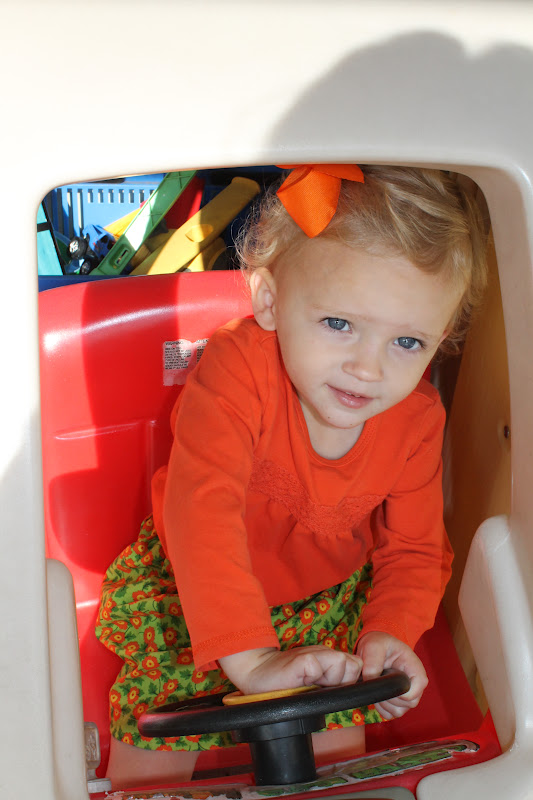
Try it on your sweet little girl and be proud of what you made!

Here's my Catherine trying to make a model pose! Hysterical!
Ta-da!
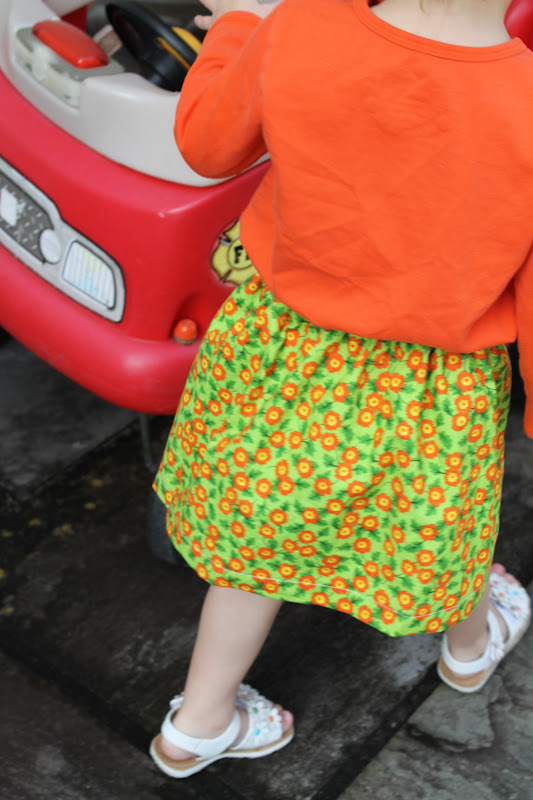


Make one or ten! Skirts always come in handy and once you start sewing them, you will see how quickly they come together. Ladies, try it for yourself, too!
Happy Sewing!!
Jenny