How to add pockets to shorts - sewing tutorial how to add pockets
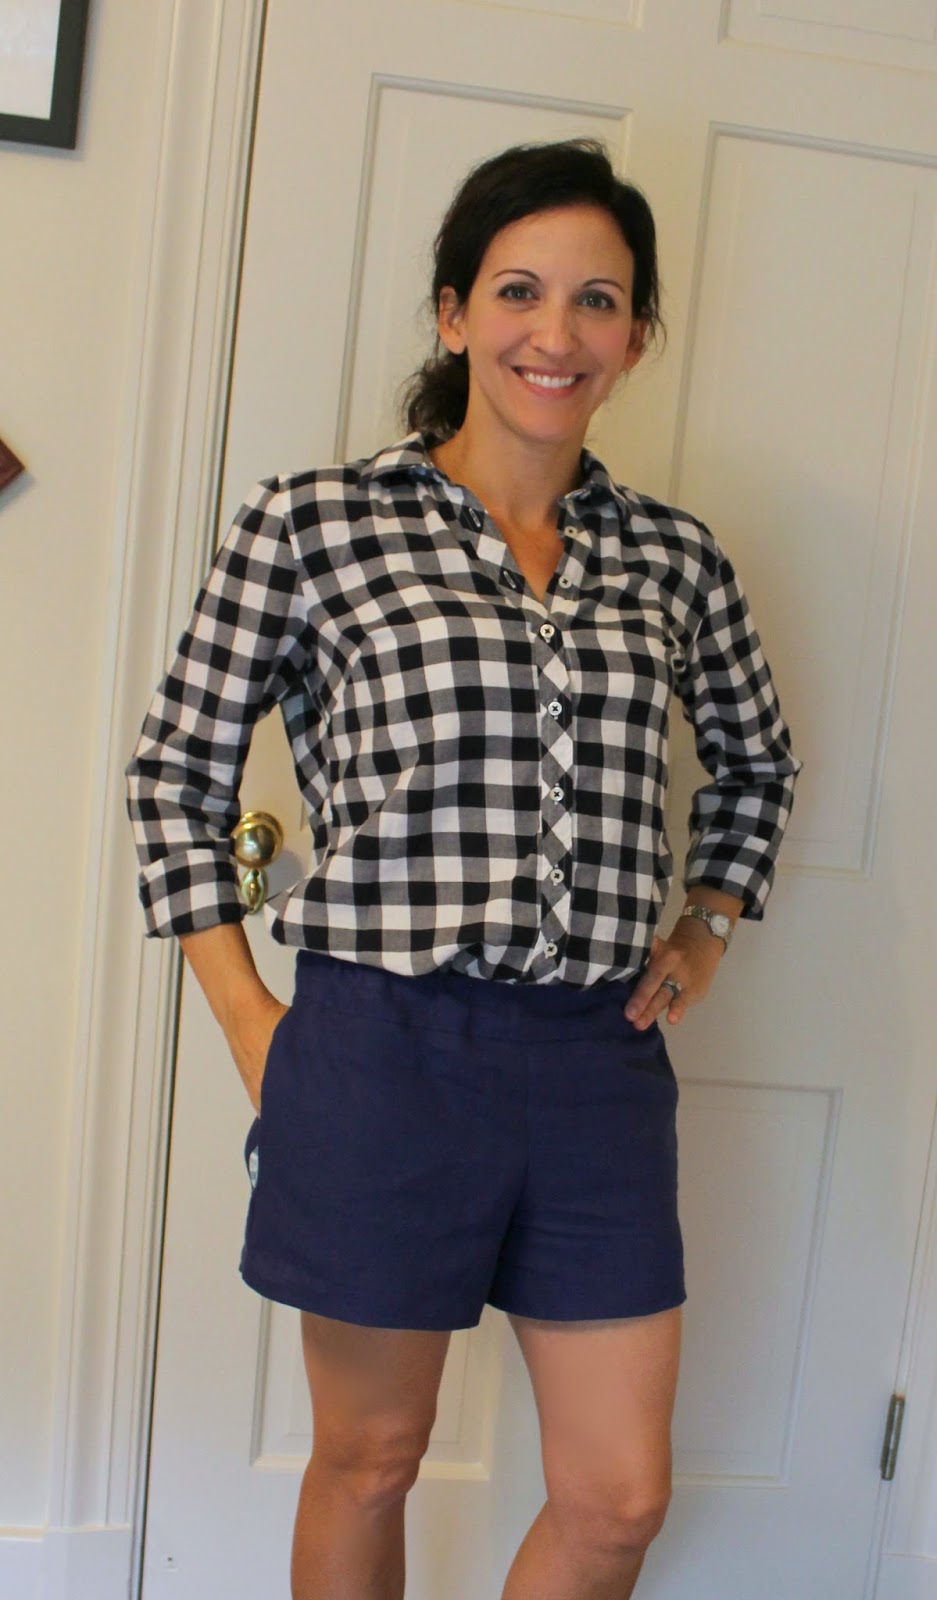
Our best selling shorts pattern, The French Market Shorts for Women, found HERE are a staple in my summer wardrobe! I have them in seersucker, a printed stretch twill and solid black, but they were missing one thing! Pockets!! I found myself trying to put my hands in my pockets while I was standing around, or trying to put my keys in my pockets as I ran my errands, but guess what? There weren't any pockets, so today I am showing you how to add side seam pockets to shorts. This same method is also used if you want to add them to a skirt pattern you have.
Grab the pocket pattern piece HERE to download and print. Then get your copy of the French Market Shorts HERE and let's get started!
Here's a tutorial with photos of how to add side seam pockets (below) OR scroll down and see it illustrated for you!

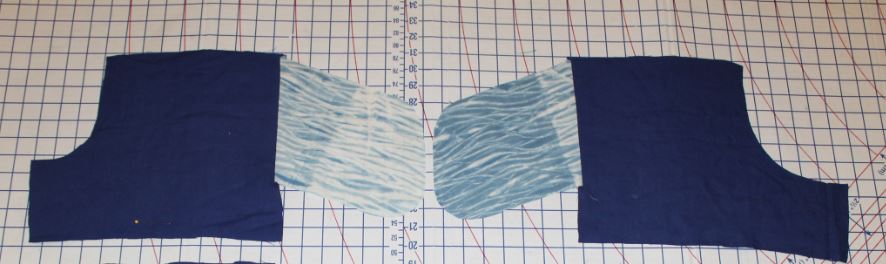
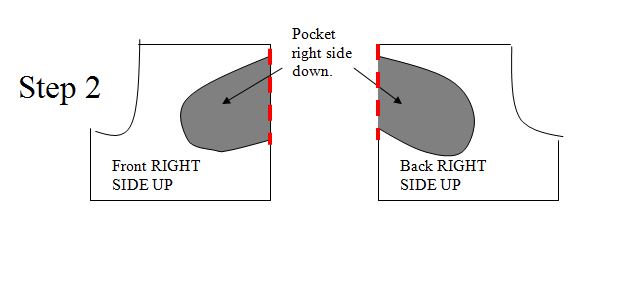
1. Lay front and back pieces right side up. Lay pocket pieces right side down and pin down pocket. Sew along the pocket edge using a 1/8 inch seam allowance. Repeat for other front and back, making sure they are also laid right side up.
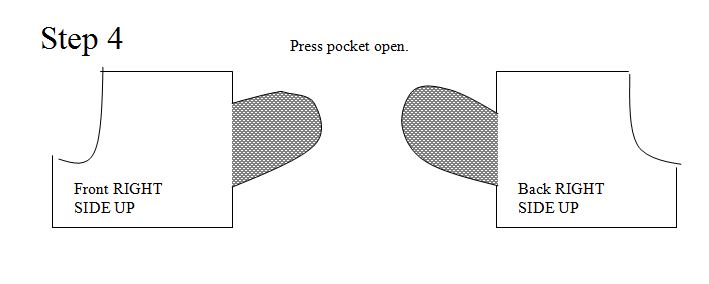
2. Press pocket away from the shorts with an iron.
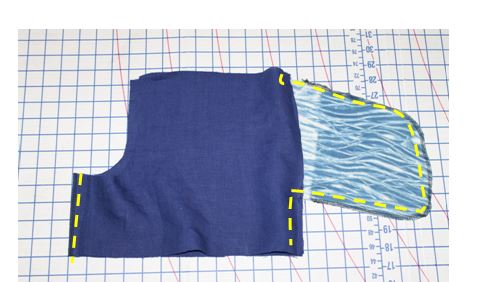
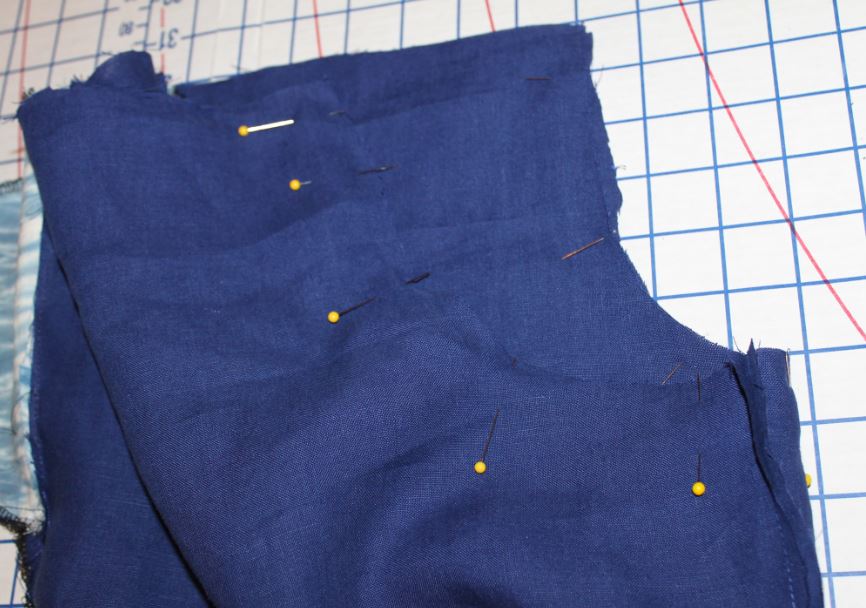
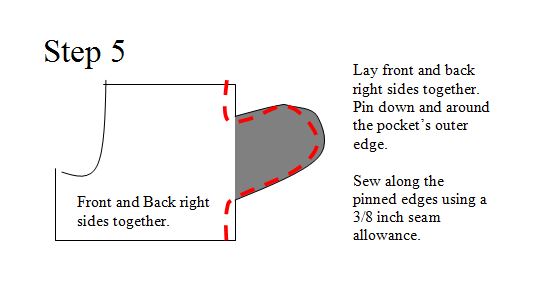
3. Lay front and back shorts pieces right sides together. Pin down the top edge until you reach the pocket, then pin around the entire pocket, then pin down all the way to the bottom edge of the shorts. Next, line up the inseams and pin.
Sew along your the pinned inseams and down and around your pocket using a 3/8 inch seam allowance. Serge or zig-zag stitch the raw edge. Repeat for other front and back.
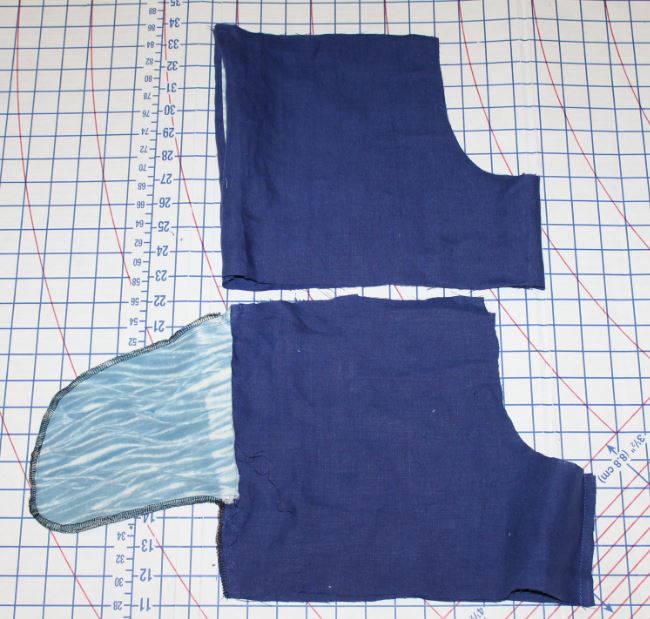
4. Lay one piece right side out and lay one inside out.

5. Take the right side out piece and stick it into the piece that is wrong side out. Line up the crotch seam (it will form a U shape) and pin.
Sew around the crotch curve using a 3/8 inch seam allowance. Serge or zig-zag stitch the raw edges. Trim threads.
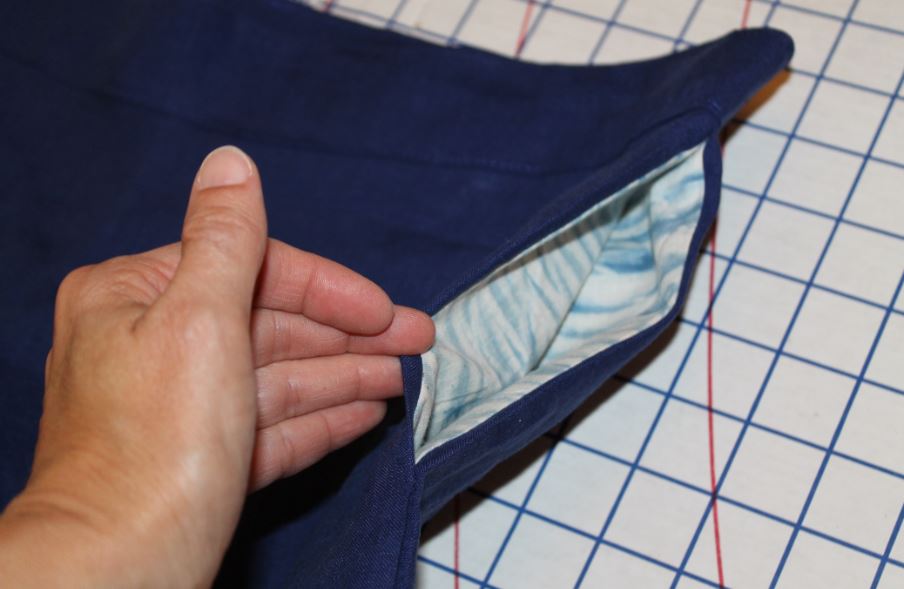
6. Turn shorts right side out to see pockets!
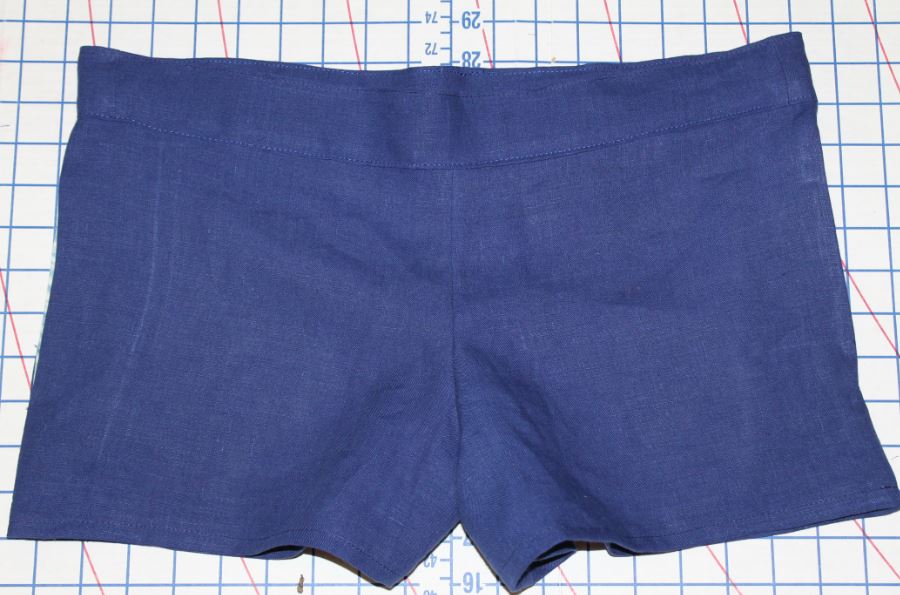
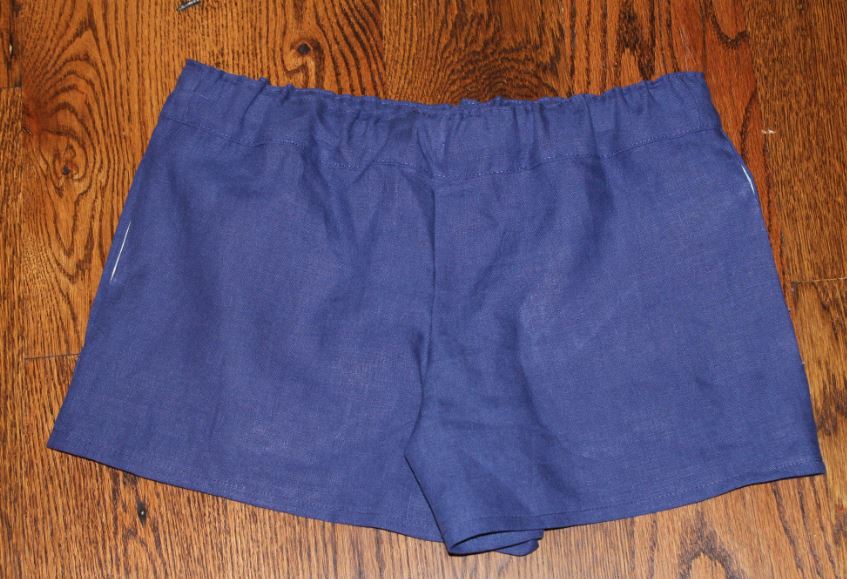
7. Attach waistband, hem legs and insert elastic just as pattern directions state.
You're done!!

You did it!! Go make yourself a pair and come join our facebook group HERE and share a pic! Or post to instagram with hashtag #seaminglysmitten to show it off!
If you like illustrations find it below!

Continue pattern as stated to finish! Enjoy!!
Great tutorial, thanks!