Sazerac Shift Dress Sew Aong
Day 1
I am so glad you all are joining me this week to make yourself a Sazerac Shift Dress! We will do a few steps each day of the pattern and by Friday you can wear it, share it and show it off! I cannot wait to see pictures of your dresses! You can tag us on instagram #sazeracdress #seaminglysmitten or share it in our facebook group HERE!
Here's the plan:
Monday - print your pattern, choose your size, cut out fabric pieces
Tuesday - sew dress at side seams and shoulders
Wednesday - sew sleeve seams and inset sleeves
Thursday - hem sleeves, neckline and dress hem
Friday - finish, wear it and share it!!

Let's get started!
1. FABRIC CARE: You should have already chosen your fabric, washed and dried it (if the fabric is washable) and ironed it to press it all flat! It is a great idea to always wash your fabric once you get it home from the fabric store. I know you are really excited to get started sewing with it, but fabric can shrink once washed and dried. If you make a dress without pre-washing your fabric and then wash and dry it, it could end up shrinking after all that hard work! It's also important to iron your fabric flat to make sure the shapes that you are cutting are consistent and the exact size you need.
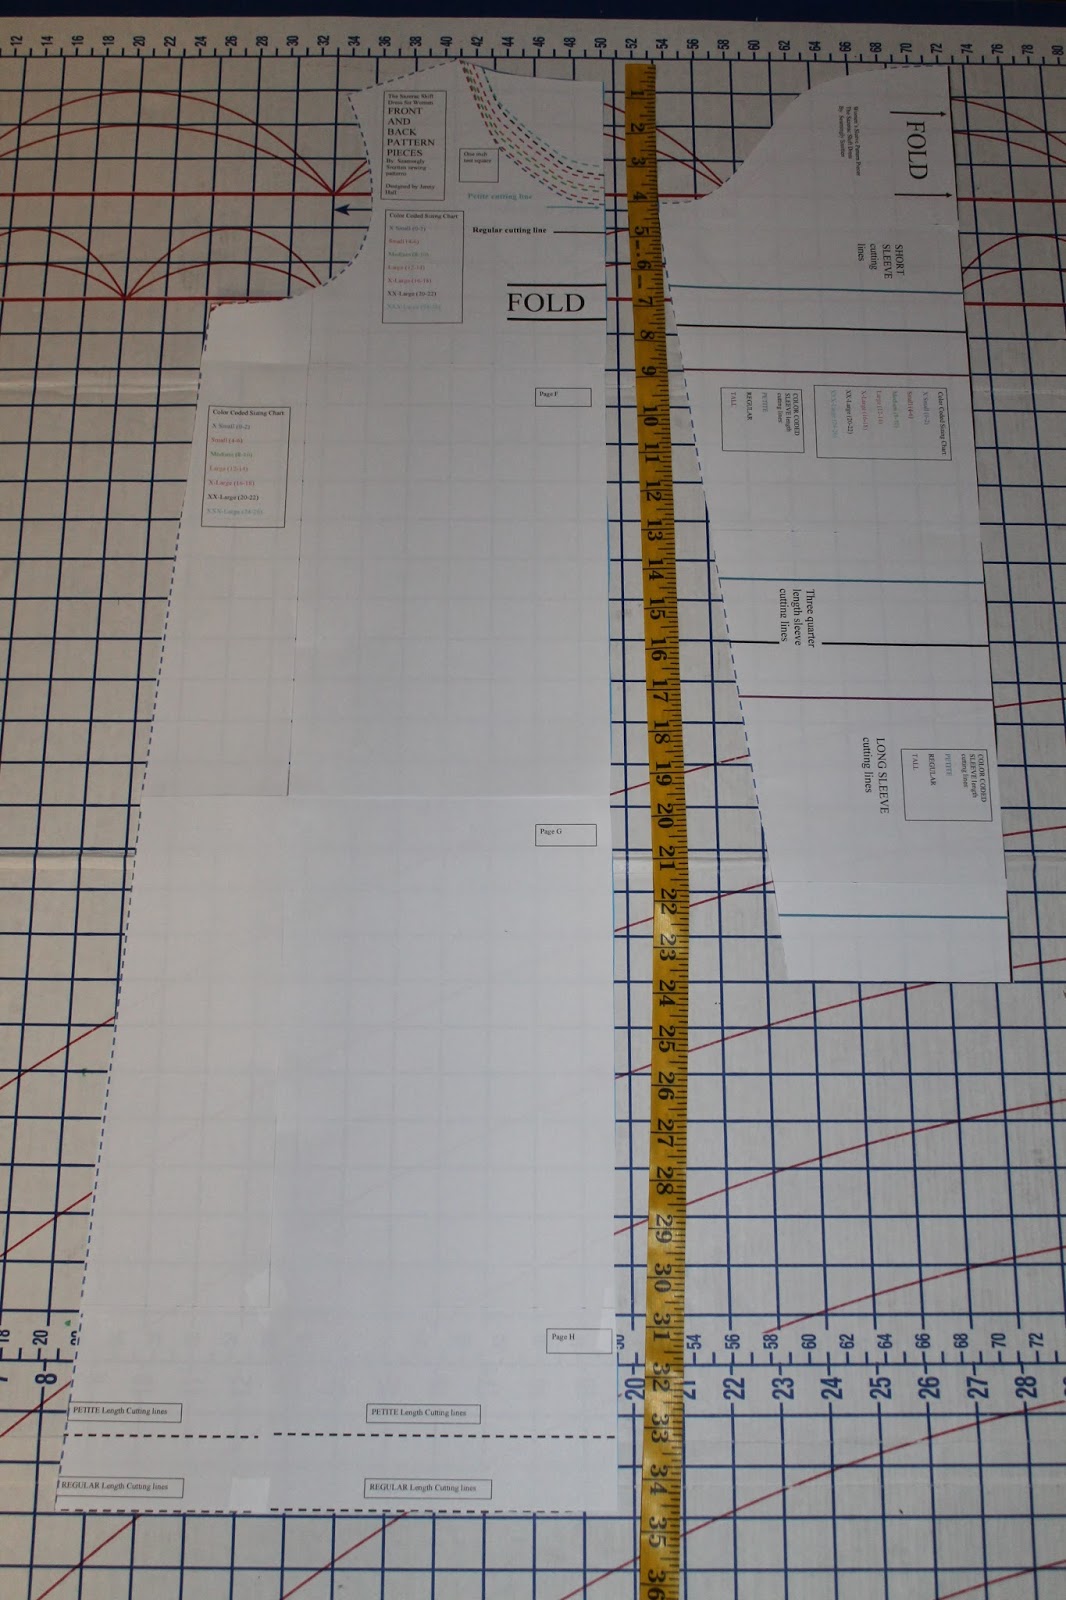
2. Print your pattern. Print pattern pages numbered 14-25. ****When you print, make sure your printer is set to “Page Scaling – Fit to printable area” and “Auto-rotate and center” or choose “Print at 100%.”
**Since all printers are different here are various options for you to choose on your printer options:
Some customers select page scaling NONE.
Some customers select page scaling AS IS.
Some customers select page scaling ACTUAL SIZE.
Some customers select page scaling 100%.
To ensure your pattern printed correctly, the one inch
box must measure one inch exactly.
3. Assemble the pattern. You will lay out your pattern pages by simply joining the edges of the pages. You do not overlap at all and do not need to trim the edges of the paper. Even though the colored lines do not print all the way to the edge of the page, this space is all taken into account. If you overlap them then you are changing the size of the pieces. So do not overlap, just lay them out and tape them.
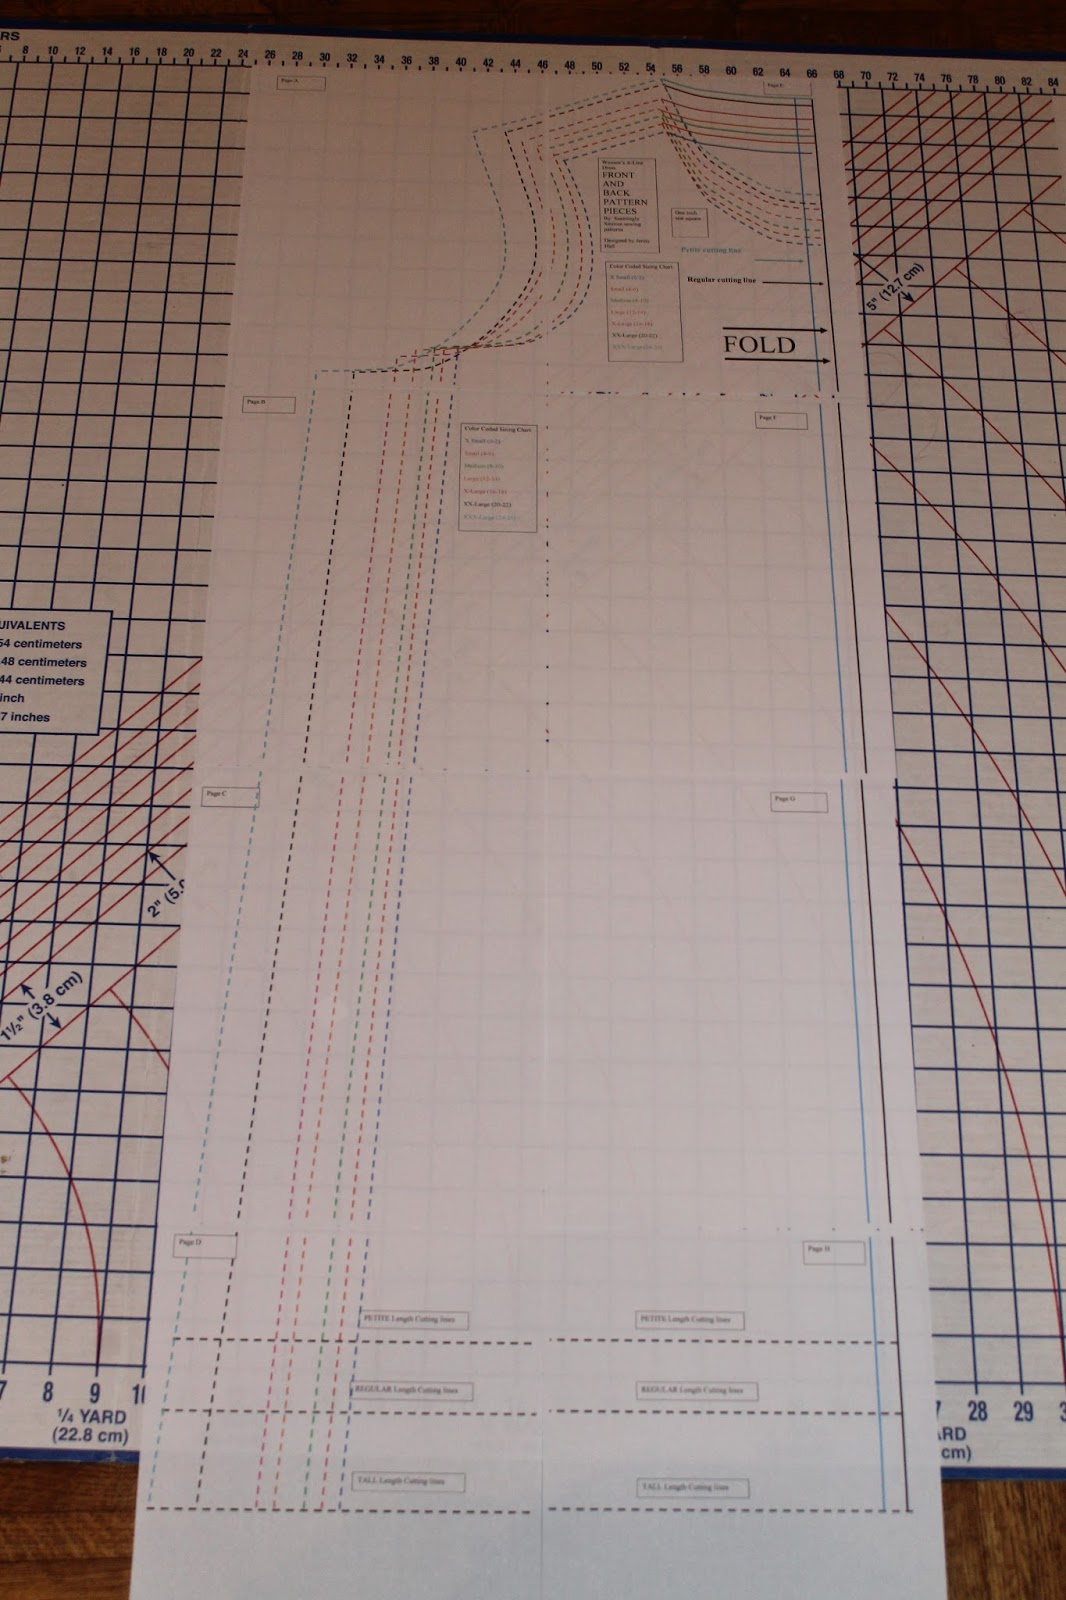
4. Choosing your size When choosing your size, go by your largest measurement. EXAMPLE: If your bust is 36 but your hips are 41 you are in between a medium and a large. You can cut out a large or cut out a medium neckline, shoulders and underarms and then taper the dress pattern piece out to the large along the side seams so it fits your hips. It is very easy to blend sizes, just cut from one color coded line to the next size.
Determining dress length: You can easily add on length to this dress! Simply lower the bottom horizontal line as many inches as you need. That will be your new hem cutting line. To get the perfect length, measure from the top of your shoulder down to where you want your dress to hit and write that down. To do this, I measure from my shoulder, down and over my bust and down to the spot above me knee. I want a desired final length of 34 inches. When I cut, I will make sure from the top of the shoulder pattern piece down to the bottom hem is 35 inches because I need to add 1 inch for the hem. This means I would cut my pattern on the regular length cutting lines since I want more length even though I usually wear petite.
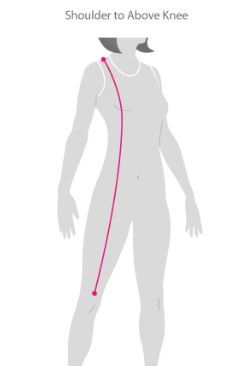 |
| Photo from http://www.shailis.com/Measurements.html |
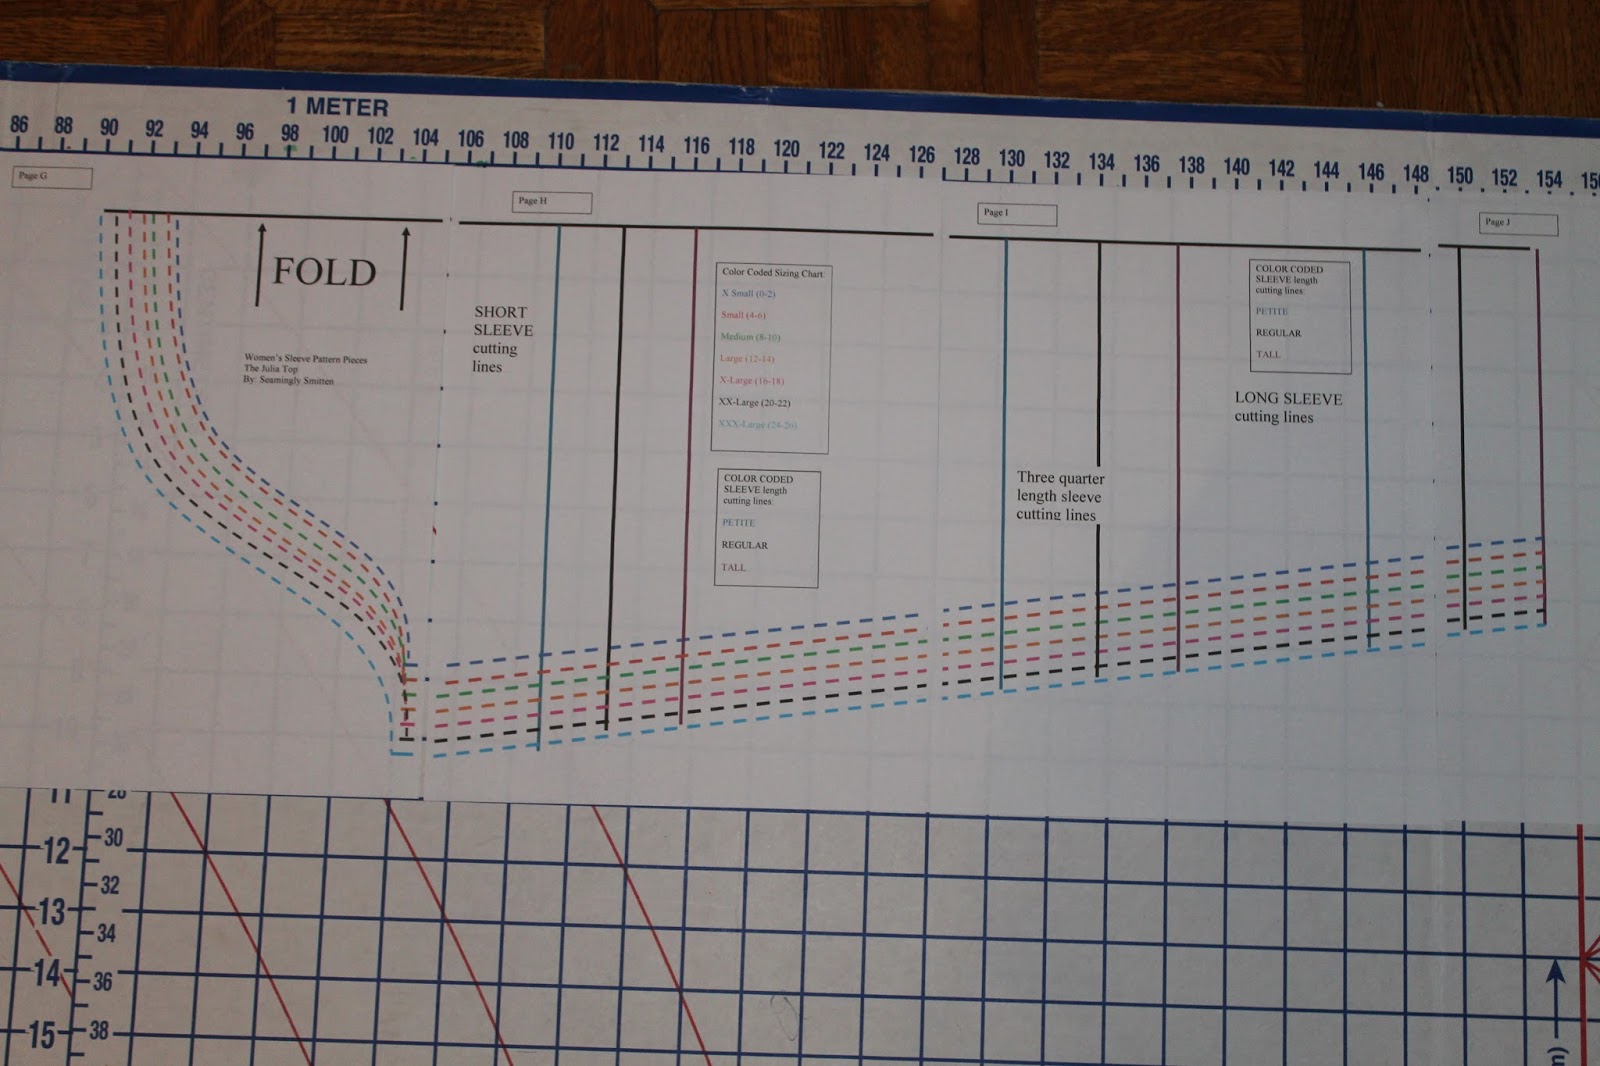
Determining sleeve length: To measure the sleeve length you need, measure from the top of your arm to 1 inch below your wrist while your arm is slightly bent. I get 23 inches and then I add 1 inch to get a sleeve length of 24 inches. When I measure the length of my sleeve pattern piece I will need to cut on the regular long sleeve cutting line.
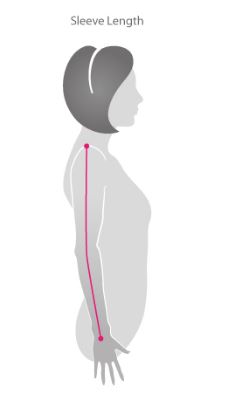 |
| photo from http://www.shailis.com/Measurements.html |
5. Cut out your paper pattern pieces Once you know your correct size and length you need, cut around the color coded lines for your dress and your sleeves. Make sure you cut at the higher neckline (back neckline) when you cut out the dress pattern piece.
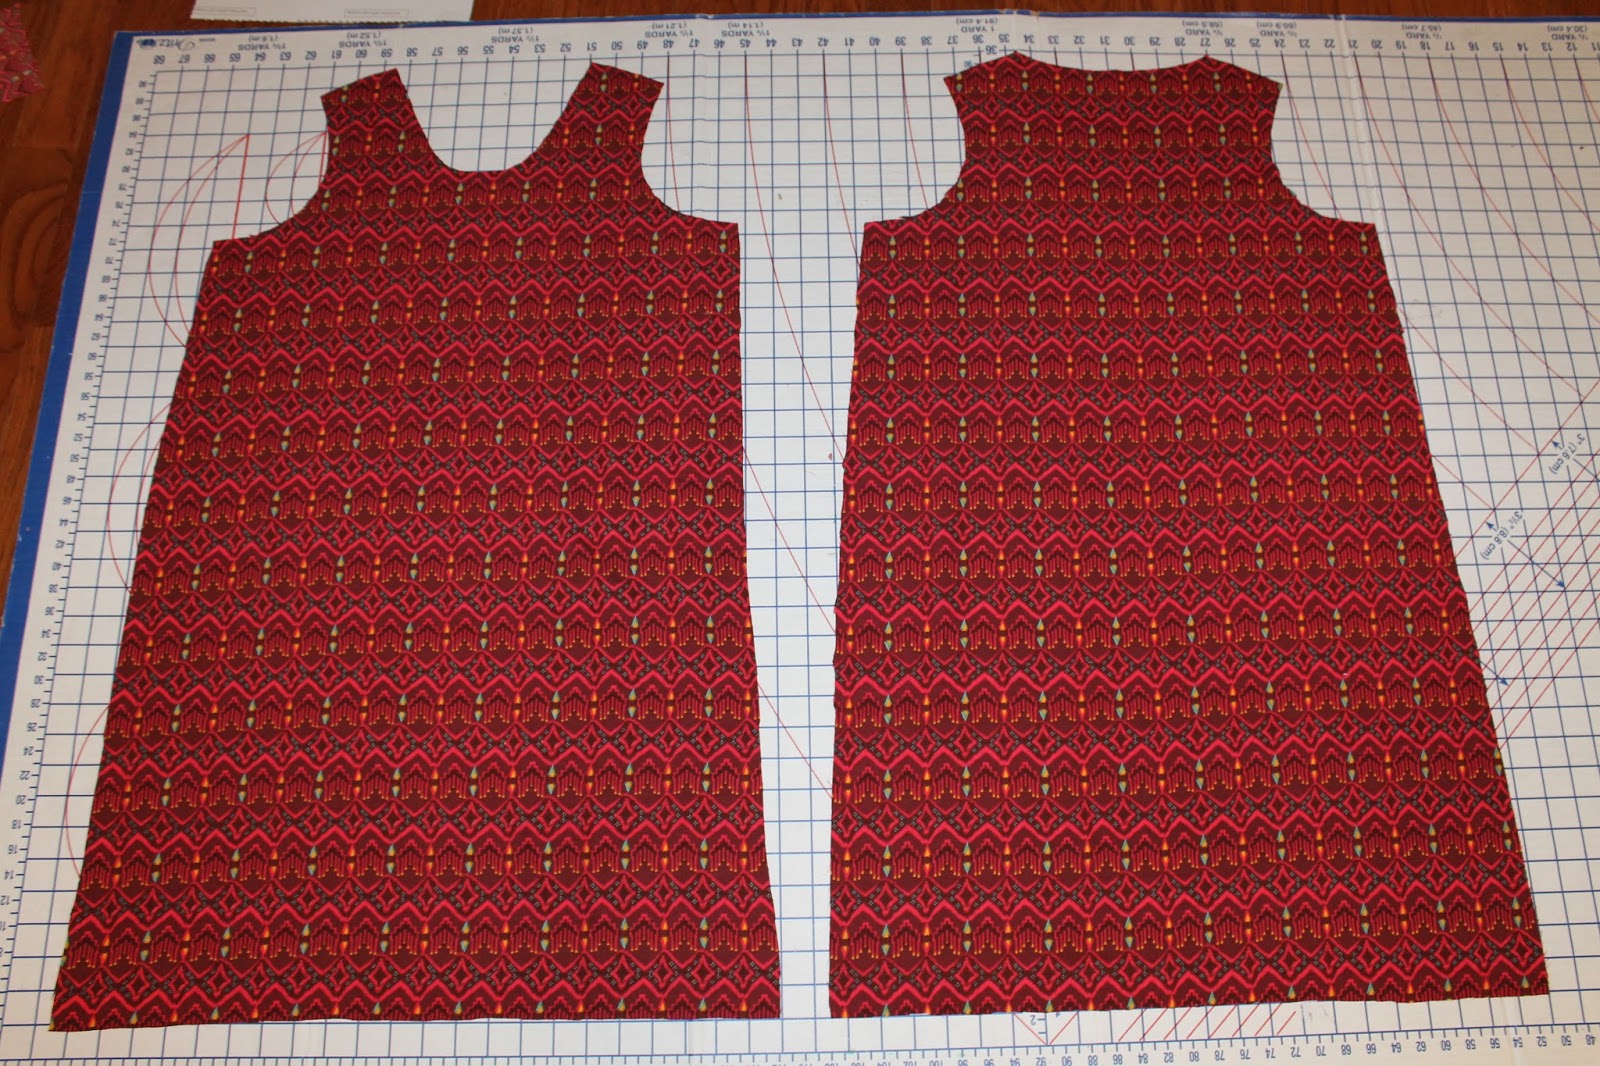
6. Cut out a back dress pattern piece.
Lay the pattern piece along the fold of your fabric, pin and cut around the pattern piece
for the BACK of the dress. Make sure you use the higher neckline cutting lines.
7. Cut out a front dress pattern piece on the fold.
Now trim to the front neckline cutting line. Lay the dress pattern piece along the fold of your fabric, pin and cut around the pattern piece for the FRONT of the dress. Make sure you use the lower neckline cutting lines. (If you want to lower your neckline to a more scooped neckline, trim the neckline to your desired scoop on the paper pattern piece and then cut out your dress front.)
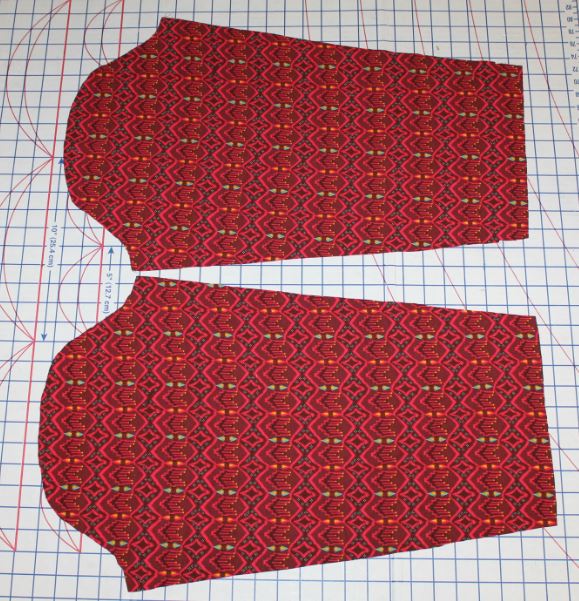
8. Cut out 2 sleeve pattern pieces on the fold. Lay your sleeve pattern piece on the fold of your fabric. You want the stretchiest part of your fabric where the armhole curve is.
Cut out 2 sleeve pattern pieces.
Cut out 2 sleeve pattern pieces.
That's all for today! Tomorrow we will sew the dress side seams and shoulders, and sew along the sleeve side seams and it will be a fast sew day!
Hope to see you back here tomorrow!
Comment below and let me know if you're enjoying doing this in parts!
Great!! I always overlay the pattern a little bit due to the print out, now I know better!! Always get to learn something new with sew along!