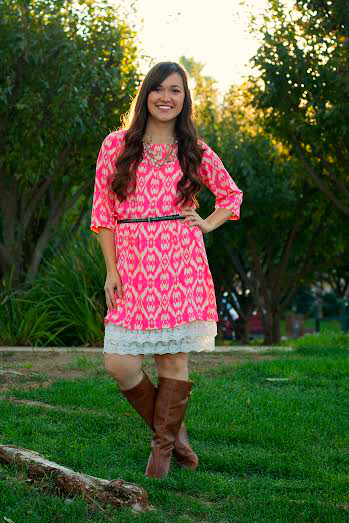
Sazerac Shift Dress Sew Along
Day 4
I am so glad you all are joining me this week to make yourself a Sazerac Shift Dress (get the pattern here)! We will do a few steps each day of the pattern and by Friday you can wear it, share it and show it off! I cannot wait to see pictures of your dresses! You can tag us on instagram #sazeracdress #seaminglysmitten or share it in our facebook group HERE!
Here's the plan:
Thursday - hem sleeves, neckline and dress hem
Friday - finish, wear it and share it!!

How is your dress coming along? What about those sleeves? I know they take lots of pins, but when they are done, doesn't it always feel so good when you turn that sleeve right side out and see what you did!! I remember the first time I did a sleeve and it must have taken me an hour and of course it was far from perfect, but I remember thinking, this opens new doors for my sewing! I loved learning that new skill. It's so easy to shy away from new skills because you think they are too hard or take too much time, but when you finally tackle it you usually think that wasn't too bad after all!
Let's get started!
1. Adding Cuffs - optional If you want to add cuffs, continue here on step 14 in the pattern. If not go to the next step - hemming!
Cut out your cuff strips: If you want to add long sleeve cuffs, cut out two strips according to size:
XS: 4 inches long x 8.25 inches wide
Small: 4 inches long x 8.5 inches wide
Medium: 4 inches long x 9 inches wide
Large: 4 inches long x 9.5 inches wide
XLarge: 4 inches long x 10 inches wide
XXLarge: 4 inches long x 10.5 inches wide
XXLarge: 4 inches long x 11 inches wide
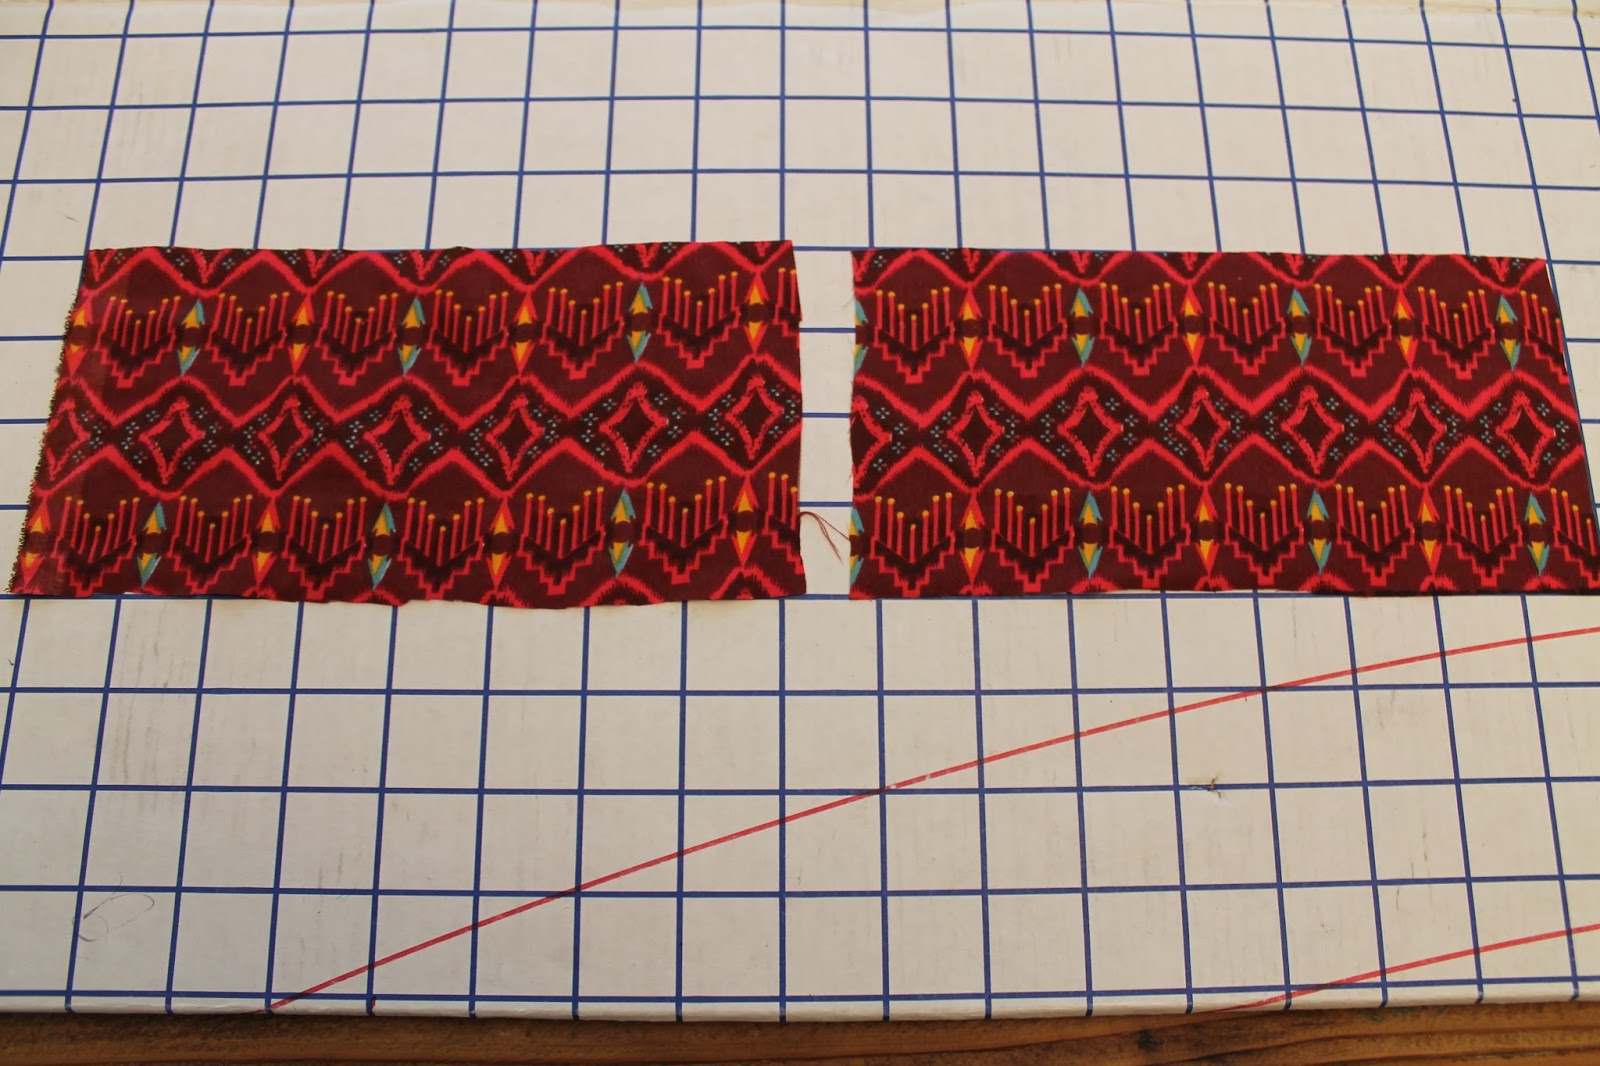
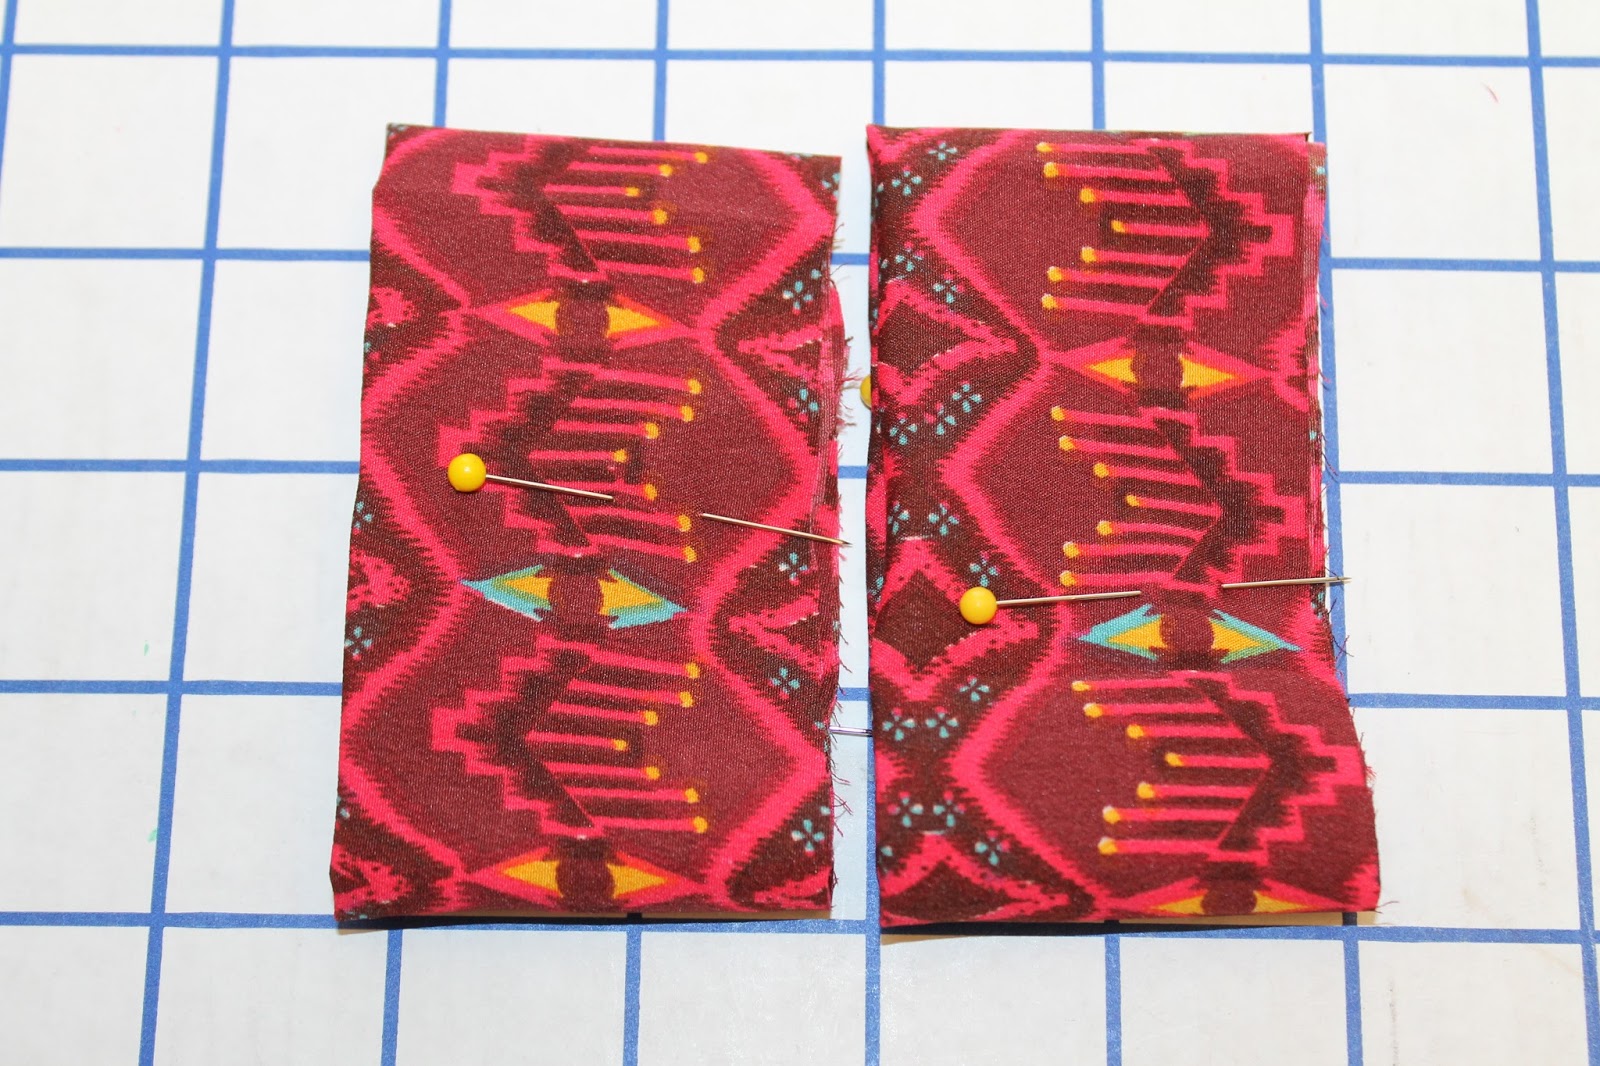
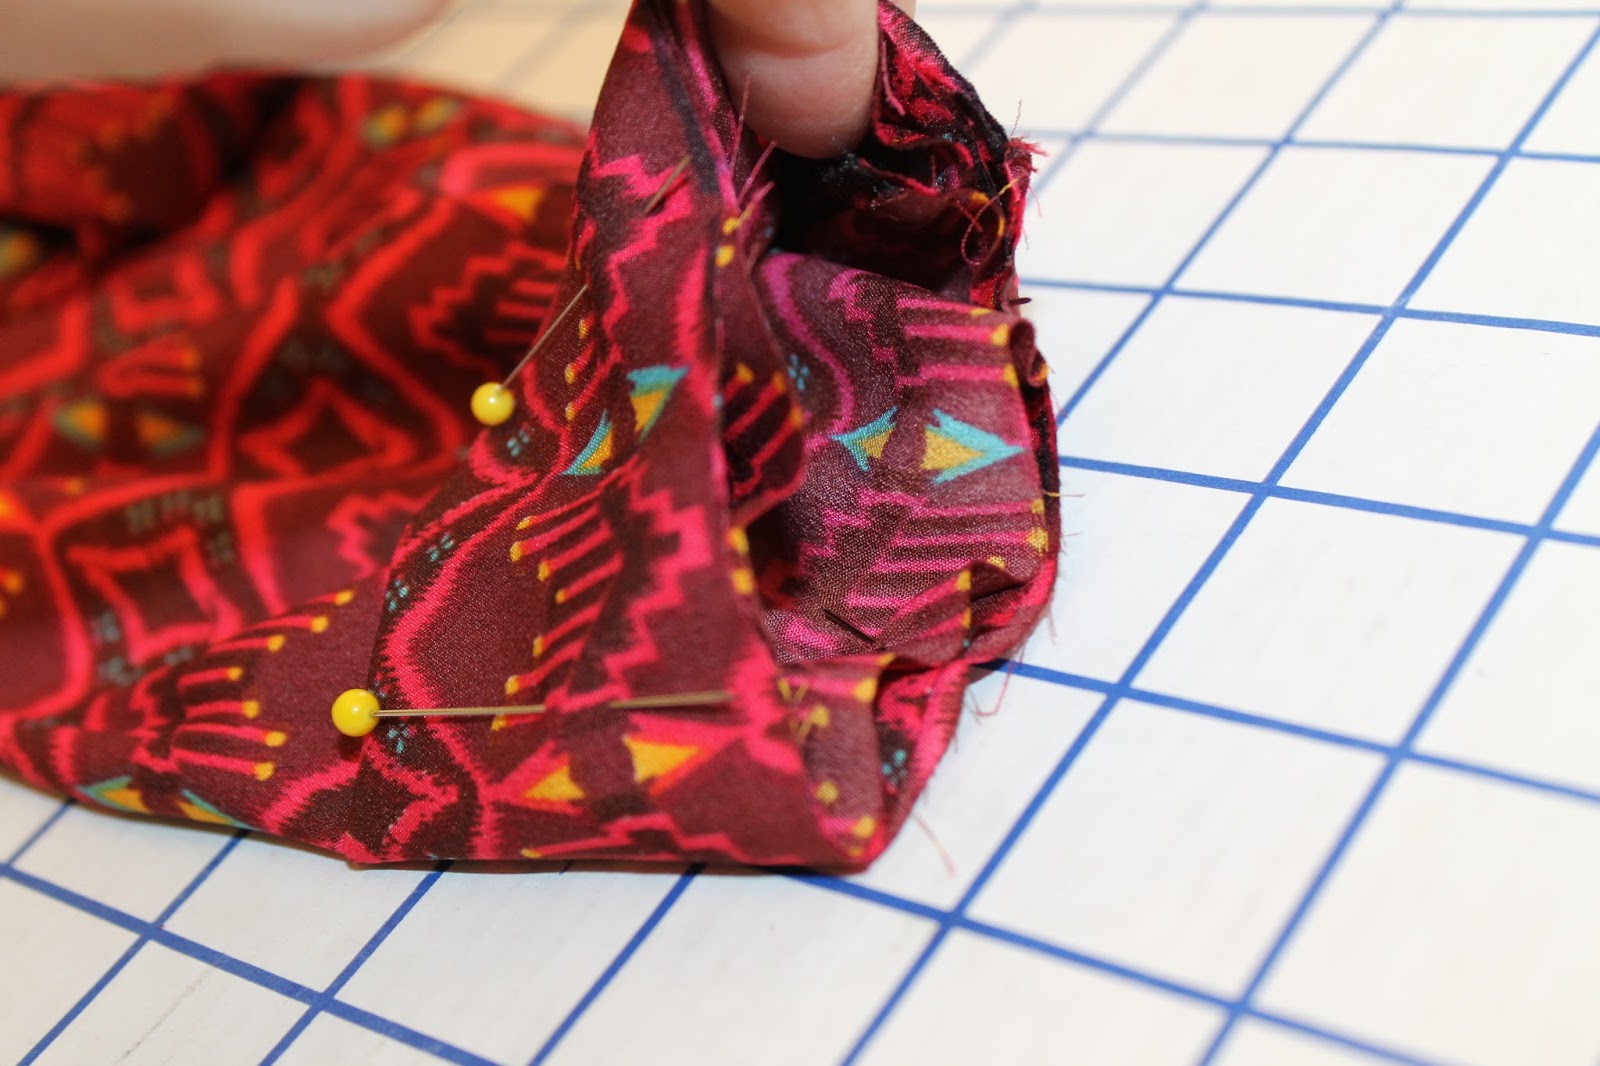
Sew your cuff into a loop and fold in half: Lay each cuff right sides together so the 4 inch edges meet, pin and sew using a ¼ inch seam allowance. Press seams open. Now make the long, raw edges meet wrong sides together and press with an iron so you have two cuffs that are 2 inch wide each. **TRY IT ON - Slip it onto your wrist to make sure it fits! If not, make another one, adding width - leave the 4 inch length but widen it as needed.


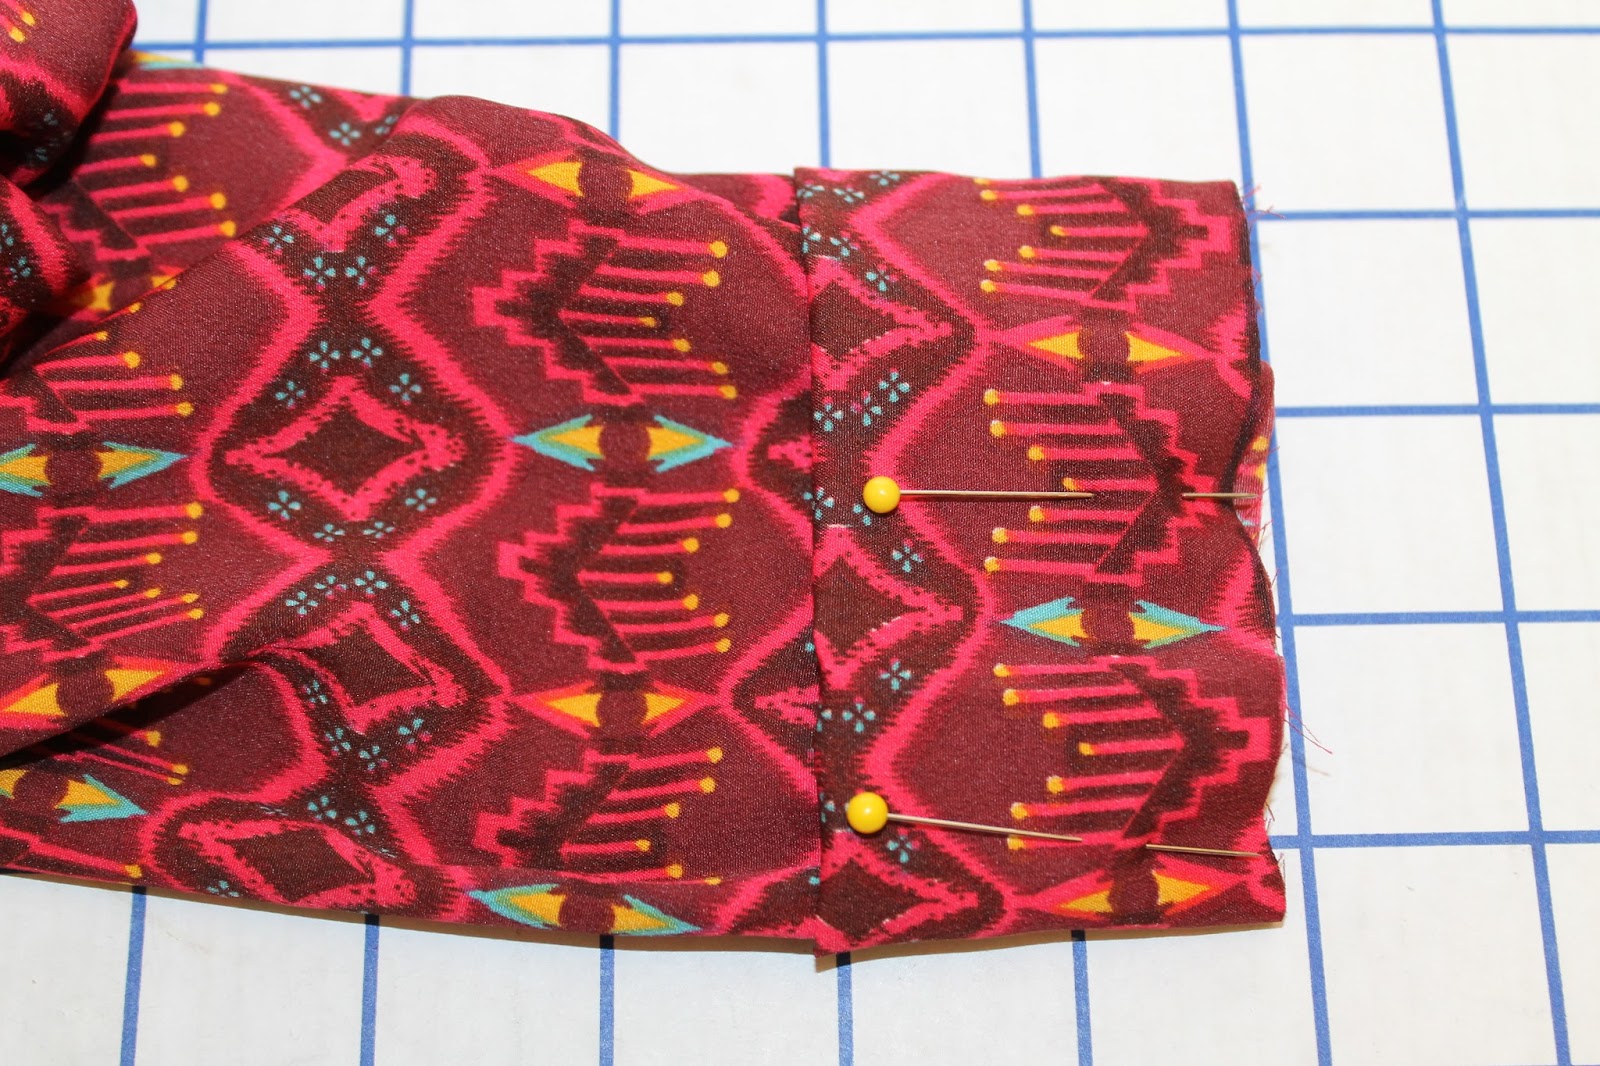
Sew a basting stitch around each sleeve edge: Sew a basting stitch around the hem of each sleeve using a ¼ inch seam allowance. Leave a 6 inch tail of thread at the beginning and ending of your basting thread.
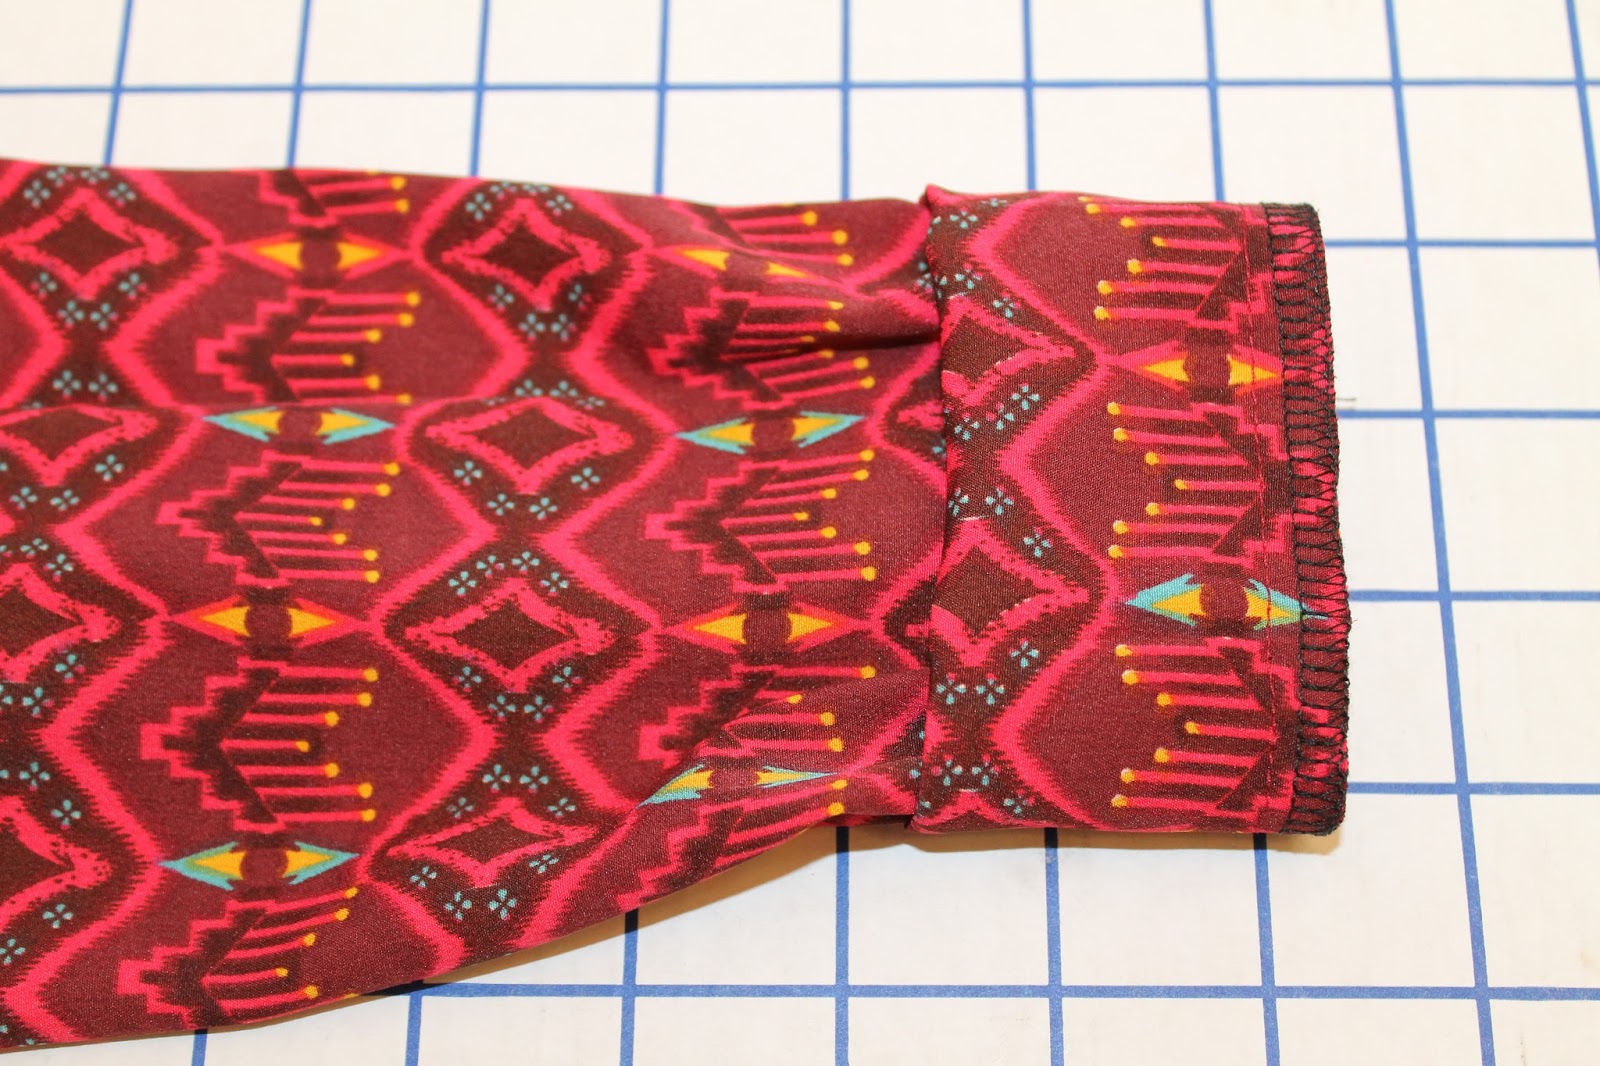
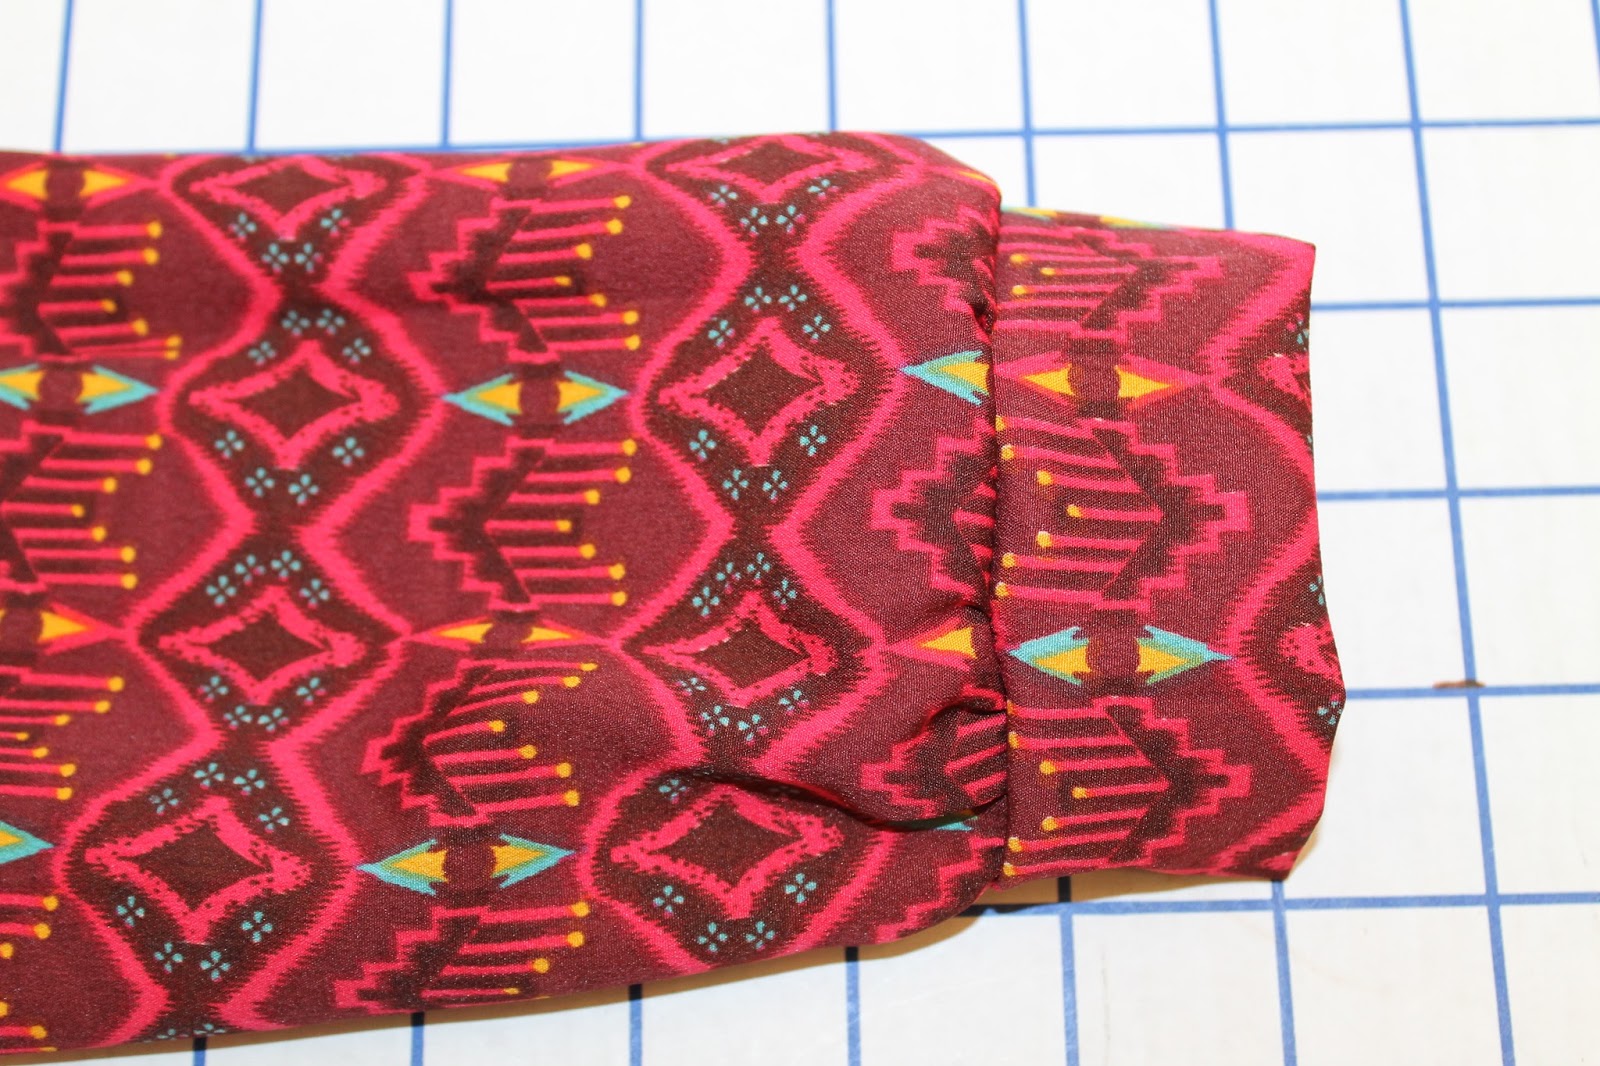
Gather and attach each cuff: Gather each sleeve by pulling on the basting stitches. Place one cuff around each sleeve edge and pin, matching the raw edges. Sew around each cuff using a 3/8 inch seam allowance. Serge or zig zag stitch raw edges. Press cuff out and flip seam allowance to the inside of the dress.
2. Hem the neckline Time to hem the neckline: Turn under a ¼ inch then another ¼ inch neckline hem. Iron and pin. Sew around your neckline using a ¼ inch seam allowance OR serge the entire neckline then turn under a ½ inch hem and pin. Sew. OR use double fold bias tape to enclose the neckline.
3. Hem the sleeves: Hem the sleeves if you did not add a cuff: Fold up a ¼ inch hem on each sleeve and then another ¼ inch. Pin and sew each sleeve hem. **HINT: For the BEST FIT try your dress on
and see where you want the edge of the sleeve to hit on your arm. Place a pin at that spot. Then hem both sleeves.
4. Hem the dress: Hem the dress: Fold up a ¼ inch hem around the entire bottom of your dress,
press with an iron and fold up another ¼ inch hem. Press with an iron and pin all
around the dress’ hem.
OR
Serge around the bottom of the dress, turn up a ½ inch and pin. **HINT: For the BEST FIT try your dress on, mark the desired hem then pin and sew the hem. Remember if you are wearing a belt or
sash or adding elastic this will shorten the dress about 3 inches since the dress will billow over the gathering.

Tomorrow you can add elastic if desired and you can take some pictures and share them! I am so glad we are doing this together! I cannot wait to see what you made!!